English, Warning – Belshaw Adamatic 10 Quart Mixer User Manual
Page 3
F
ood
P
reParation
e
quiPment
3
ENGLISH
O
peratOr
’
s
M
anual
B
BOWL LIFT. Used to lower and raise the bowl cradle.
C
BOWL. Holds the food product mixing contents.
D
BOWL CLAMP. Secures the bowl to the bowl cradle.
E
BOWL CRADLE. Holds the bowl.
F
MIXING SHAFT. Holds the mixing attachment.
G
BOWL GUARD. Helps prevent injury or contact with mixing
shaft or attachment. This guard needs to be closed for
operation.
H
SPLASH GUARD. Helps prevent spillage of mixing contents.
Helps prevent injury or contact with mixing shaft or attachment.
I
BASE. Supports the mixer.
J
ATTACHMENT HUB (some models). Used to locate an
attachment to the mixer.
K
ATTACHMENT HUB THUMBSCREW (some models). Secures
the attachment to the mixer.
u
nPacking
the
e
quiPment
and
i
nitial
s
etuP
Carefully remove crating or packaging materials from the equipment. Models
shipped on pallets are bolted to the pallet. Bolts must be removed to safely
separate the equipment from the pallet. When no longer needed, dispose of
all packaging, materials in an environmentally responsible manner.
Place the equipment on a flat surface with sufficient space around the mixer
to allow for safe cleaning and service.
Plug only into grounded electrical outlets matching the nameplate rated
voltage. Do not use an extension cord with this equipment. Do not plug
this equipment into a power strip or multi-outlet power cord. Some models
require electrical connection to be installed by a qualifies service personal in
accordance with local ordinates.
o
Peration
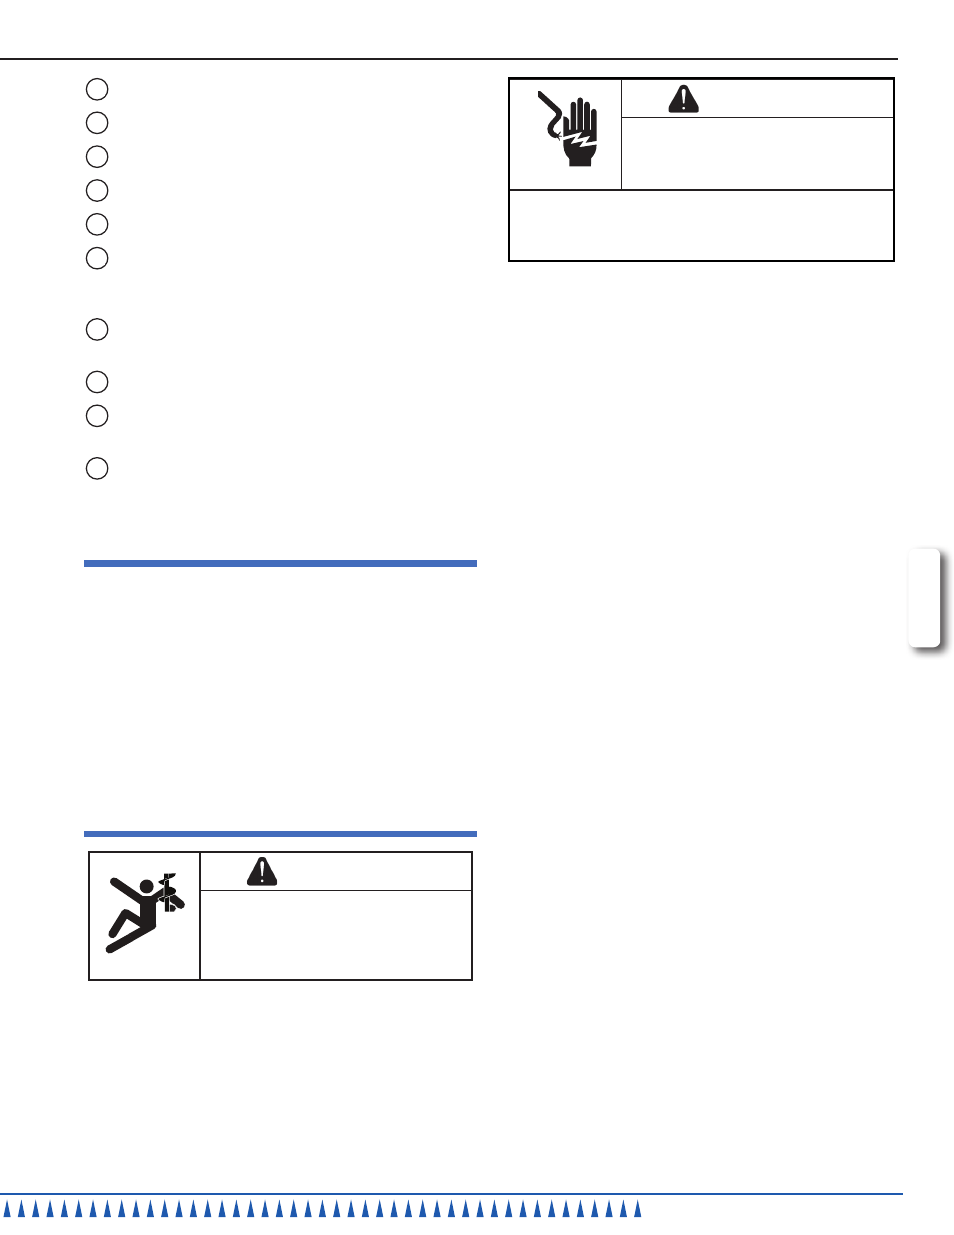
WARNING
Entanglement Hazard.
Rotating shaft or attachments can cause traumatic
amputations or sever lacerations. To avoid injury,
keep hands and clothing away from rotating parts.
Do not operate with guards modified or missing.
WARNING
Electrical Shock Hazard.
Keep water and other liquids from entering the
inside of the equipment. Liquid inside the equipment
could cause an electrical shock.
Do not spray water or cleaning products. Liquid could contact
the electrical components and cause a component failure or an
electrical shock. Do not use equipment if power cord is damaged or
has been modified.
Prior to first use, it is important to clean the equipment. Wash new the
attachments, bowl, guards and other parts with warm soapy water and rinse
thoroughly to remove the thin protective oil film.
The safety guard must be in the fully closed position in order to activate the
mixer. If the safety guard is not closed properly then the mixer will not start. If
the safety guard is opened during use then the mixer will switch off. In order
to restart the mixer the safety guard must be closed.
20 qt., 30qt., 40qt. and 60qt. mixers: The motor is fitted with a safety shut
off device which will automatically turn off the mixer if the temperature of
the motor exceeds the manufacturers recommended operating limits. The
overload protection switch which will trip if the batch size being mixed is too
heavy. If this happens allow the mixer to cool for minimum of 30-60 minutes
and reduce the batch size by 10-15%.
7 qt and 10 qt mixers have an overload protection device which will
automatically turn off the mixer if the resistance of the motor exceeds the
manufacturers recommended operating limits. Al alarm will beep and the
display will flash. Pressing the OFF button will reset the mixer.
The mixer is fitted with an If this happens then.
1. Before each use, check that the equipment is clean.
2. Before attaching the bowl select the mixing attachment you will be using.
Place your selected mixing attachment inside the empty bowl (C). Do not
attempt to fit the mixing attachment onto the mixing shaft (F) before the
bowl is in position. See Figures 1, 2, 3 or 4.
3. Lower the bowl cradle to its lowest position by rotating the bowl lift (B) in
a clockwise direction.
4. Rotate the bowl clamp levers (D) to the out or back position.
5. Hold the bowl (C) so that the pin on the bowl is facing in towards the
mixer. Position the bowl so that the pin is lined up with the pin slot on the
bowl cradle (E). Slide the pin into the slot.
6. Align the holes on the bowl tabs with the pins on the bowl cradle (E).Set
the bowl (C) on the bowl cradle (E).