Assembly preparations, Tools required, Assembly area – d&b xA-Series User Manual
Page 18: Orientation of the hf section, Vertical arrays, Horizontal assembly on the ground
4.2. Assembly preparations
xA-Series arrays are mainly assembled horizontally on the ground.
Assembly may be carried out by a single person. However, as
during assembly the array needs to be rotated through 180° and
depending on the size of the array, a second person should assist
in the work.
4.2.1. Tools required
–
Screw driver with torx bit TX30.
–
Torx socket wrench (Torque wrench) with torx bit TX45.
–
13 mm hex head socket wrench.
4.2.2. Assembly area
To carry out the assembly on the ground, make sure:
–
the surface is flat and clean.
–
there is enough space for the overall dimensions of the array.
–
to provide an additional protective underlay for assembly to
prevent the cabinets from scratching or other damage during
assembly.
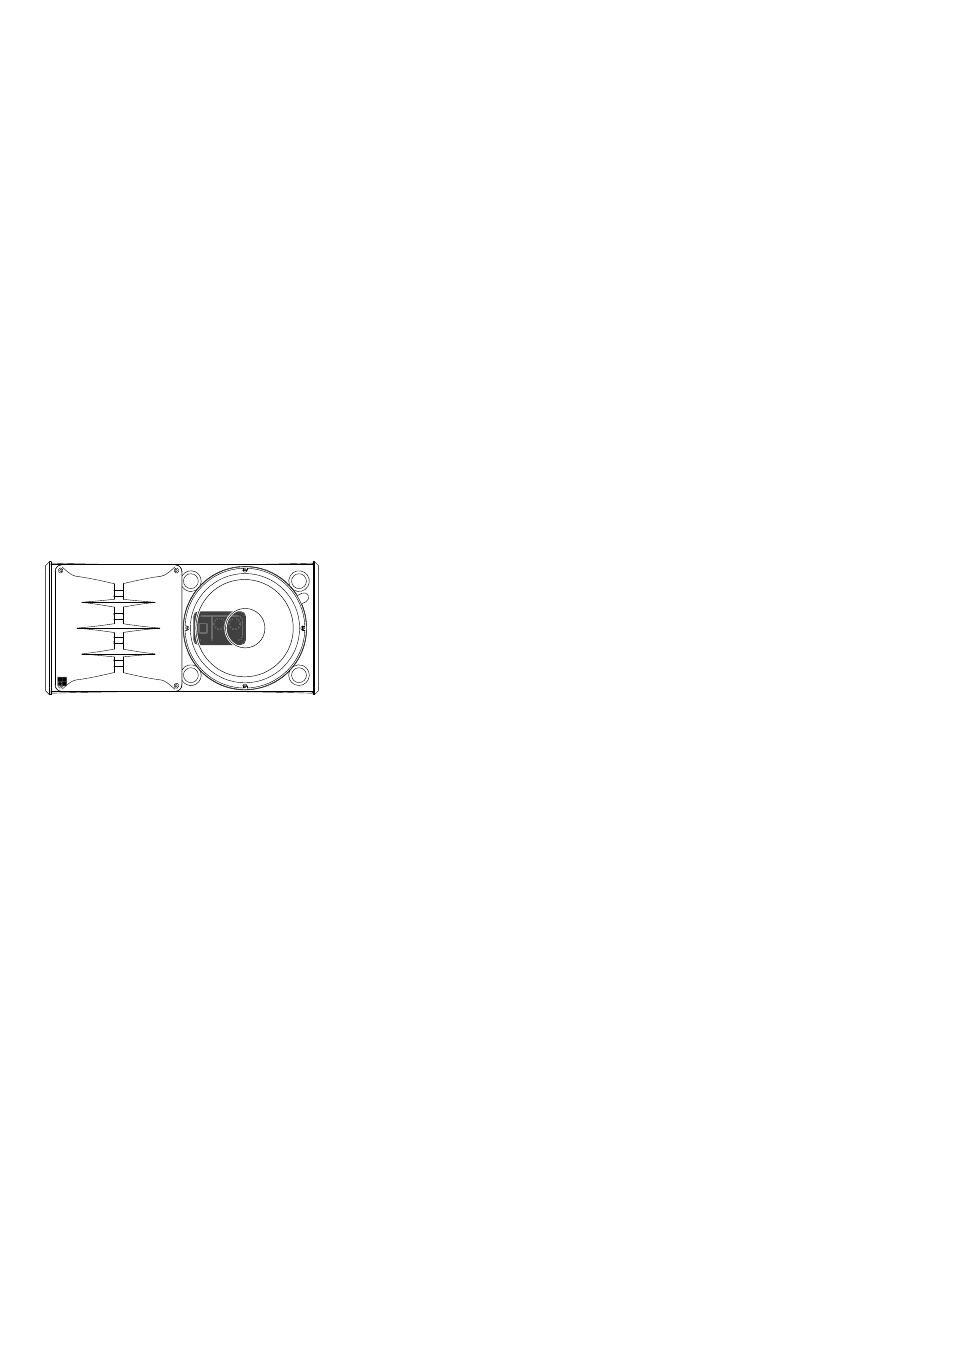
4.2.3. Orientation of the HF section
Before starting to assemble the array, you must define the
orientation of the HF section of the TOP cabinets.
The xA-Series TOP cabinets have a biaxial design. In default
orientation, the HF waveguide is located to the left, viewed from
the audience side. To enable a symmetrical setup for stereo
systems, the cabinet orientation may be reversed.
The cabinet's connector plate at the rear may serve to indicate the
orientation of the HF section, as shown in the graphic opposite.
4.3. Vertical arrays
4.3.1. Horizontal assembly on the ground
This section describes the assembly of a mixed 10AL line array.
The same procedure applies to the assembly of 10A arrays. SUB
columns may, most appropriately, be assembled vertically.
d&b xA-Series, Rigging manual (1.1 EN)
18