Trying simple octave band measurements – Casella CEL CEL-593 User Manual
Page 6
5.
Trying Simple Octave Band Measurements
Previous
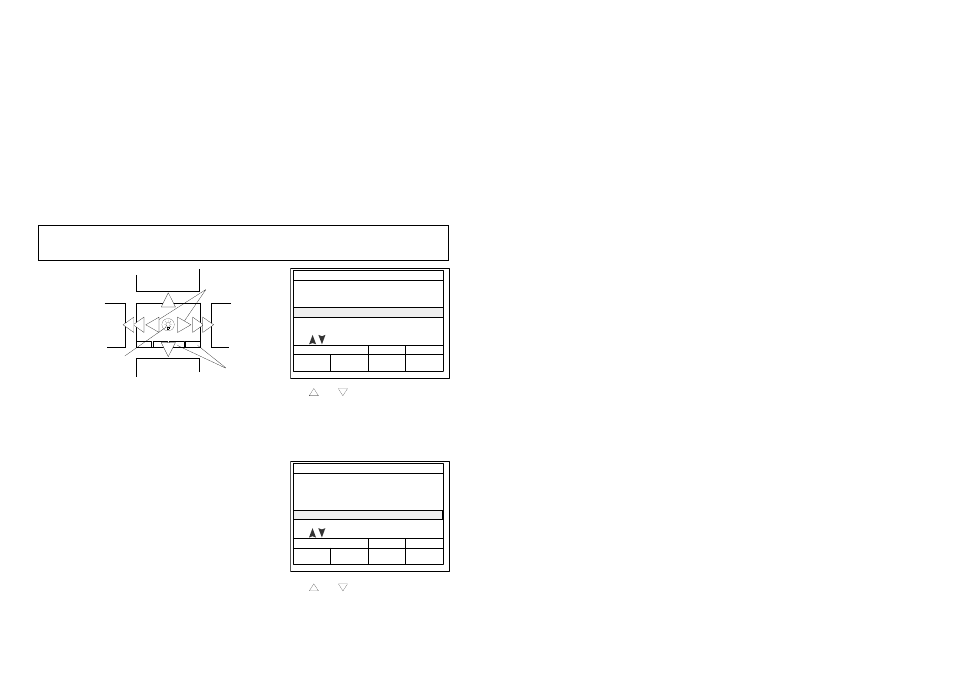
Screen
(Same
Setup)
Commands
Next
Screen
(Same
Setup)
Measurement - Screen Options
Previous Data
Stored in This Run
(When Available)
Next Data
Stored in This Run
(When Available)
980009e
Change
Frequency
Backlight
"Series 3 & 2"
Also use this screen to switch the
polarizing voltage ON for condenser
microphones.
12. Press power to switch the instrument
OFF before re-installing the
microphone.
Note: The FORMAT option on the last System
Test screen should be treated with
great respect !
It purges all stored data and set ups,
except for the initial set ups provided
by the factory.
Observe the Warnings in Chapter 3.
With microphone type identified and
polarizing voltage checked (Chapter 4),
with batteries, preamplifier, microphone
and interface installed (Chapter 3), try
some simple measurements with a B or C
version instrument.
1. Press the power key to switch ON.
2. Wait for the Start up screens to clear
and display the Configuration screen.
3. When the Current Mode is shown as
1
⁄
1
SLM, press the USE MODE key to
display the Status screen for this
bandwidth and proceed to step 8.
4. When the Current Mode is not shown as
1
⁄
1
SLM, press the APPLICATION key
to display the Select Application
screen. (The L suffix example also
shows Fastore and Loudness.)
5. Use
and
to move the reverse
video cursor to SOUND ANALYSER,
then press the LOAD key to load this
Application and display a similar Select
Acquisition Mode screen.
SELECT APPLICATION
CEL-593.C1L
LOAD
STOP
GS-05
1 SOUND ANALYSER
2
3
FASTORE
4
BUILDING ACOUSTICS
LOUDNESS
Use
to select
6. Use
and
to move the reverse
video cursor to SOUND LEVEL
METER, then press the LOAD key to
SELECT ACQUISITION MODE
CEL-593.C1L
LOAD
STOP
GS-06
1
2
3
SOUND LEVEL METER
ENVIRONMENTAL
EVENT
SLM
ENV
EVT
Use
to select
Page 64 - Getting Started - CEL-553/573/593