Installation – Atlona AT HDPiX2 User Manual
Page 5
4
www.atlona.com
Toll free: 1-877-536-3976
Local: 1-408-962-0515
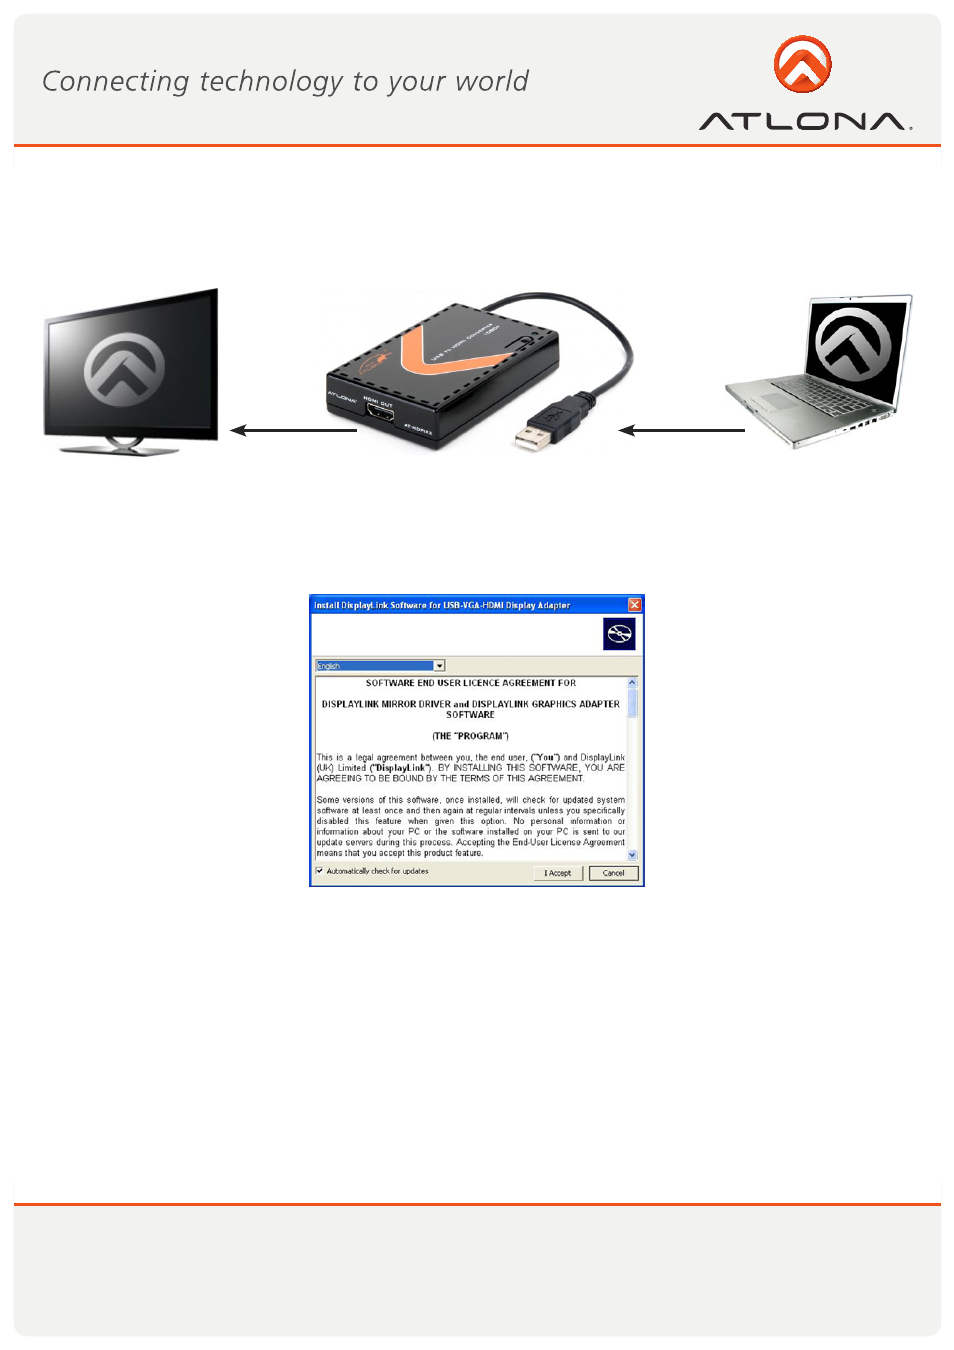
Monitor
AT-HDPiX2
Notebook / PC
1. Step 1: Insert the provided CD , then execute the Setup.exe file and select your language to install.
If you don’t have a CD, please download drivers from: http://www.displaylink.com/support/downloads.php
2. Step 2: Connect the unit to an USB 2.0 port of your computer.
3. Step 3: Use the supplied HDMI cable to connect your monitor or projector that supports HDMI.
4. Step 4: Switching EDID, the defaulting setting is on ON and the device will detect TV’s EDID. Leave as it is when
the display is propertly. Switching from ON to OFF inputsource PC must be reboot in order for the device to use the
built-in EDID. However, from OFF to ON the reboot is not necessary.
INSTALLATION
- RGB45SR (9 pages)
- PRO2HDREC (8 pages)
- USB 202 (26 pages)
- CP 268 (9 pages)
- Fiber (13 pages)
- Lc2 (12 pages)
- CDM 660 (8 pages)
- ATSDI10SR LC (8 pages)
- ATRS232SRS (8 pages)
- AT PROHD44M SR (13 pages)
- ATPRO2HD1616M RX (8 pages)
- HDMI (9 pages)
- ATP 14029 (7 pages)
- ATPROHD1616M SR (16 pages)
- ATP 14009 (7 pages)
- AT HDSync V2 (11 pages)
- ATHD580 (9 pages)
- ATHD V42M (12 pages)
- AT DVI100SR (10 pages)
- AT80HDMI 2 (6 pages)
- AT80HDMI 1 (6 pages)
- AT80COMP7 (6 pages)
- AT80COMP6 (6 pages)
- AT80COMP5 (6 pages)
- AT80COMP3 (6 pages)
- AT80CHD 1 (6 pages)
- AT22080 (6 pages)
- AT3GSDI 14 (9 pages)
- AT22060 (6 pages)
- AT WHD200 (10 pages)
- AT VID81 (8 pages)
- AT VID18 (8 pages)
- AT VID18 BNC (8 pages)
- AT VGA180ASR (7 pages)
- AT VGA88M SR (13 pages)
- AT VIDEO MATRIX (33 pages)
- AT VGA18 (8 pages)
- AT VGA14 (8 pages)
- AT VGA12A 14A 18A (8 pages)
- AT VGA11S (7 pages)
- AT VGA116 (8 pages)
- AT VGA10SS (9 pages)
- AT VGA100 WPVGA (10 pages)
- AT VGA SR (8 pages)
- AT VGA0505 (15 pages)