Nexen 5H60-SE-E 910434 User Manual
Page 4
FORM NO. L-21169-A-0803
4
PARTS REPLACEMENT
NOTE: Refer to Figure 1.
1.
Remove square-head Set Screws (Item 16) and Hex
Nuts (Item 26) from unit.
DISASSEMBLY
4.
Remove the Retaining Ring (Item 11) from the drive
flange end of the hub.
5.
Press the Hub (Item 1) out of Drive Flange (Item 5).
6.
Remove the Retaining Ring (Item 10) from the Drive
Flange (Item 5).
7.
Press the old Ball Bearing (Item 9) from the Drive
Flange (Item 5).
8.
Clean the bearing bore of the Drive Flange (Item 5)
with fresh safety solvent, making sure all old
Loctite
®
(or equivalent) residue is removed.
AIR CHAMBER DISASSEMBLY
1.
Carefully and alternately, loosen Cap Screws (Item
23) until there is no longer any spring tension, then
remove the Cap Screws (Item 23).
2.
Separate the Cylinder (Item 2) from the Spring
Housing (Item 20).
3.
Remove old gasket material from Cylinder (Item 2)
and Spring Housing (Item 20).
4.
Separate the Piston (Item 3) and Drive Ring (Item
4) from the Cylinder (Item 2).
5.
Remove and discard O-rings (Items 12 & 13) and
Quad Seals (Item 25).
6.
Press the old Ball Bearing (Item 8) and Drive Ring
(Item 4) out of the Piston (Item 3).
7.
Using a bearing puller, remove the Drive Ring (Item
4) from the Ball Bearing (Item 8).
8.
Remove the Springs (Item 22) from the Spring
Housing (Item 20).
9.
Remove the Retaining Ring (Item 24) from the
Spring Housing (Item 20) and discard.
10. Press the old Ball Bearing (Item 9) from the Spring
Housing (Item 20).
11. Clean the bearing bore of Piston (Item 3) and Spring
Housing (Item 20) with fresh safety solvent, making
sure all old Loctite (or equivalent) residue is removed..
2.
Remove the Retaining Ring (Item 11) from the set
screw end of the unit.
3.
Supporting the Cylinder (Item 2), press the Hub
(Item 1) and Drive Flange (Item 5) out of the unit.
1.
Apply an adequate amount of Loctite 680 (or
equivalent) to evenly coat the bearing bore of the
Drive Flange (Item 5).
NOTE: Do not apply Loctite 680 (or equivalent) directly
to ball bearing. Doing so would coat the groove that
holds the retaining ring with Loctite (or equivalent)
during assembly and cement the retaining ring in place.
2.
Press the new Ball Bearing (Item 9) into the Drive
Flange (Item 5).
DRIVE FLANGE ASSEMBLY
3.
Reinstall the Retaining Ring (Item 10) into the Drive
Flange (Item 5).
4.
Supporting the inner race of the Ball Bearing (Item
9) press the Hub (Item 1) into the Ball Bearing (Item
9) and Drive Flange (Item 5).
5.
Reinstall the Retaining Ring (Item 11) onto the Hub
(Item 1).
® Loctite is a registered trademark of Henkel Loctite Corp.
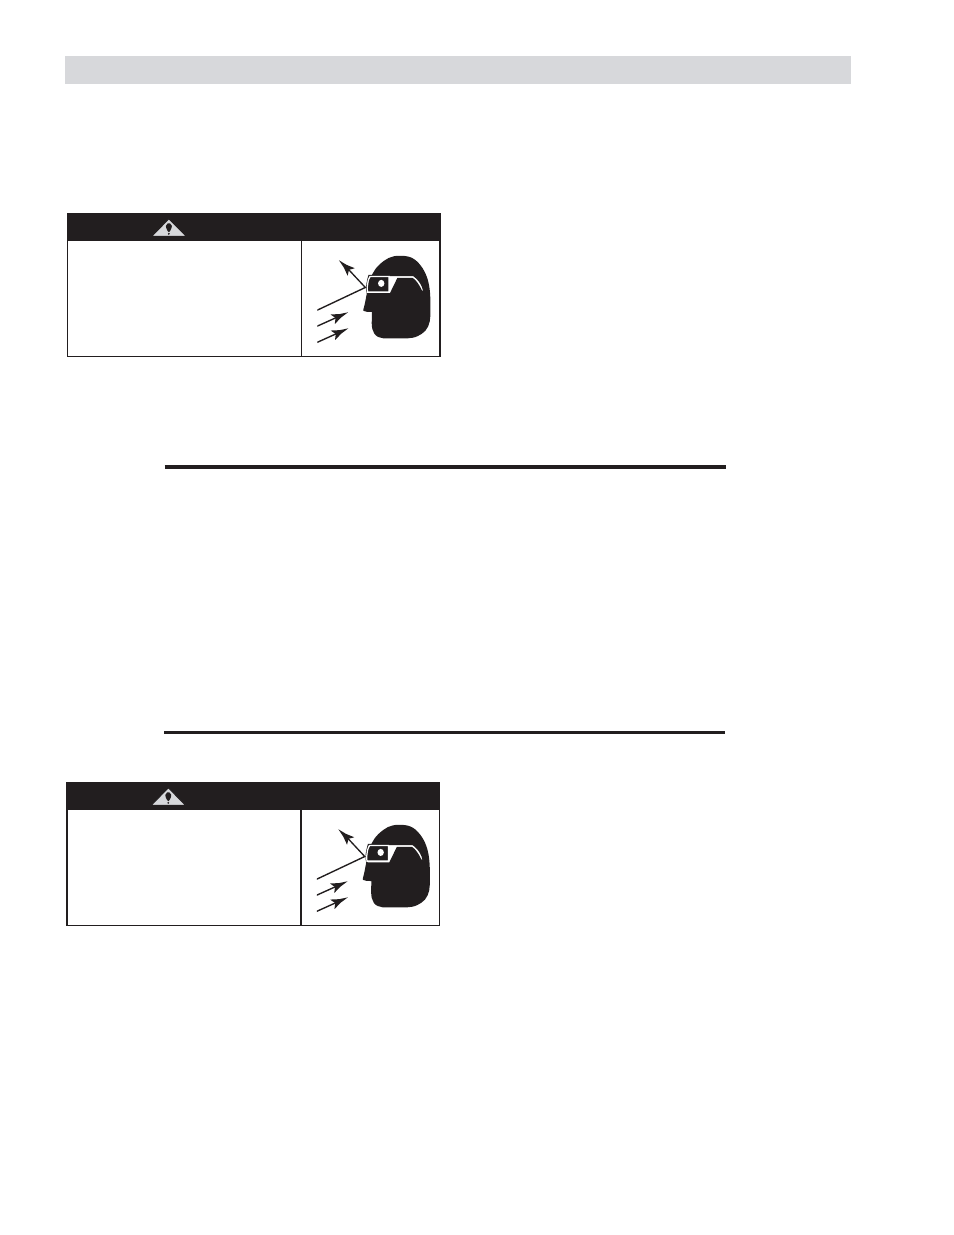
WARNING
Use caution and always
wear safety glasses when
working with spring or
tension loaded devices
such as retaining rings.
WARNING
Contents under spring
pressure. Use caution and
always wear safety glasses
when working with spring
or tension loaded devices.