Microphone placement – RODE Microphones nt1-a User Manual
Page 6
- 6 -
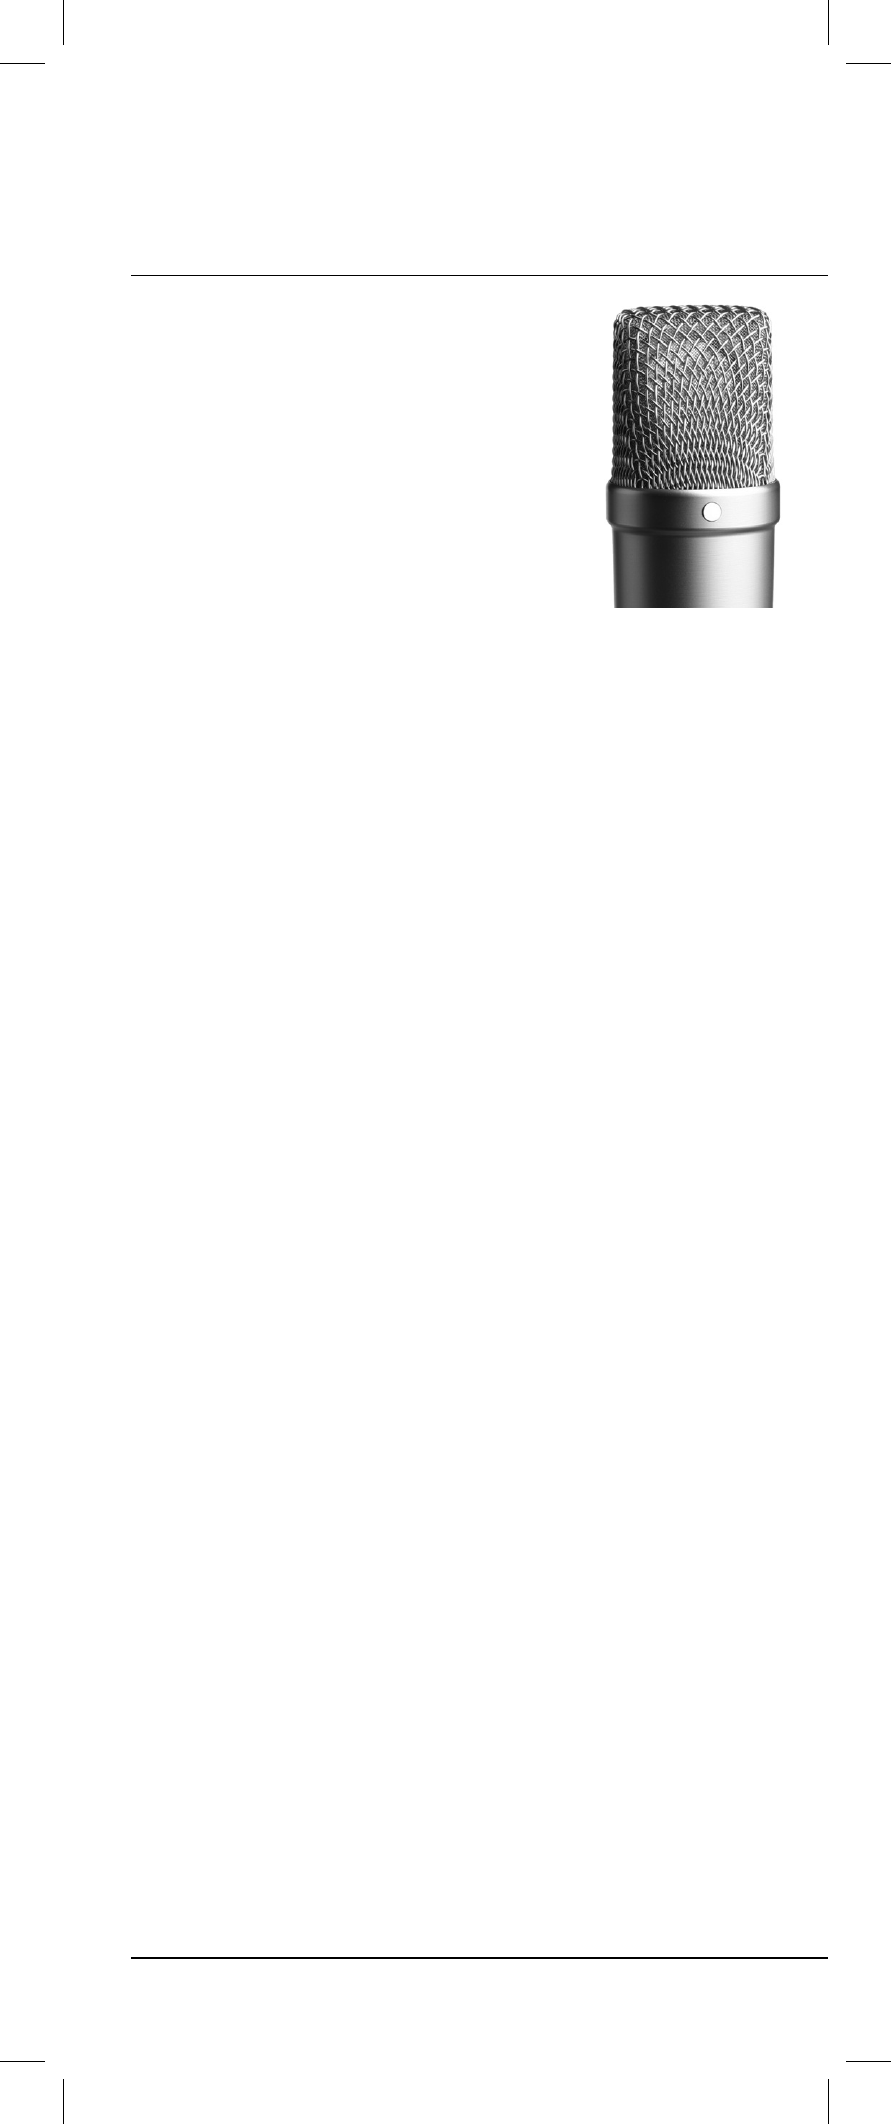
• The gold dot on the face of the
NT1-A indicates the front of the
microphone, and the pick-up area
of the cardioid pattern. Please be
sure to have the side with the dot
facing the sound source you wish to
record.
• Microphone technique, or how to get the sound
you want, requires experimentation.
We suggest that you start with the channel EQ
set to ‘OFF’ or ‘FLAT’ (no boost or cut). Try to get
the sound you want by placing either refl ective or
absorbent panels at various angles adjacent to the
source being recorded.
• Changing the acoustic properties of the space
around the microphone is our recommended initial
approach for obtaining best sound quality.
Remember you cannot change a room’s acoustic
properties with EQ.
When the preferred sound has been achieved
(as above) then EQ and effects such as reverb
or indeed any signal processing can be used for
enhancement, but should be used sparingly.
• It is worth mentioning that sometimes ‘cutting’ a
particular frequency (sound) may be preferable
to ‘boosting’ another. Of course ‘boosting’ can
increase noise level and so should be done
minimally.
As with many other aspects of the recording
process, fi nding the preferred ‘sound’ is a matter of
experimentation.
Microphone Placement