ParkZone PKZ5480 User Manual
Page 9
9
EN
Adjustment of CG is not required when the flight battery is secured in
the fuselage using the front-to-rear and side hook and look straps.
Range Check your Radio System
After final assembly, range check the radio system with the Radian Pro. Refer
to your specific transmitter instruction manual for range test information.
Before Each Flying Session
• Always make sure you have fully charged the transmitter batteries or make
sure your transmitter has fresh batteries before you fly.
• Always make sure your Radian Pro is properly trimmed prior to each flight.
• Always make sure the receiver, ESC, and battery are secured in the fuse-
lage.
• Turn on the transmitter before plugging in the flight battery. With the aircraft
on the ground and motor running, you should walk away approximately 100
feet and still have full control of all functions while following the specific
range test feature of your DSM2 transmitter. If this is not the case, do not
fly. Contact the appropriate Horizon Product Support office.
• Always make sure all controls function per the transmitter input you give.
This includes ailerons, rudder, elevator and throttle.
• Always make sure the servo reversing switches on the transmitter are set
correctly.
• Always make sure the dual rates switch is at the rate setting where you
plan to fly. We recommend LOW rates for your initial flying.
CAUTION: Always remove the flight battery from the aircraft when you
are done flying, or when you are on the way to the flying field.
Flying
Always choose a wide-open space for flying your ParkZone Radian Pro. It is
ideal for you to fly at a sanctioned flying field. If you are not flying at an ap-
proved site, always avoid flying near houses, trees, wires and buildings. You
should also avoid flying in areas where there are many people, such as busy
parks, schoolyards, or soccer fields. Consult local laws and ordinances before
choosing a location to fly your aircraft. For more information about sailplane
flying, thermals and slope lift, refer to www.horizonhobby.com.
Flaps
The flaps on the Radian Pro are primarily used for
glide path control. The flaps allow for more drag and
additional lift to allow the plane to fly slower and
descend at a steeper rate. With the flaps lowered,
the Radian Pro can land in much smaller areas than
would be able otherwise. The flaps cause the Ra-
dian Pro to pitch up if deployed at higher speeds. If
using a transmitter without elevator/flap mixing it is ad-
visable to deploy the flaps at lower airspeeds to prevent the pitch up when
the flaps are lowered. With the flaps deflected, aileron effectiveness is slightly
reduced.
Repairs
Thanks to the Z-foam™ construction of the Radian Pro, repairs to the foam
can be made using virtually any adhesive (hot glue, regular CA, epoxy, etc).
When parts are not repairable, see the Replacement Parts List for ordering by
item number.
Note: Repair of the horizontal stabilizer requires use of foam-safe CA.
Fly in this area
(upwind of pilot)
Stand here
600
feet (182.8 m)
Always
decrease throttle at
propeller strike.
Flying Tips and Repairs
Control Surfaces
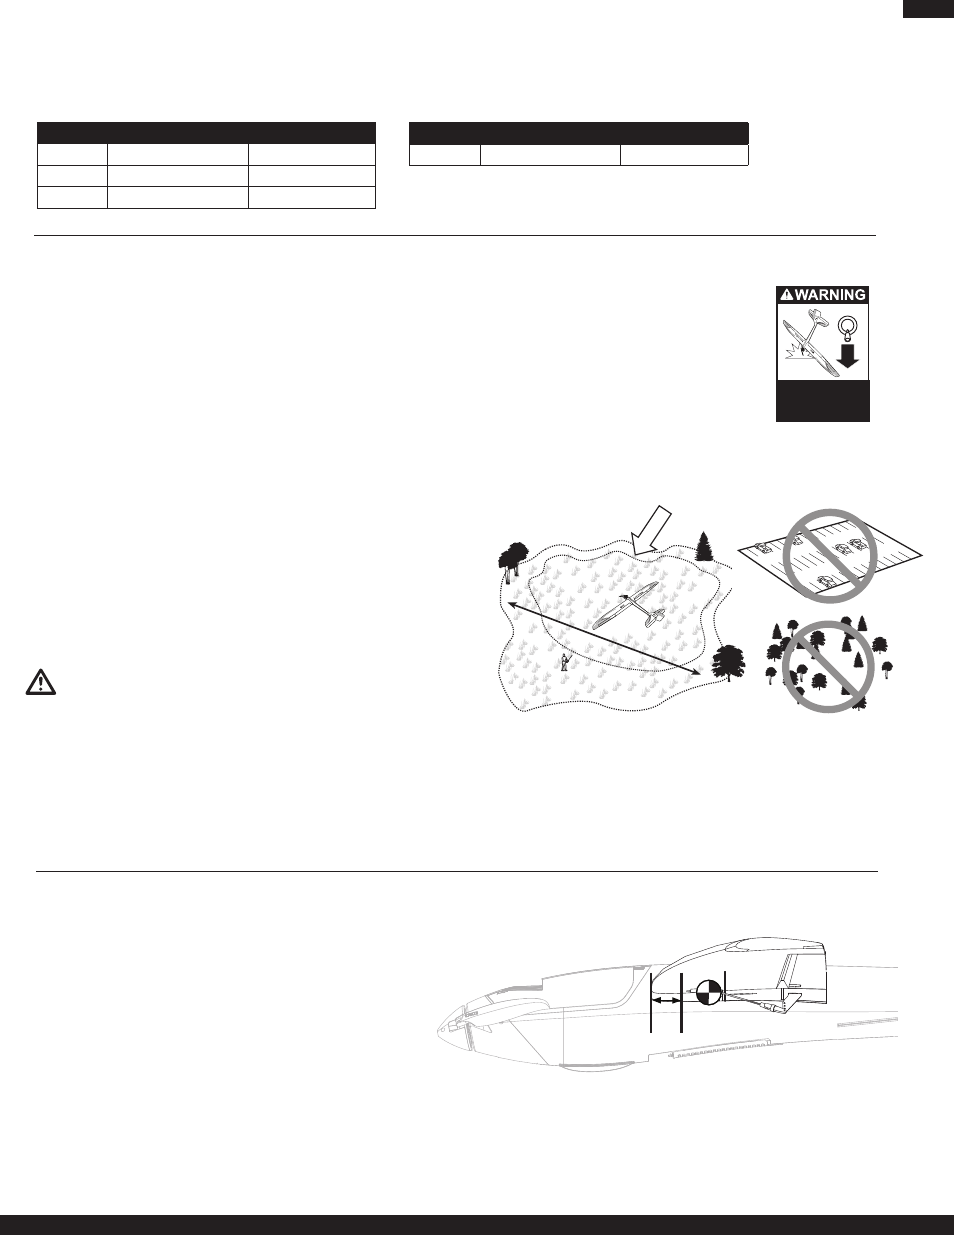
Adjusting Center of Gravity (CG)
70mm (2.75 in) from
leading edge of the
wing at the fuselage
Measure all control surfaces at the widest point of each control surface to check these suggested rates.
Low rate is 70% of high rate travel.
For information on advanced sailplane setups for the Radian Pro, please visit the product page for the Radian Pro on www.horizonhobby.com
High Rate
Low Rate
Aileron
15mm up/12mm down
11mm up/8mm down
Elevator
11mm up/down
7mm up/down
Rudder
27mm left/right
20mm left/right
1/2 Flap
Full Flap
Flap
17mm
35mm
If using 3 position switch for flaps