V ision, Vision, Installer guide – Lumagen Vision User Manual
Page 10: User manual and installer guide, Installation, Front panel
Vision
™
User Manual and Installer Guide
© 2003 Lumagen, Inc.
7
Rev 1.13
Installer Guide
Installation
Unpack the shipping container. Save the container and packing materials incase they are
needed later. Place the
Vision
Video Processor on a component shelf and connect as
described in the Rear Panel section. The cooling vents must be clear of obstructions to
provide for convection cooling.
Install the two AAA batteries in the remote control.
The following items should be included:
Vision
Video Processor
Infrared remote control with 2 AAA batteries
External power supply with power cord (in the U.S.A and Canada. In other
countries, the user must provide a 5VDC at 2 amps supply with a
Switchcraft RAPC712 compatible plug. Contact factory for details).
User manual
License agreement
Warranty card
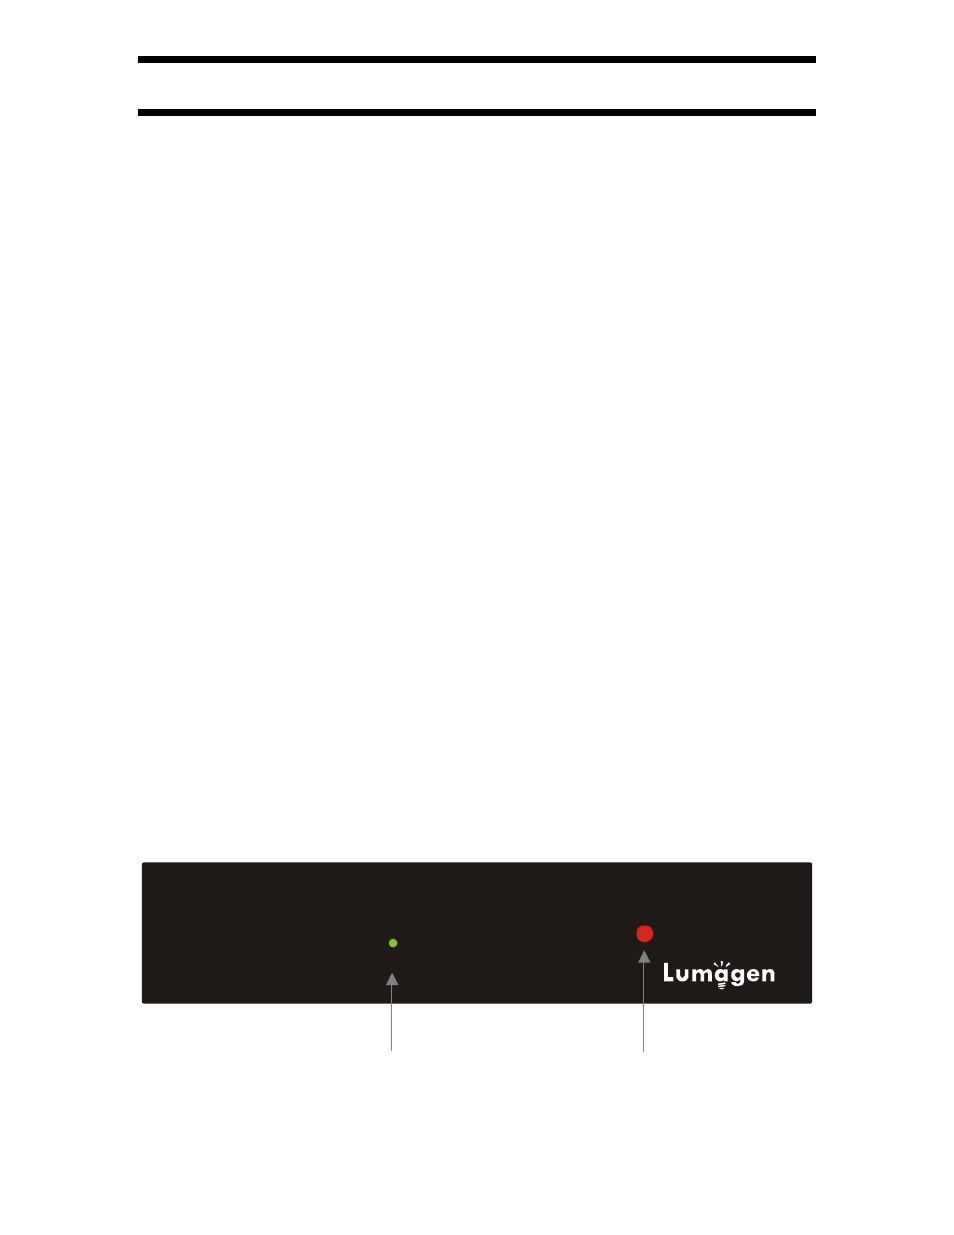
Front Panel
The
Vision
is controlled using an infrared remote control. An activity indicator and
an infrared receiver are located on the front panel.
The activity indicator is illuminated for a short time after infrared commands are received
as confirmation. It is then darkened to prevent it from being an unwanted light-source.
The “Activity” indicator can be reconfigured as a “power-on” indicator by pressing
MENU, 0, 9, 2, 5 on the remote and then saving the change, as described in the
Installation Commands section, to make it permanent.
The front panel is shown below.
Activity
V ision
Video Processor
Command
Indicator
Infrared
Receiver