Heath Consultants Aqua-Scop User Manual
Page 23
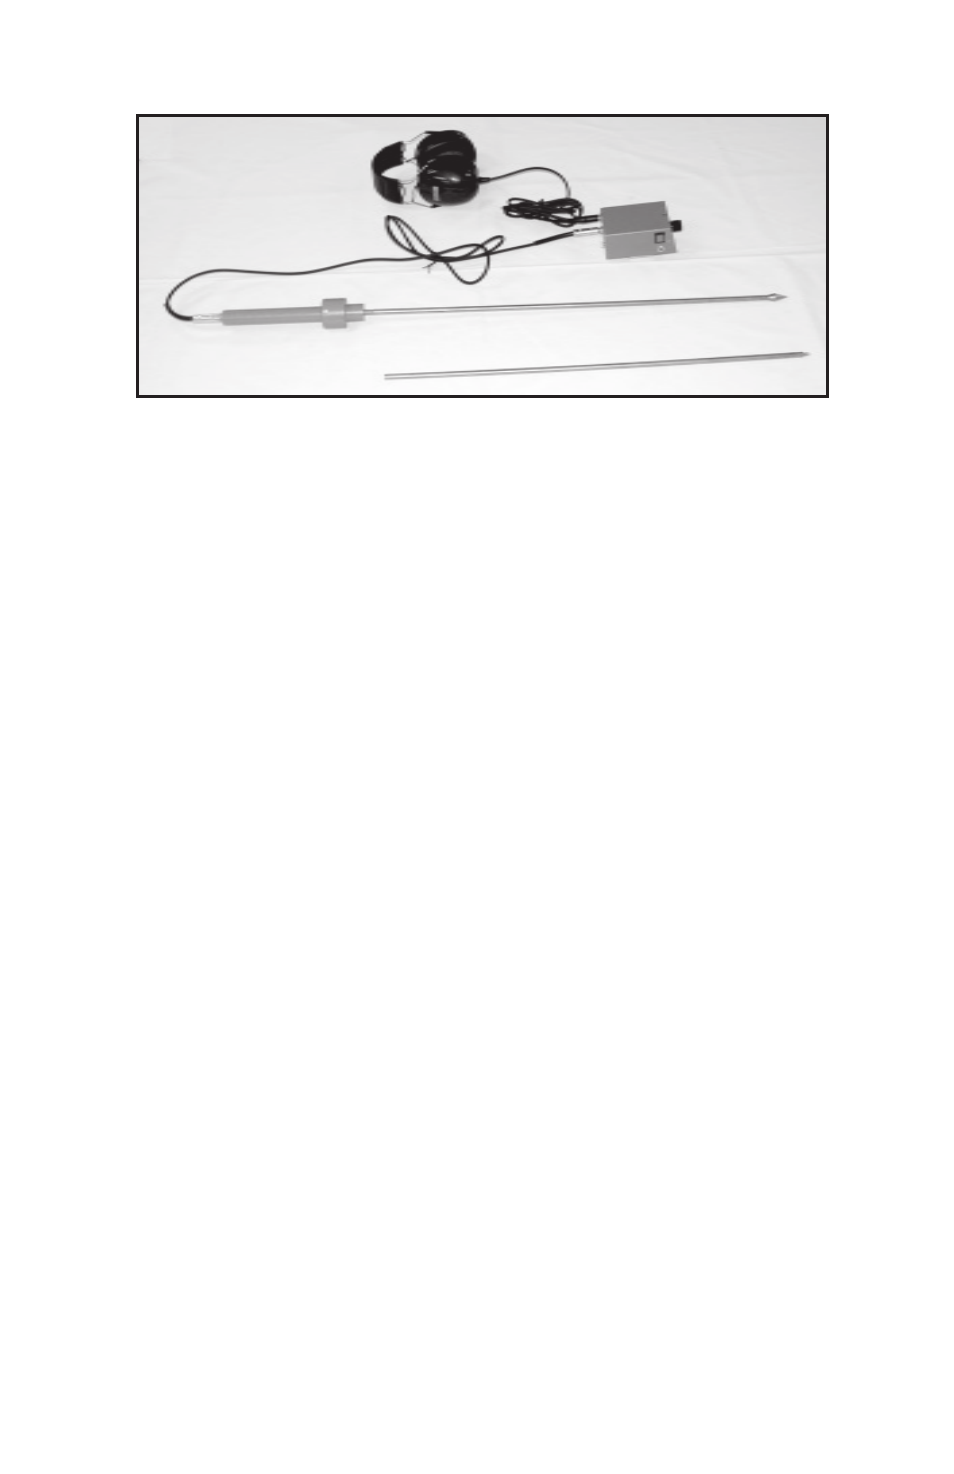
(Figure 10)
As you can see from Figure 10, in preliminary detection the Direct Contact
Microphone is connected with the Amplifier Module and the Headset is
plugged into the jack on the Amplifier Module. The Volume is then turned
clockwise and the amplification is turned up enough so that the sound
of a leak is recognizable. The position of 4 to 6 on the volume control is
recommended for best sound intensity.
Procedure of Preliminary Detection: The point of the Direct Contact
Microphone is placed on the part of the line, which is to be checked. The
point should be abraded and firmly held against the line to insure good
contact. When the Direct Contact Microphone is firmly placed on the line,
the “Listen” control switch on the Amplifier Module is depressed. This will
complete the electrical contact between the microphone and the amplifier.
The switch should not be depressed before or while making contact, as
the noise of making contact is unpleasant to the ear. Tests are made in this
manner and sound levels for the tests compared (see Figure 11). Figure
12 is an example of the above technique in a field situation. The Direct
Contact Microphone should not be immersed in water. If a test must be
taken in deep water, use the extensions or contact the line or desired test
point with a rod or key. The tip of the Direct Contact Microphone is then
used on the rod or key.
20