Harmonic Resolution Systems SXR Audio Stand User Manual
Page 11
Note:
If your SXR came partially assembled please make sure that in Step 8 the 1/4” - 20
x 3/4” flat head cap screws must be loosened 1/4 turn before proceeding to Step 9.
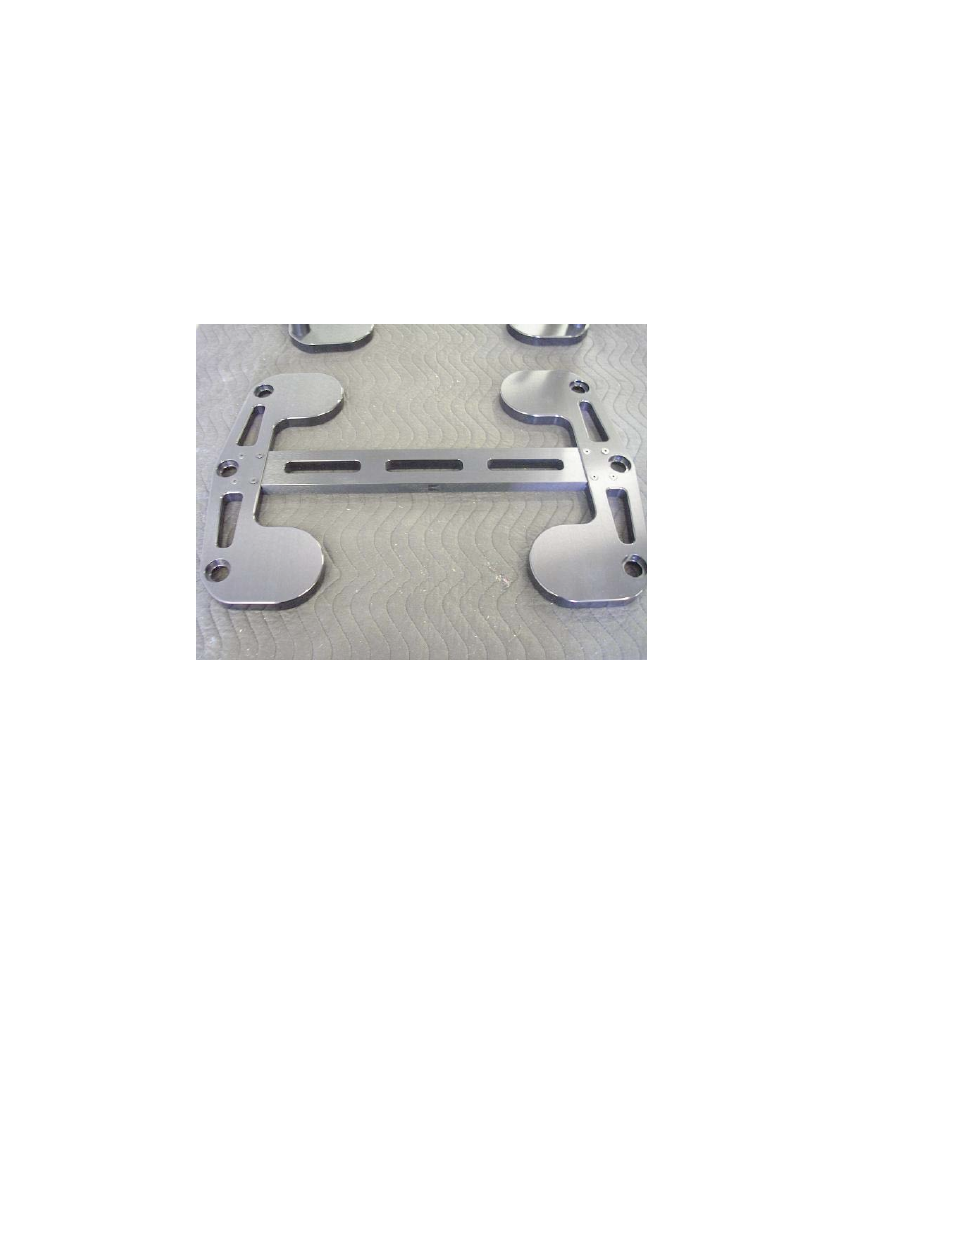
Step 8.
Refer to steps 1 and 2 to build another Support/Cross Brace
subassembly as shown in Photo 9. However this time each screw should be finger
tight and then loosen by turning the Allen wrench 1/4 turn counterclockwise.
Step 9.
Carefully place the Support/Cross Brace subassembly onto the struts of
the SXR by placing each strut through the holes of the Support Braces as shown in
Photo 10. Make sure the HRS logo of the Support/Cross Brace subassembly is
located on the same side as first Cross Brace. Make sure that each strut is
properly seated into each countersunk hole of the Support Brace.
Photo 9