Installation – Glow-worm Climapro2 RF User Manual
Page 11
0020094581_01 - 08/10 - Glow-worm
- 9 -
INSTALLATION
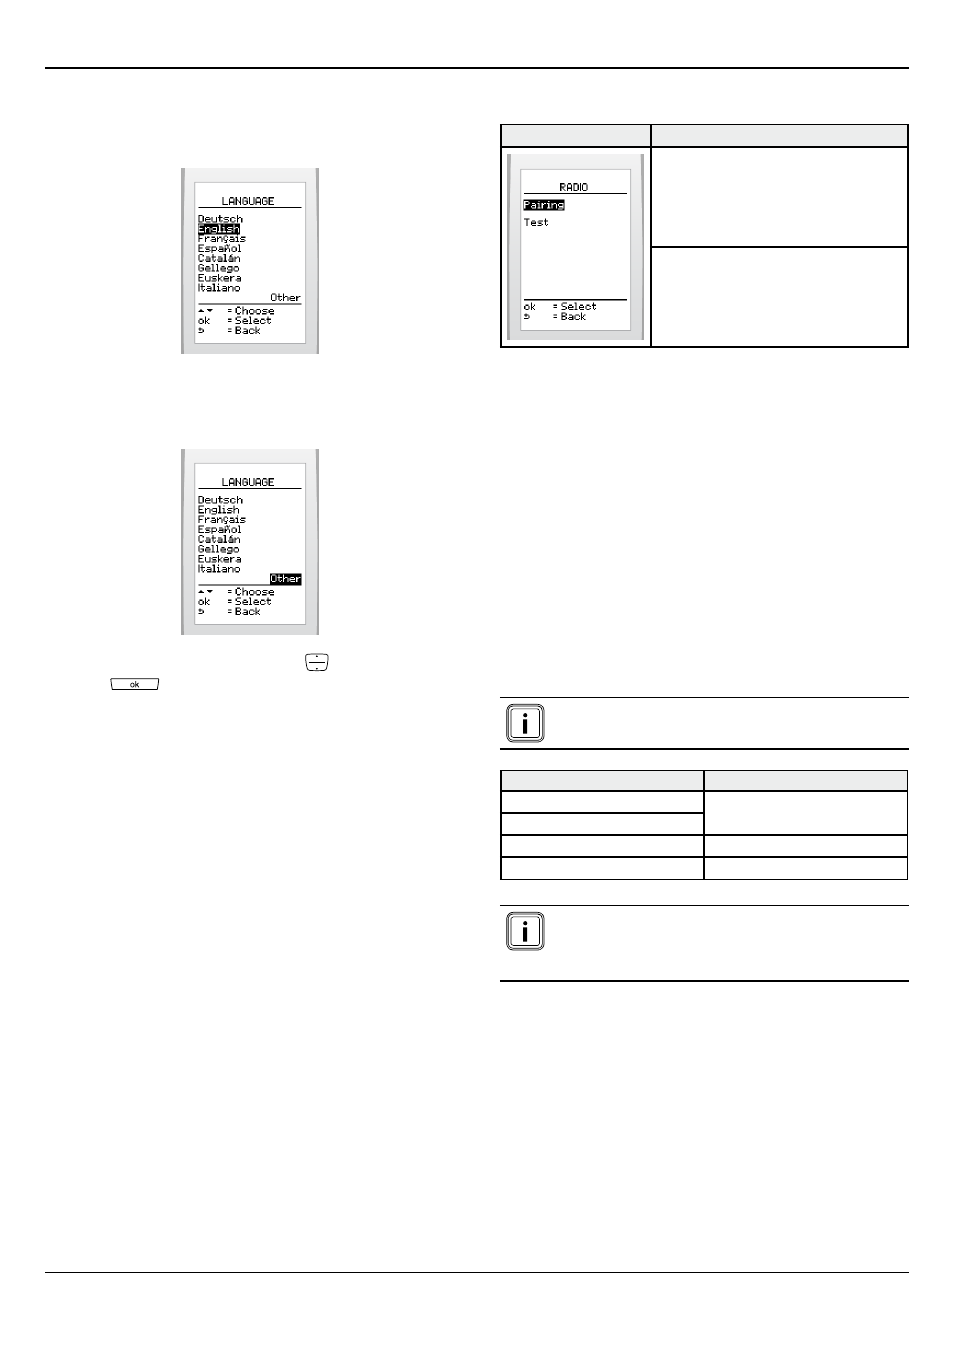
10.7.4
Choose the language for the menus
• From the installer menu (see access to the installer menu) >
select on the screen >
settings > language
To display the additional languages:
• From the installation menu (see access to the installer menu)
> select on the screen >
other
• Choose the language with the button
and press the
button
to confirm.
10.7.5
Climapro
2
Rf General information
This feature allows you to display the following information:
area, software type and version.
• From the installer menu (see access to the installer menu) >
select on the screen >
options > about
10.8 Radio
Menu
This menu lets you:
Establish the connection between the radio
receiver and the Climapro
2
RF.
Test the quality of the radio signal
(Climapro
2
RF and wireless outdoor
sensor).
10.8.1
Recognition
This function lets you perform the pairing between the
Climapro
2
RF and the radio receiver.
• From the installer menu (see access to the installer menu) >
select on the screen >
Rf > pairing
• Consult the control unit installation manual.
10.8.2
Test
This function allows you to test the signal quality between the
Climapro
2
RF and the control unit.
If the heating system includes a wireless outdoor sensor, the
Climapro
2
RF will also indicate the quality of the signal between
the sensor and the control unit.
Wait about fifteen minutes after activating the
thermostat and remote sensor before testing.
Signal Quality
Comment
Excellent
Normal functioning
Average
Poor
Operating limit*
Null
Inoperative*
(*) Check the room thermostat’s batteries (see the
instructions). If the signal quality does not improve.
Change the location of the appliances, reducing
distances and removing obstacles.
• From the professional menu (see access to the professional
menu) > select on the screen >
Rf > test