Seagull dashboard receiver instructions – Eagle Tree Seagull Expander User Manual
Page 3
Copyright © 2003 Eagle Tree Systems, LLC
Page 3
Seagull Dashboard Receiver Instructions
The Seagull Dashboard Receiver (the Dashboard) operates from a standard 9V battery. The battery installs in the back snap-off
compartment of the Dashboard. Approximately 12-14 hours continuous use is typical with an alkaline battery. Rechargeable 9V
batteries will work, but the run time will be significantly reduced.
Note: If the Dashboard will be unused for long periods, it is a good idea to remove the battery
Note: When removing the battery clip, use your thumb to pop the clip off from the side without the wires. Pushing on the wire side
can break the battery clip or the wires.
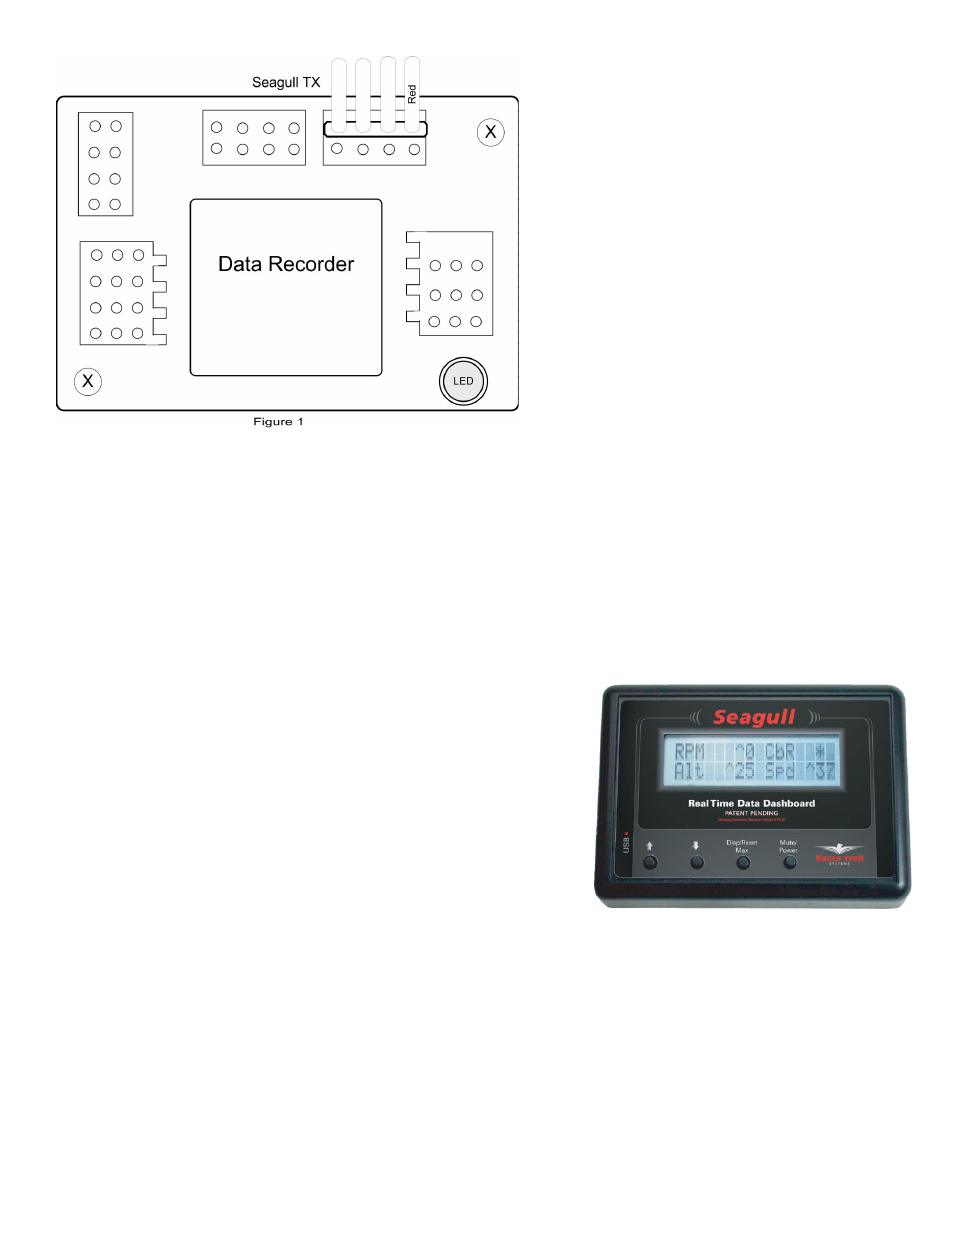
Refer to Figure 3, which illustrates the front of the Dashboard:
Figure 3
Pushbutton 3 (Disp/Reset Max): pressing this pushbutton briefly causes the Dashboard to toggle between Max and Live modes. In
Max Mode, the parameters displayed have a carat (^) next to them to indicate they are the max parameters recorded. Note that some
parameters are not captured in Max Mode – these are displayed with “***”. Figure 6 shows which parameters have the Max feature.
In Live Mode, the data displayed are the live values received from the Transmitter.
Holding down this pushbutton for approximately two seconds zeros the Max parameters.
Pushbutton 4 (Mute/Power): When the unit is in operation, pressing this button mutes or unmutes the audio portion of the
Dashboard, as well as turning off power. What happens when the mute button is pressed briefly depends on the state of the audio
system:
•
If the audio is unmuted, and no alarm beeps are in progress, pushing the button causes the Dashboard to go into “Mute All”
state. No beeps will be heard in this state.
USB Connection: The USB cable supplied with your Recorder connects to the
Dashboard at this port. Note that the RED wire of the USB cable goes up, as
shown by the red dot above “USB” on the Dashboard label.
LCD Display: The 16 x 2 LCD character display is easily programmed to
display up to four model parameters per screen page.
Pushbutton 1 (up arrow): The leftmost pushbutton advances to the next LCD
screen page.
Pushbutton 2 (down arrow): This pushbutton returns to the previous LCD
screen page
.