Dillon Precision RL 550B User Manual
Page 7
• LEAD WARNING: Be sure to have proper ventilation while
handling lead components or when shooting lead bullets.
Lead is known to cause birth defects, other reproductive harm
and cancer. Wash your hands thoroughly after handling
anything made of lead.
• LOADS AND LENGTHS: Avoid maximum loads and
pressures at all times. Use only recommended loads from
manuals and information supplied by reliable component
manufacturers and suppliers. Since Dillon Precision has no
control over the components which may be used on their
equipment, no responsibility is implied or assumed for results
obtained through the use of any such components.
Seat bullets as close to maximum cartridge length as
possible. Under some conditions, seating bullets excessively
deep can raise pressures to unsafe levels. Refer to a reliable
loading manual for overall length (OAL).
• QUALITY CHECKS: Every 50-100 rounds, perform periodic
quality control checks on the ammunition being produced.
Check the amount of powder being dropped and primer
supply.
• RELOADING AREA: Keep your components safely stored.
Clear your work area of loose powder, primers and other
flammables before loading.
• COMPONENTS: Never have more than one type of powder
in your reloading area at a time. The risk of a mix-up is too
great. Keep powder containers closed.
Be sure to inspect brass prior to reloading for flaws, cracks,
splits or defects. Throw these cases away.
Keep components and ammunition out of reach of
children.
• BLACK POWDER: Do not use black powder or black
powder substitutes in any Dillon powder measure. Loading
black powder cartridges requires specialized loading
equipment and techniques. Failure to do so can result in
severe injury or death.
• PRIMERS: Never force primers. If they get stuck in the
operation of the machine, disassemble it and gently remove
the obstruction.
Never attempt to clear primers that are stuck in either the
primer pickup tube or the primer magazine tube. Never,
under any circumstances, insert any type of rod to attempt to
force stuck primers out of these tubes. Trying to force primers
out of the tube will cause the primers to explode causing
serious injury or even death.
If primers get stuck in a primer magazine or pickup tube
flood the tube with a penetrating oil (WD-40), throw the tube
in the garbage and call us for a free replacement.
Never attempt to deprime live primers – eventually one
will go off. When it does it will detonate the others in the
spent primer cup. Depriming live primers is the single most
dangerous thing you can do in reloading and can cause grave
injury or death.
• LOADED AMMUNITION: Properly label all of your loaded
ammunition (Date, Type of Bullet, Primer, Powder, Powder
Charge, etc.).
• BE PATIENT: Our loading equipment is conservatively
rated and you should have no trouble achieving the published
rates with a smooth, steady hand. If something doesn’t seem
right, stop, look and listen. If the problem or the solution isn’t
obvious, call us. The reloading bench is no place to get into a
hurry.
We have done everything we know how to make your
machine as safe as possible. We cannot, however, guarantee
your complete safety. To minimize your risk, use common
sense when reloading and follow these basic rules.
• REMEMBER: If your machine does not perform to your
expectations, or if you are having technical difficulties, give
us a call.
TO BEGIN LOADING
Now that everything is bolted down and you understand
the safety precautions, you can proceed.
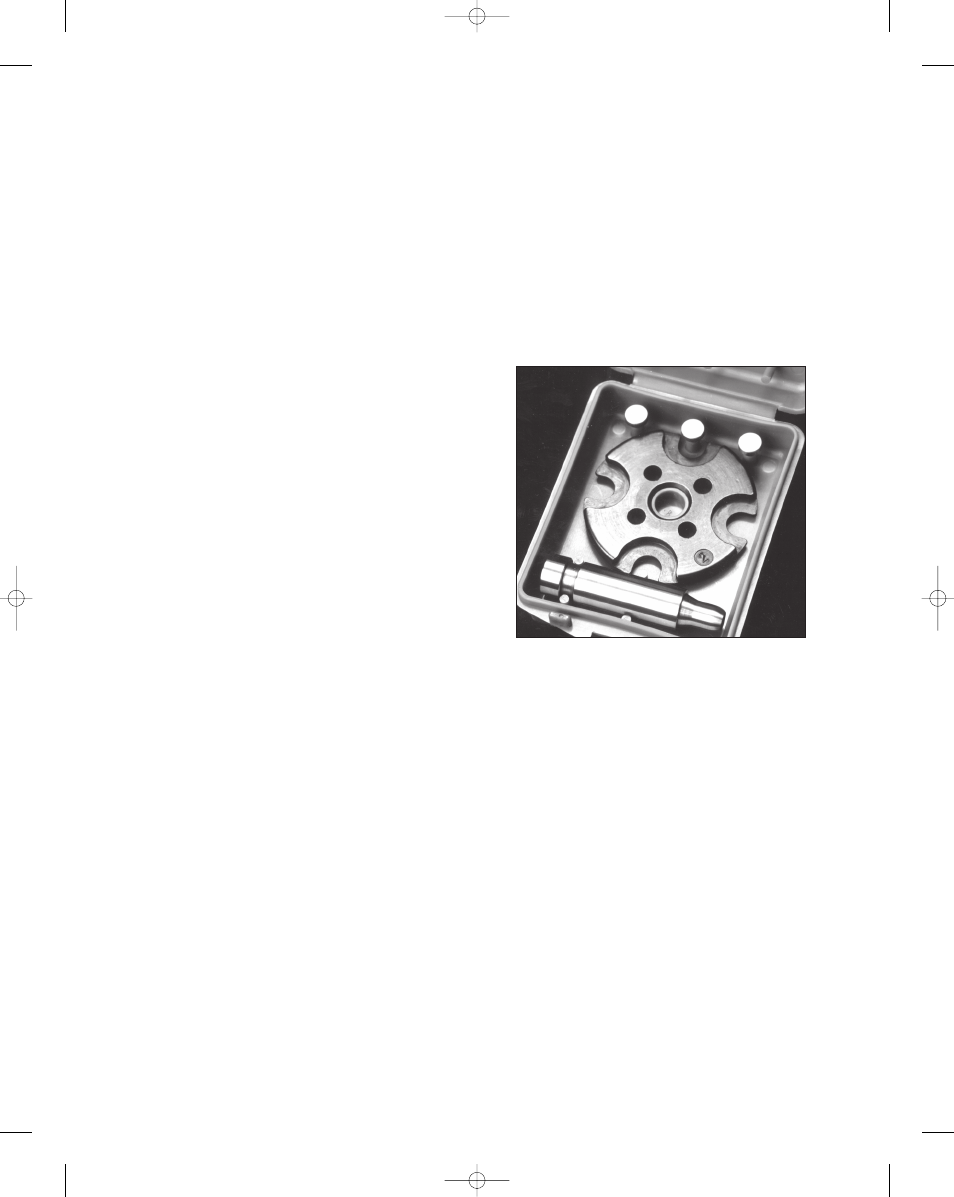
First, decide what caliber you want to reload and take the
shellplate (*#20079) from the caliber conversion box, Fig. 4.
Now, in your parts box, find a bag containing; index ball
(#13891), shellplate bolt (#13794), index ball spring
(#13997), set screw (#13923), and index sprocket (#13720).
Insert the index ball spring (#13781) in the platform as
shown in Fig. 5. Next set the index ball on top of the index
ball spring. Now place the shellplate (number up) over the
index ball spring and index ball, Fig. 6.
Place the index sprocket on top of the shellplate (making
sure the locator posts go into the corresponding holes in the
shellplate, see Fig. 7).
Next, insert the shellplate bolt through the sprocket and
plate and into the center hole of the platform, Fig. 8. Tighten
with the supplied Allen wrench to the point where you are
unable to turn the sprocket by hand. Now, back off the bolt
slightly, allowing you to push the sprocket easily with your
thumb, Fig. 9. There should be no looseness or slop at this
point and when you rotate the plate, you should be able to
feel and hear the index ball “click” into place under the
shellplate.
* Indicates a caliber specific part. See the caliber conversion
chart on page 16 for the caliber you are loading for.
Fig. 4 - This photo shows a complete caliber conversion; the
powder funnel, shellplate and locator buttons.
7
RL 550B, May 2007 5/17/07 2:21 PM Page 7