Setting up clientcube 2 with kvm switch, Set up clientcube 2 and kvm, Before you begin – ClearCube ClientCube 2 with KM User Manual
Page 6
Page 6 of 14
P/N G0200161 Rev F, 1.5.01.19.2015
ClearCube Technology, Inc. 3700 W Parmer Lane Austin, TX 78727 (512) 652-3500 www.clearcube.com
Before You Begin,
Continued
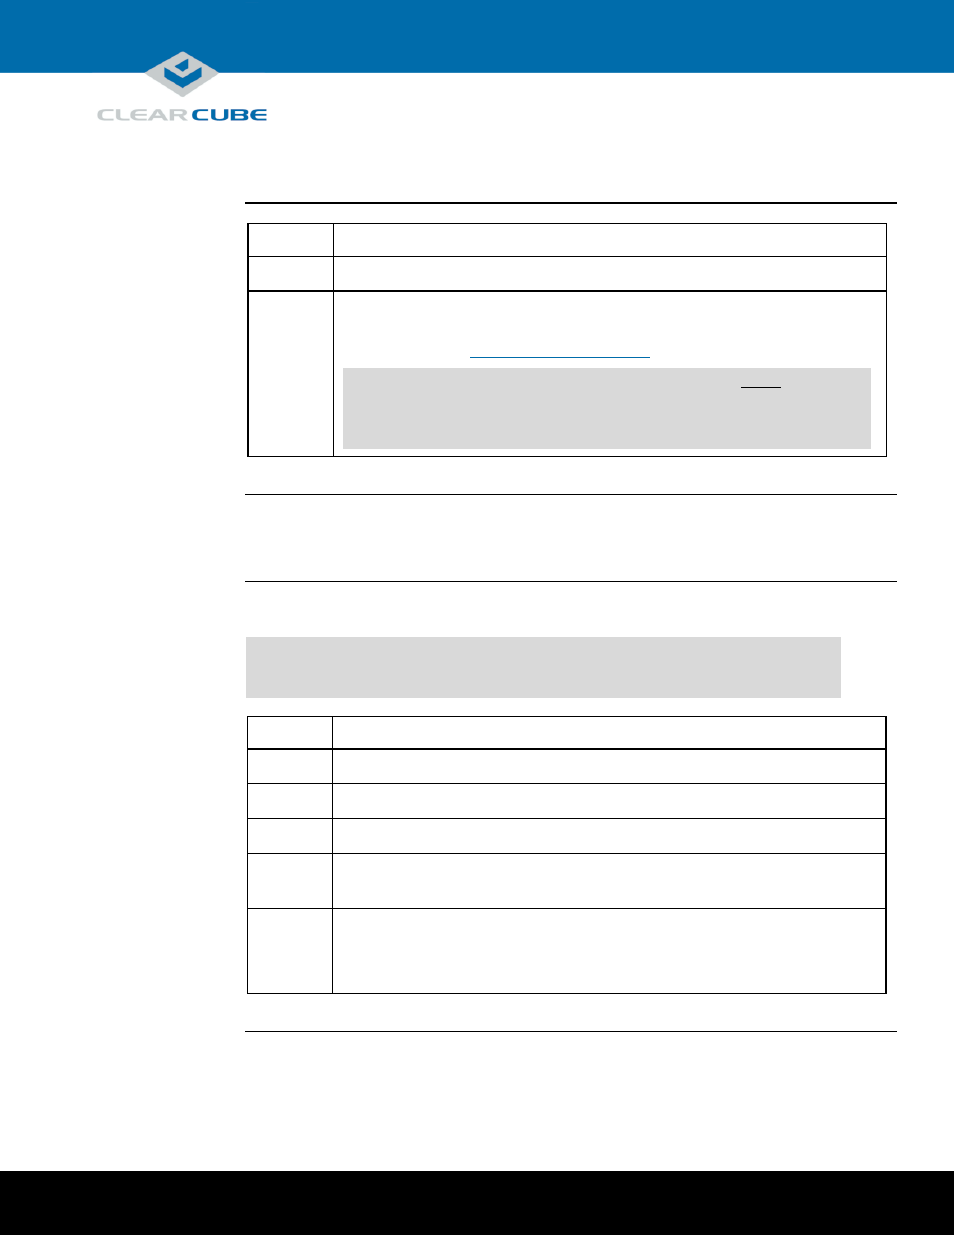
Before setup
(continued)
Step
Action
4
Optionally, install a CAC driver on any computing devices requiring CAC support.
5
If the ClientCube 2 includes a KM switch and you are connecting to computers with
multi-head displays, install the Belkin Advanced Secure KM Switch Mouse Filter
driver software (see
www.clearcube.com/support
).
CAUTION
Be sure to remove this driver from computers before using the
computer without the Secure KM. Failure to remove the driver
results in loss of mouse functionality when connected directly to
a computer.
Setting up ClientCube 2 with KVM Switch
Set up
ClientCube 2
and KVM
The table below shows how to set up ClientCube 2 with a KVM switch.
NOTE
:
Follow the steps in the order listed below—be sure to connect all video cables
before connecting power to ClientCube 2 (note that connecting power
automatically powers on ClientCube 2).
Step
Action
1
Connect Ethernet cables to ClientCube 2 zero clients.
2
Connect one or more displays to the Secure KVM Console Monitor Port(s).
3
Connect a keyboard and mouse to the Console portion of the Secure KVM.
4
Optionally, connect speakers and a CAC reader to the Console portion of the Secure
KVM.
5
Connect the ClientCube 2 power cable to a power outlet, and then connect the power
adapter to ClientCube 2.
Result: Secure KVM and zero clients power on.
Continued on next page