Ambir ImageScan Pro 820i User Manual
Page 14
14
Security window then click Finish in the wizard window.
Please skip to step 8.
4. For Windows Vista:
a. Select ―Locate and install driver software (recommended)‖ when
the ―Found New Hardware‖ window is displayed.
b. Click the Continue button when the ―User Account Control‖ dialog
pops up.
c. Insert the Setup/Application CD-ROM, included with your scanner,
into your CD-ROM drive when the system prompts you ―Insert the
disc that came with your USB Scanner―, and click on the [Next]
button. Please skip to step 7.
5. For Windows XP:
a. Insert the Setup/Application CD-ROM, included with your scanner,
into your CD-ROM drive.
b. Select Install the software automatically (recommended) and click
the Next button.
c. Click the Next button in the window that appears.
6. During the installation process the message ―Windows can’t verify the
publisher of this driver software‖ might appear. Click Install this driver
software anyway to continue the installation.
7. When the system completes the installation, click the Finish button.
8. Follow the on-screen instructions to install all the software your new
scanner requires.
9. After you install the software, close all open applications and click the
Finish button to restart your computer.
10. After the computer restarts, you will be
prompted to calibrate the scanner.
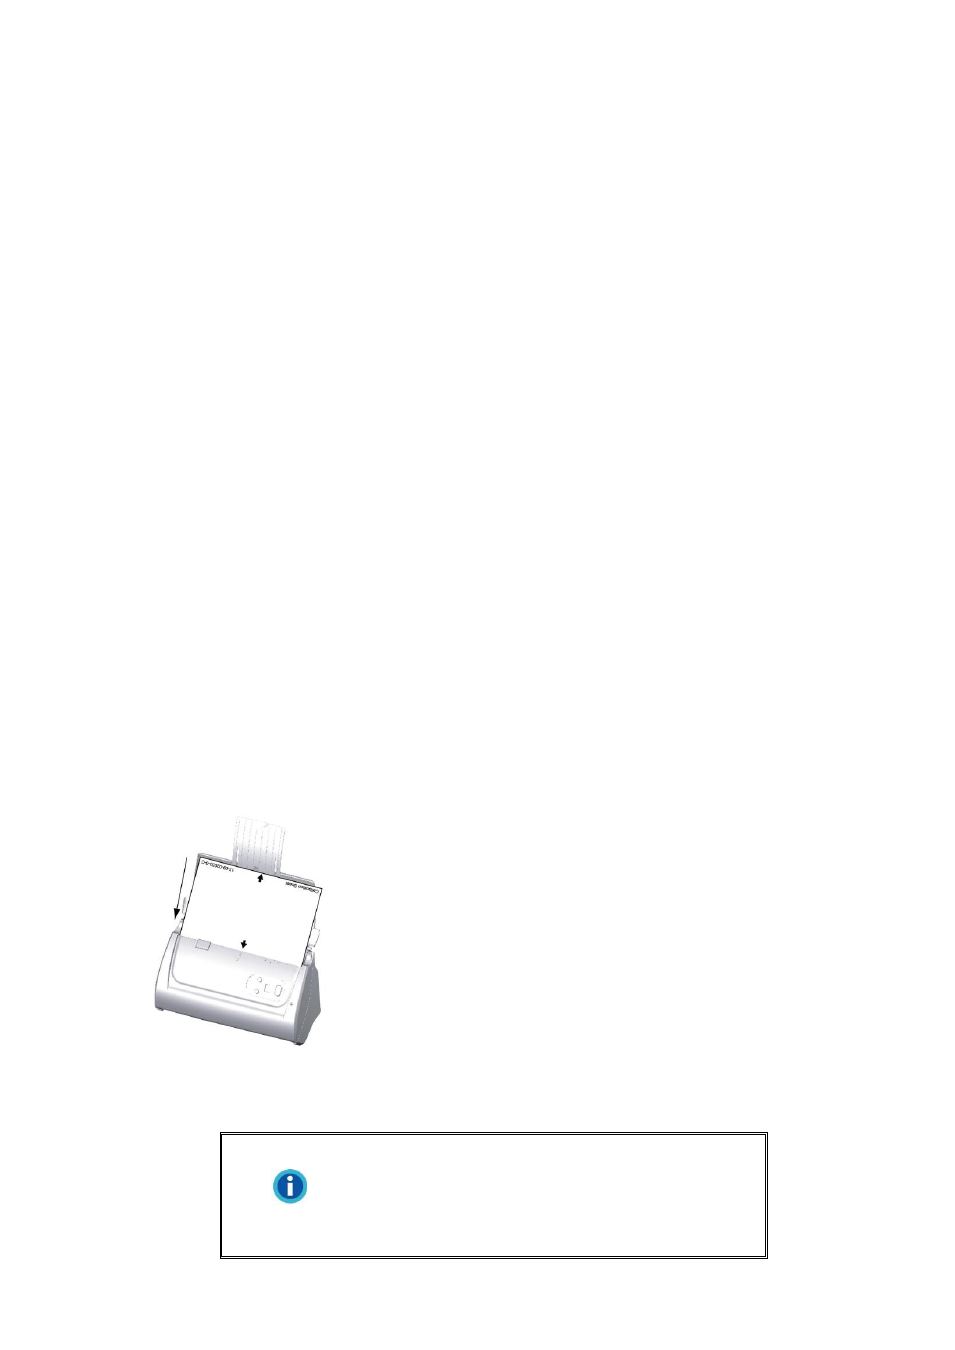
11. Insert the special calibration sheet into the
scanner’s document feeder, with arrows toward
the scanner buttons.
12. Follow the on-screen instructions to complete
the scanner calibration. After calibration is
complete, click OK and then click Finish.
Information
If scanner installation doesn’t start
automatically, click Start, select Run and
type in D:\Install (where D: is the drive letter
assigned to your computer’s CD-ROM drive).