3 installing pxi-8565 to a pxi™ chassis, Installing pxi-8565 to a pxi™ chassis – ADLINK PXI-8565 User Manual
Page 24
10
Getting
Started
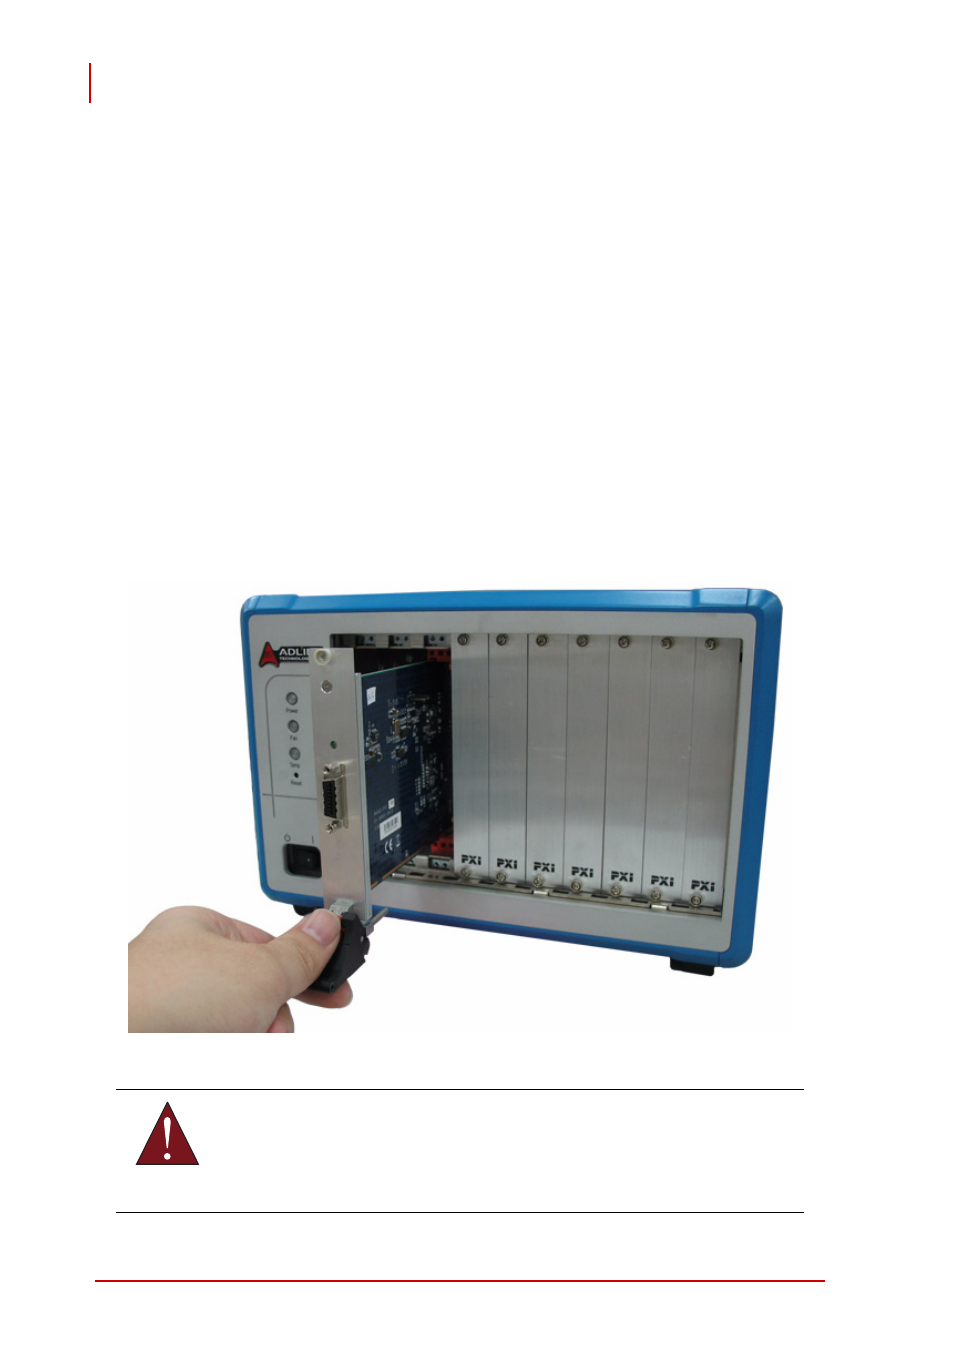
2.3 Installing PXI-8565 to a PXI™ Chassis
1. Locate your PXI™ chassis (for illustration purposes, we
use the ADLINK PXIS-2508) and plug-in the AC power
cord but DO NOT power-on the equipment.
2. Remove the cover panel of the PXI™ chassis system
slot.
3. Locate your PXI-8565 and remove it from its packaging.
(Please wear anti-static gloves and use an anti-static
surface when handling the card).
4. Install the PXI-8565 into the PXI™ system slot and
tighten the bracket-retaining screws on the top and bot-
tom of the panel to fasten the PXI-8565 to the chassis.
Figure 2-2: PXI-8565 to PXI™ Chassis Installation Diagram
WARNING:
The PXI-8565 must be installed into the PXI™ system
slot. Installing the PXI-8565 into a peripheral slot is for-
bidden.