SINGER W1955 User Manual
Page 20
Attention! The text in this document has been recognized automatically. To view the original document, you can use the "Original mode".
Page 10
Srív'tion
3
English
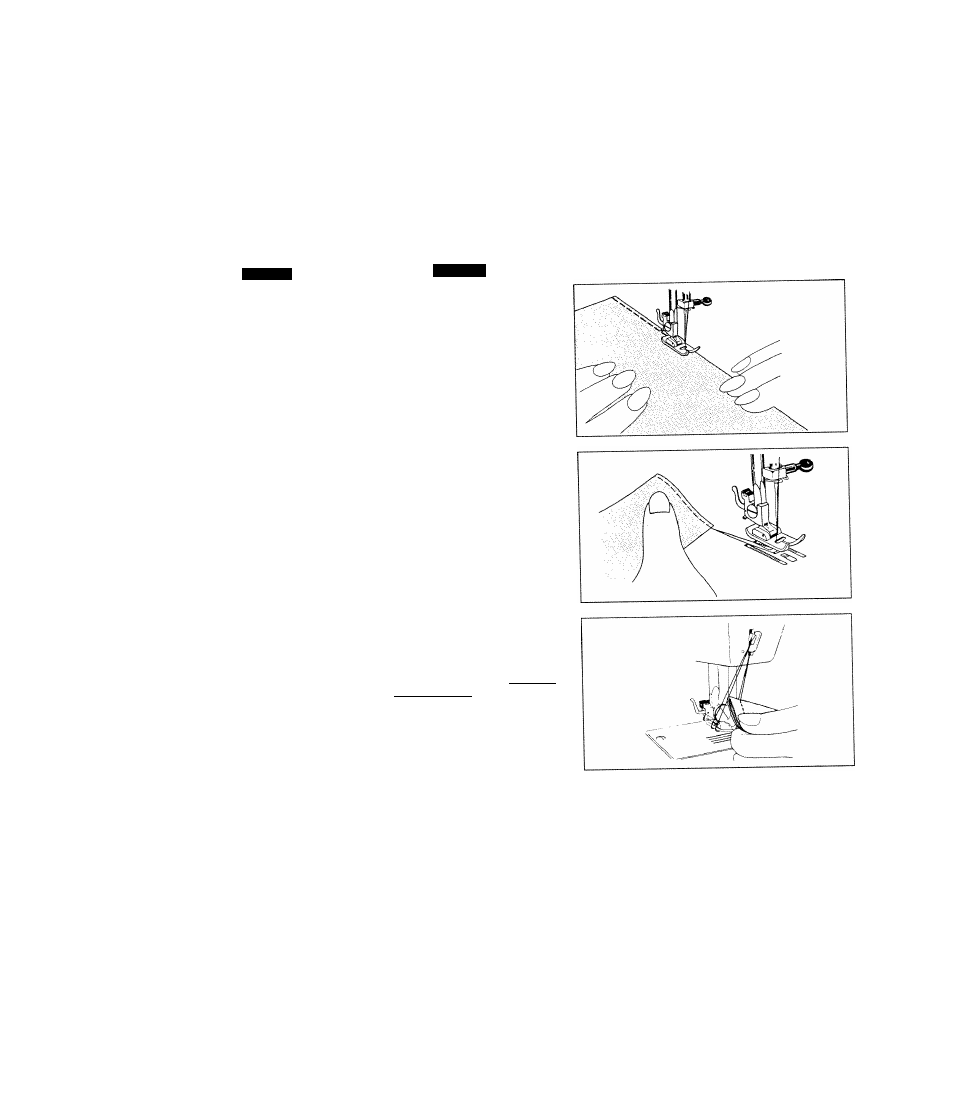
5. Take-up lever in its high
est position.
‘Fabric should be placed
under the presser foot with
the bulk of the material to
the left of the needle and the
right edge of the material
placed on the appropriate
seam allowance.
Español
5. Colocar la palanca en la
posición más alta.
* La tela debe quedar coloca
da debajo del pie prénsatela
con la mayor parte sobre la
izquierda de la aguja. Y
colocar el borde del lado
derecho de al tela con el
apropiado espacio para la
costura.
6. Lower press foot lifter.
7. Press foot controller lightly
and commence forward
sewing guiding the fabric
by hand as it is fed. Never
push or pull the material.
* The more you press the foot
controller, the faster the
machine runs.
8. Draw out fabric to left
when sewing is finished.
6. Bajar el elevador del pie
prénsatela.
7. Presionar el pedal ligera
mente y comenzar a coser
guiando la tela con la
mano mientras avanza
ésta. Nunca se debe
tironear o empujar la tela.
* A mayor presión del pedal,
mayo será la velocida con
que la máquina coserá.
' Always finish sewing each
seam with the needle at its
* Leave at least 15 cm (6”) of
thread behind the needle so
that it will not be drawn out
of the eye of the needle
when starting the next
sewing. ■
9,
Cut
threads with thread
cutter.
8. Jalar la tela hacia el lado
izquierdo cuando se haya
terminado de coser.
* Siempre terminar cada cos
tura con la aguja en su posi
ción más alta.
* Dejar aproximadamente 15
cm del hilo extra hacia atrás
para que no se desprenda
el hilo de la aguja.
9. Cortar los hilos con la
cuchilla.