SINGER W1415 User Manual
Page 26
Attention! The text in this document has been recognized automatically. To view the original document, you can use the "Original mode".
4. Lower the needle carefully into the mark on the fabric indicating the start of the buttonhole.
■
........L n w p r t h f nres.ser foot
and
Start sewing the left row of the buttonhole until it reacha the end of the marking m..........
Stop
the machine with needle on fabric at point
A.............................................................................................................
5.
Lift
the presser foot and using the needle as a pivot,
turn
the fabric end for end to bring the buttonhole
to po.sition (D.
6 . R a i s e n e e d l e f r o m f a b r i c a n d
set the stitch length knob to ‘■‘0”.
7.
Set Che zigzag width control knob at “5’’and sew three to four stitches to make bar-tack
(D,
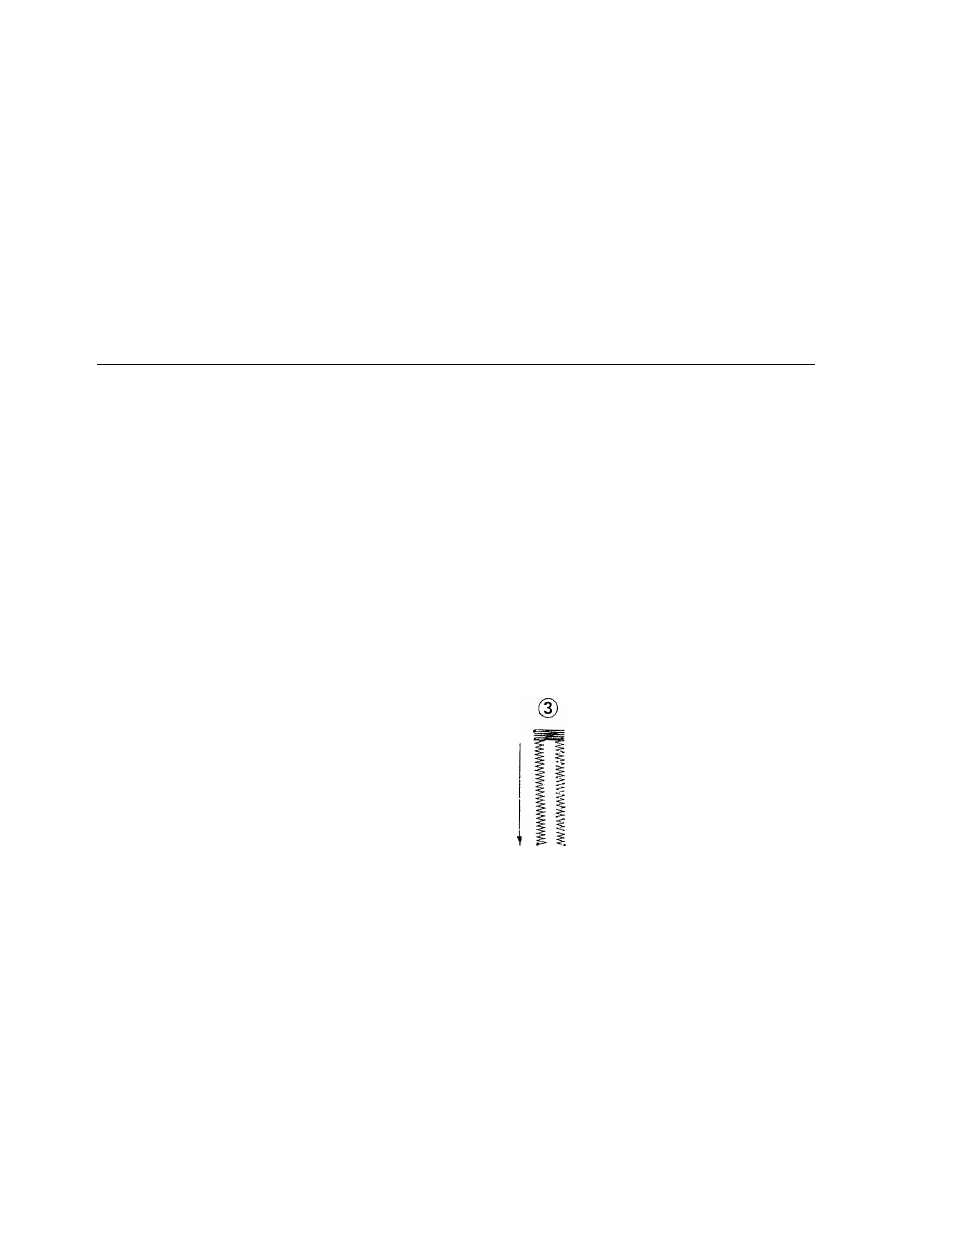
8. Now to sew the other row of the buttonhole, return the zigzag width control knob between ”1” and “2”(io its
original setting) and commence to sew until your stitching reaches the position shown in figure (j).
9. Raise needle from fabric, also set the stitch length knob to “0”, the zigzag width control knob at “5”,
10. To make the final bar-tack ©,
11. Return zigzag width to “0” and take two or three stitches to fasten bar threads and prevent ravelling.
12. Remove fabric from the machine and open the buttonhole with a buttonhole cutter or seam cutter.
0
A
*
- 2 3 -