Psw option 1.1, Scanning - auto color reduce – SINGER S10 User Manual
Page 10
Attention! The text in this document has been recognized automatically. To view the original document, you can use the "Original mode".
PSW Option 1.1
Scanning - Auto Color Reduce
Currently due to the amazing number of colors that are scanned into an
image file (either black and white or color) the auto trace function may not
be able to read all the colors and cannot automatically fill with stitches.
With Auto Color Reduce the color blocks are changed to one color so Auto
Trace will work more effectively. Although this is not specifically a photo
program and is not guaranteed to work with all photos, it does make
scanning some photos and auto tracing possible.
1.
Place an image in the scanner and click on scan.
2.
Close the scanner dialog box.
3.
Go to Files: INvain Scanner.
Trenttrrnrv] daio
Ttan^fnfrino dntn
1^««« Caac«l 1o slop.
4.
Scan the image. .\ dialog box will
appear stating Transferring Data,
5.
Then another dialog box will appear
stating Load Image Directly.
6.
Click yes.
Conc«t
o
Lo«K> nioc»
No
7.
'Ihe scanned image will appear on the screen.
8.
it’s a good idea to save the image before
continuing. Click on Files: Save As.
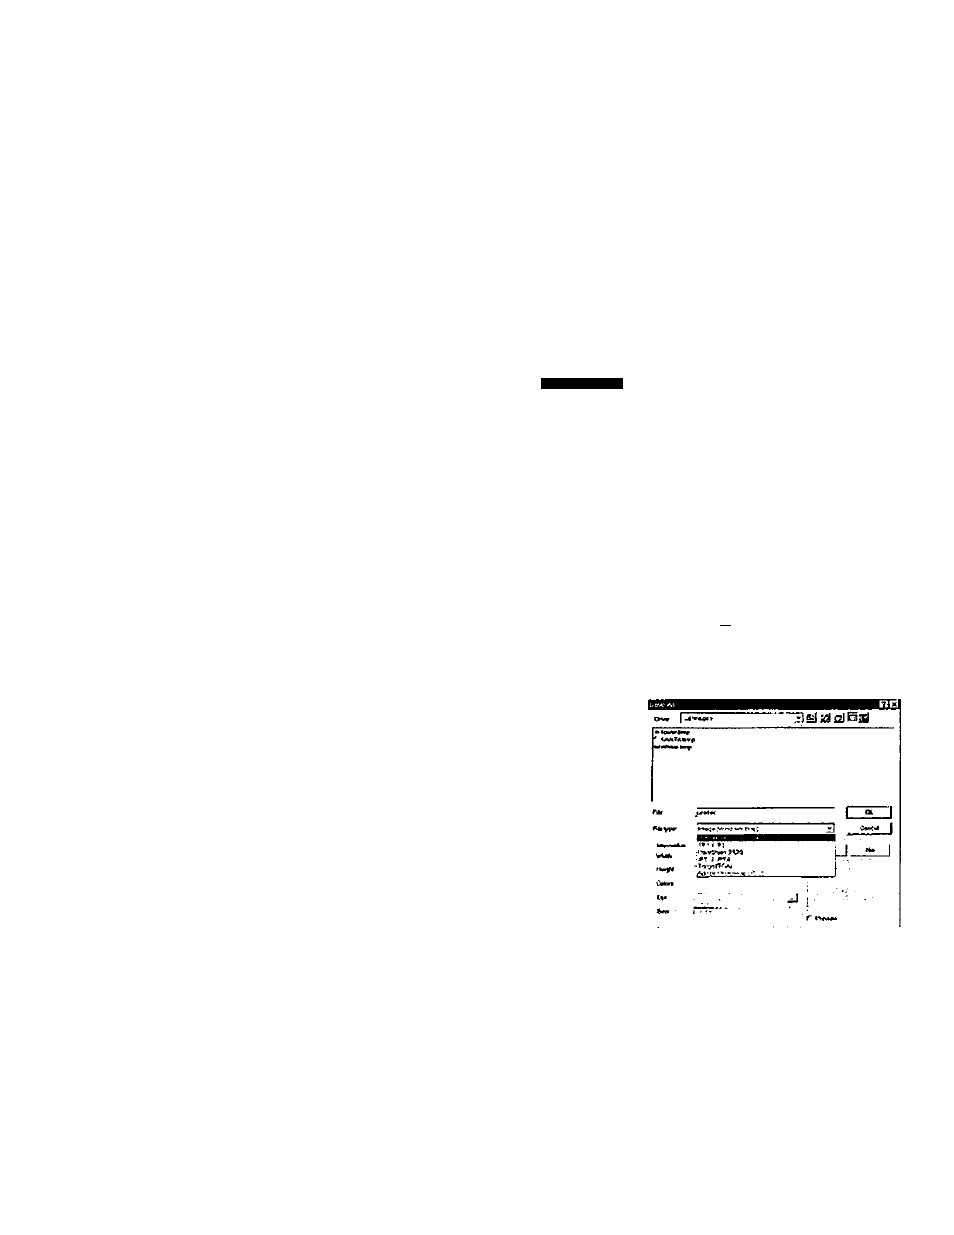
9.
Tlie file may be saved in any of the formats listed
under File Type.
10. Once the imago has been saved, click on
Utilities: Color Reduction.
11. Notice the colors in the image become more solid.
12. The image should now autotrace more easily.
13. To restore the image back to the original colors click on
Utilities: Undo Color Reduction. All colors will be restored.
Note:
The same technique can be applied to images, such as clipart and
downloaded images from the Internet.