VACUUBRAND RC 5 User Manual
Page 21
Documents are only to be used and distributed completely and unchanged. It is strictly the users´ responsibility to check carefully
the validity of this document with respect to his product. Manual-no.: 99 78 31 / 20/12/2006
page 21 of 28
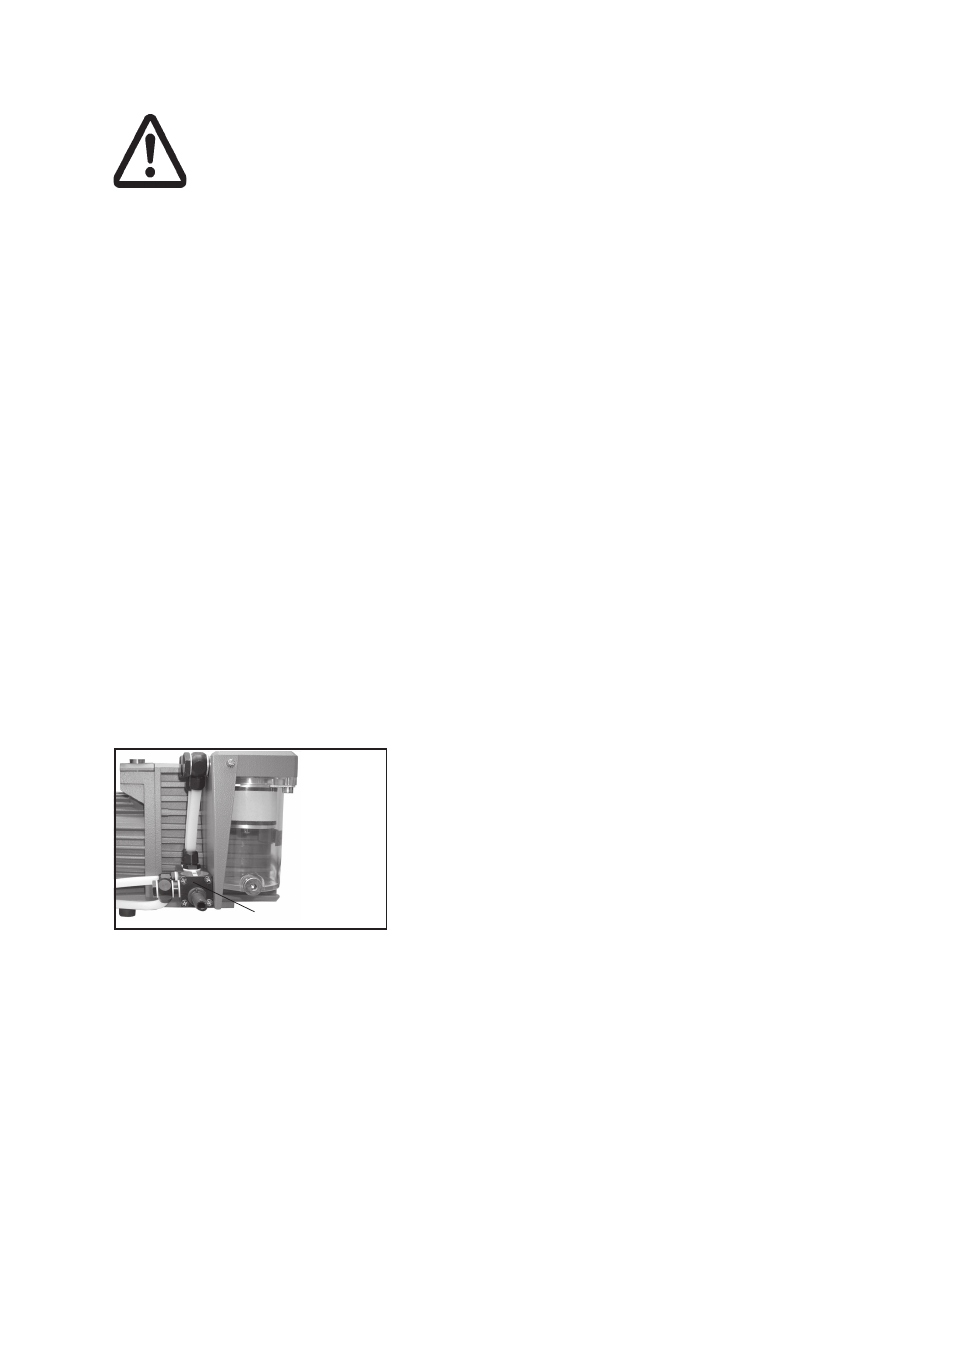
Replacing the filter element in the oil mist filter
➨ Using hex key, remove drain plug (note O-ring fitted on drain plug). Drain conden-
sate from catch pot.
➨ Position pump sideways so that it rests on the side with the mains switch, remove
four socket head securing screws (using w/f 5 hex key) and remove filter catch pot.
➨ Using hex key (w/f 5), remove socket head screw in centre of bottom filter thrust
ring. Remove filter element, filter thrust ring and top seal ring and O-ring.
☞ Clean or replace filter element. Dispose of oil and filter element in accordance with
regulations.
➨ Assembly is the reverse of the disassembly procedure. Make sure that O-ring and
sealing ring are correctly seated.
Inspecting the safety pop valve
➨ Remove four countersunk screws and lift off distributor block.
☞ Note position of valve before removing. Replace valve if
damaged.
➨ Installation of the distributor block is the reverse of the re-
moval procedure
Filter element FO DN 10 ............................................................................................................ 64 01 87
Safety pop valve ........................................................................................................................ 63 88 21
distributor block
If the pump does not achieve the ultimate pressure:
☞ In case the diaphragms and valves have been replaced, a run-in period of several
hours is required before the pump achieves its ultimate vacuum.
If all pump heads achieve a vacuum below 85 mbar but pump does not achieve the
ultimate total pressure:
Check hose connectors between pump heads and manifolds for leaks. If necessary
recheck pump chamber.