Installation – StarTech.com PCI1S650PW User Manual
Page 5
Instruction Manual
2
Installation
This section will guide you through the installation of your PCI card and the related
software. Please read through the instructions carefully and complete each step in the
order listed.
Installing the Card
1. Make sure that your system is unplugged and you are grounded.
2. Remove the cover of your system (see your computer’s user manual for details, if
necessary) and gently turn your computer onto its side.
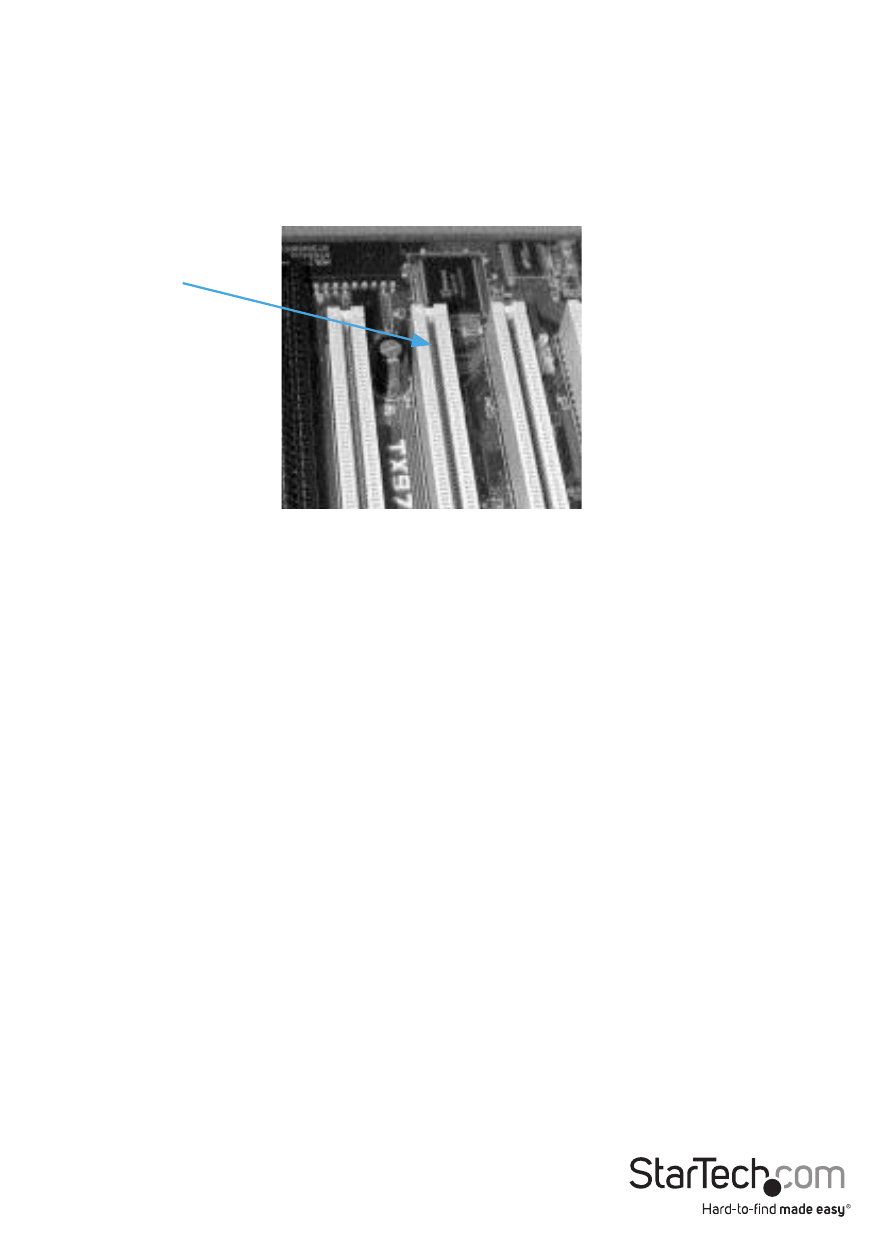
3. (a) Locate an empty PCI or PCI-X slot (usually white in color) and remove the metal
plate that covers the rear bracket. If present, PCI-X slots will be slightly longer than
a standard PCI slot. You may need a Phillips screwdriver to perform this step. Retain
this screw! You will need it to secure the card later.
(b) If you are installing the card in a low-profile slot, remove the standard bracket
by removing the screws on the underside of the card. Place the low-profile bracket
onto the card and align the holes in the card with those in the bracket. Ensure the
orientation of the new bracket matches the one you removed. Re-secure the bracket
with the screws. Do not over-tighten.
4. Gently insert the card into the empty slot, making sure it is firmly seated.
5. Secure the card in place using the screw you removed in Step 3.
6. If you wish to use this card to power compatible external serial peripherals over a
data connection, you should also connect a power cable from your power supply to
the 4-pin SP4 power connector on the outer edge of the card, marked J7. The SP4
power connector is the same type of power connector commonly used to power
3.5” floppy disk drives (see example of the card connector at right).
7. Put your computer case back on.
PCI
Slots