StarTech.com IDE2SAT User Manual
Instruction manual, Packaging contents, System requirements
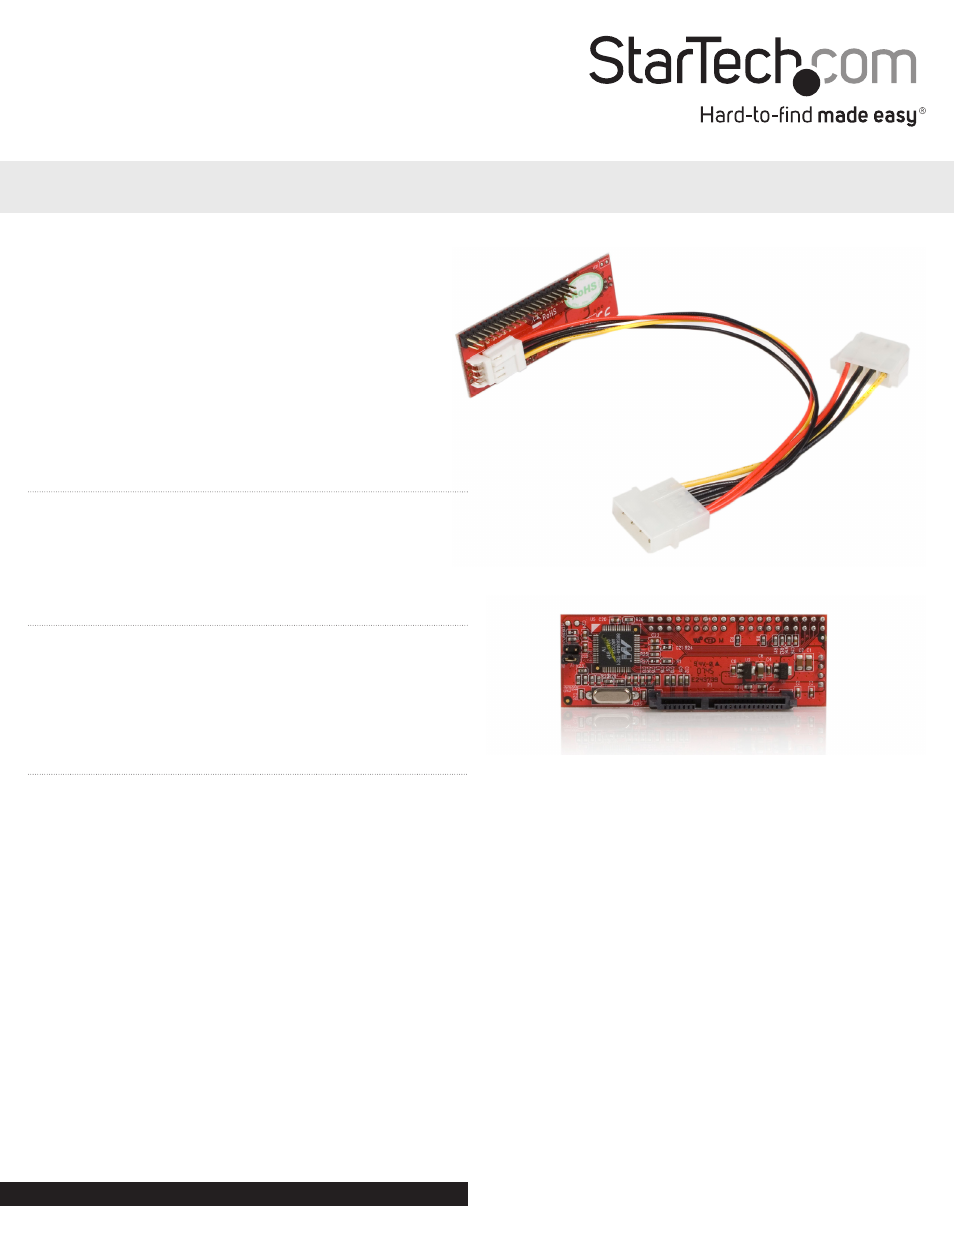
40 Pin Male IDE to 2.5in/3.5in SATA Converter
IDE2SAT
DE: Bedienungsanleitung - de.startech.com
FR: Guide de l’utilisateur - fr.startech.com
ES: Guía del usuario - es.startech.com
IT: Guida per l’uso - it.startech.com
NL: Gebruiksaanwijzing - nl.startech.com
PT: Guia do usuário - pt.startech.com
Packaging Contents
• 1 x IDE to SATA adapter
• 1 x Power Cable (1 x LP4 to 1x LP4 + 1 x SP4)
• 1 x Instruction Manual
System Requirements
• Host computer with an available IDE connection
• A SATA drive (DVD, DVD-RAM, CD-RW etc.)
• A 40-pin IDE drive cable
Installation
Please note: If you wish to use the installed SATA drive as a bootable
device, please ensure it is designated to operate in Master mode.
1. Power down the host computer.
2. Open the computer chassis, and ensure that the drive is fastened
to the chassis as you would any installed hard drive. For further
information, please refer to the documentation that accompanied
the computer or computer chassis at the time of purchase.
3. Using the jumper (marked J3) provided on the circuit board,
select the mode under which the SATA drive that is being
installed will operate (S for Slave, M for Master - turn the circuit
board over for designation markings).
4. Connect the SATA drive to the circuit board using the designated
SATA power and data ports, by inserting the connector provided
by the circuit board into the ports provided by the drive.
5. Connect the lone LP4 power connector to the computer power
supply. Connect the SP4 power connector provided by the power
connector to the power connector on the IDE2SAT power port.
6. Connect the IDE connector on the IDE2SAT circuit board to an
available IDE port on the motherboard, using a 40-pin IDE cable
(not included). Please note the orientation of PIN 1, marked on
the circuit board with a small arrow.
7. Replace the chassis cover, and power on the host computer.
Please make any adjustments as necessary within the system
BIOS. Please refer to the documentation that accompanied the
computer system or mother board purchase, for information on
how to designate the Master and Slave drives, as well as boot
sequence.
*actual product may vary from photos
Instruction Manual
Manual Revision: 01/26/2012
For the most up-to-date information, please visit: www.startech.com