StarTech.com PM1115UA User Manual
Page 8
Instruction Manual
4
Mac OS
1. Connect a Cat 5 (or better) Ethernet cable to the LAN port on the print server, then
to your router / network.
Note: Initial configuration must be done from a wired connection. Once the device
has been connected to an existing access point and set with proper IP settings for
your wireless network, the LAN cable can be disconnected.
2. From your computer that is connected to the same router/network, insert the
provided CD into your DVD/CD-ROM drive.
3. Browse to your DVD/CD-ROM drive, then to the “Mac OS” folder on the disc.
4. Mount the StarTech.com USB Device Server Control Center Installer.dmg file,
and then run the StarTech.com USB Device Server Control Center Installer.pkg
application to start the install.
5. Follow the on-screen instructions to complete the installation.
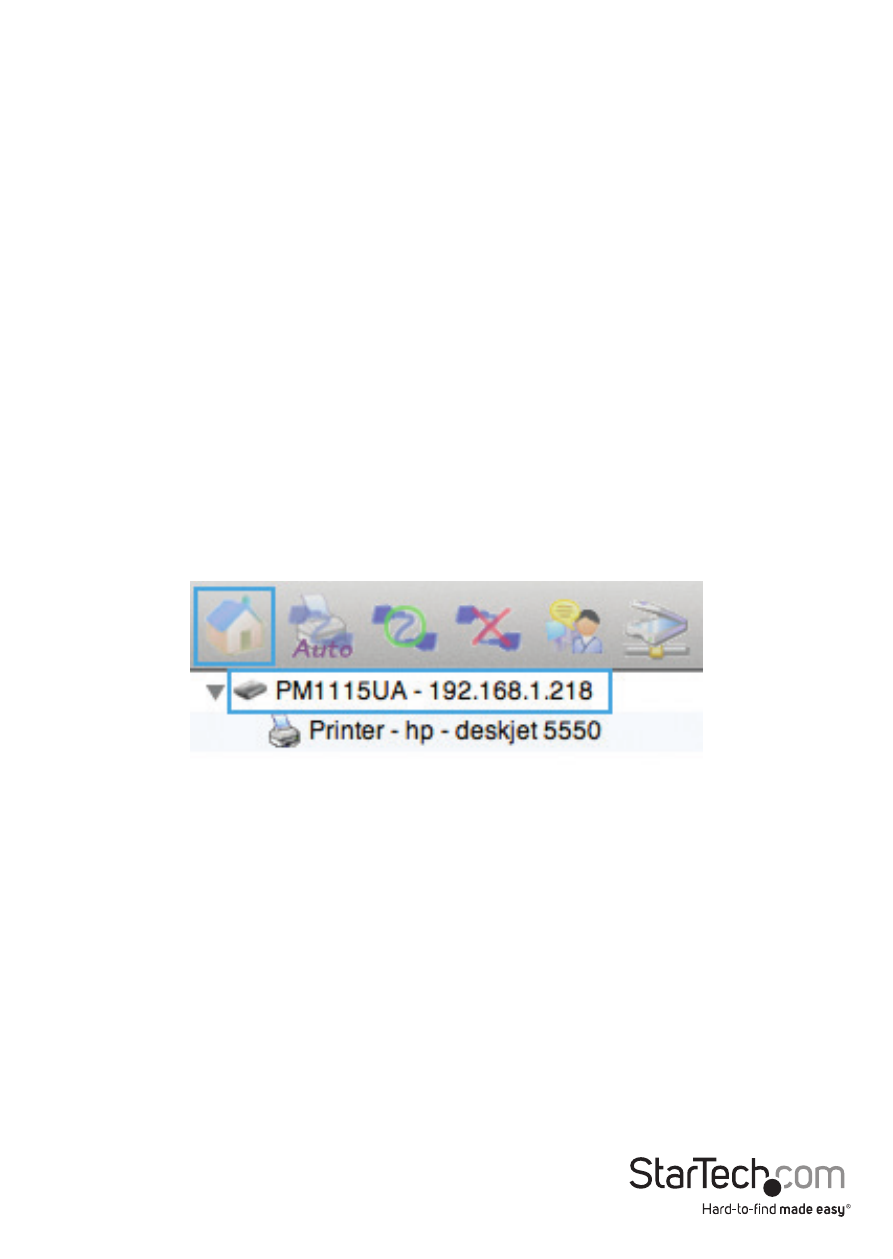
6. Start the USB Device Server Control Center to search for available print servers on
the network.
7. Select your print server from the list and click the Home button to configure the
server.
8. Login with your username / password (Default: admin / admin).
9. Configure your desired IP address (Static / DHCP), user account name / password
and security settings.
Note: To prevent unauthorized access / changes to the print server, it is
recommended to change the default username / password for logging into the
device, and to enable encryption on the wireless connection.