Docking station installation, Drive installation – StarTech.com SDOCKU33EBV User Manual
Page 6
Instruction Manual
3
Docking Station Installation
1. Connect the Dock to an available power outlet, using the provided power adapter.
2. Connect the Dock to your computer system, using the provided USB or eSATA cable.
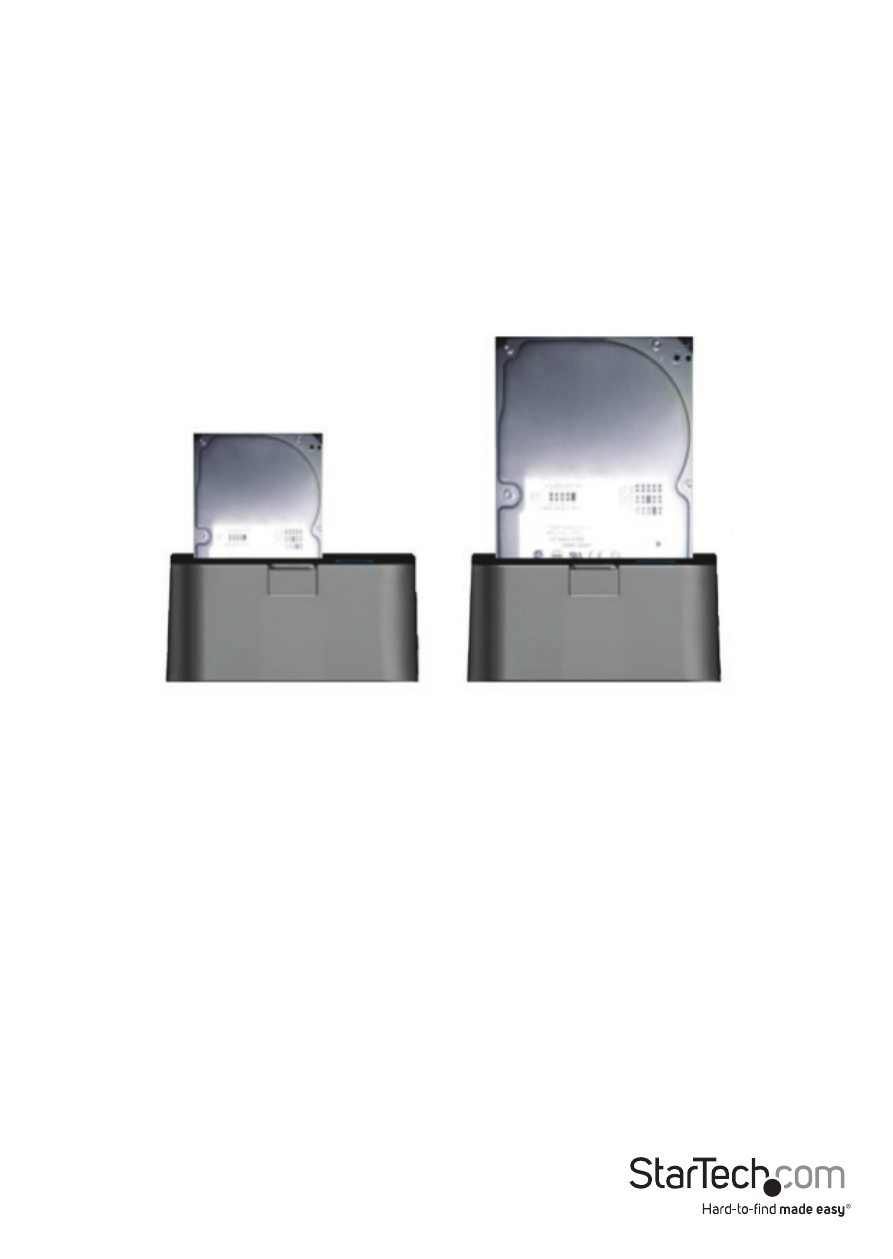
Drive Installation
1. Carefully align and insert the 2.5” or 3.5” SATA drive you wish to dock in the HDD/
SSD slot on the docking station, such that the SATA power and data connectors on
the drive are properly aligned with the corresponding connectors inside the hard
drive slot.
2. Press the power switch to the “on” position.
3. Once the drives have been installed and the docking station has been powered on,
the computer Operating System will automatically recognize the drive and it will be
accessible as though it were installed in the system internally.
Note: If your computer fails to automatically recognize your drive it is likely your
drive has not been initialized or formatted correctly. (See Drive Initialization below for
further instructions.)