Installation, Installing hard drive in the caddy – StarTech.com DRW110SATBK User Manual
Page 5
Instruction Manual
2
Installation
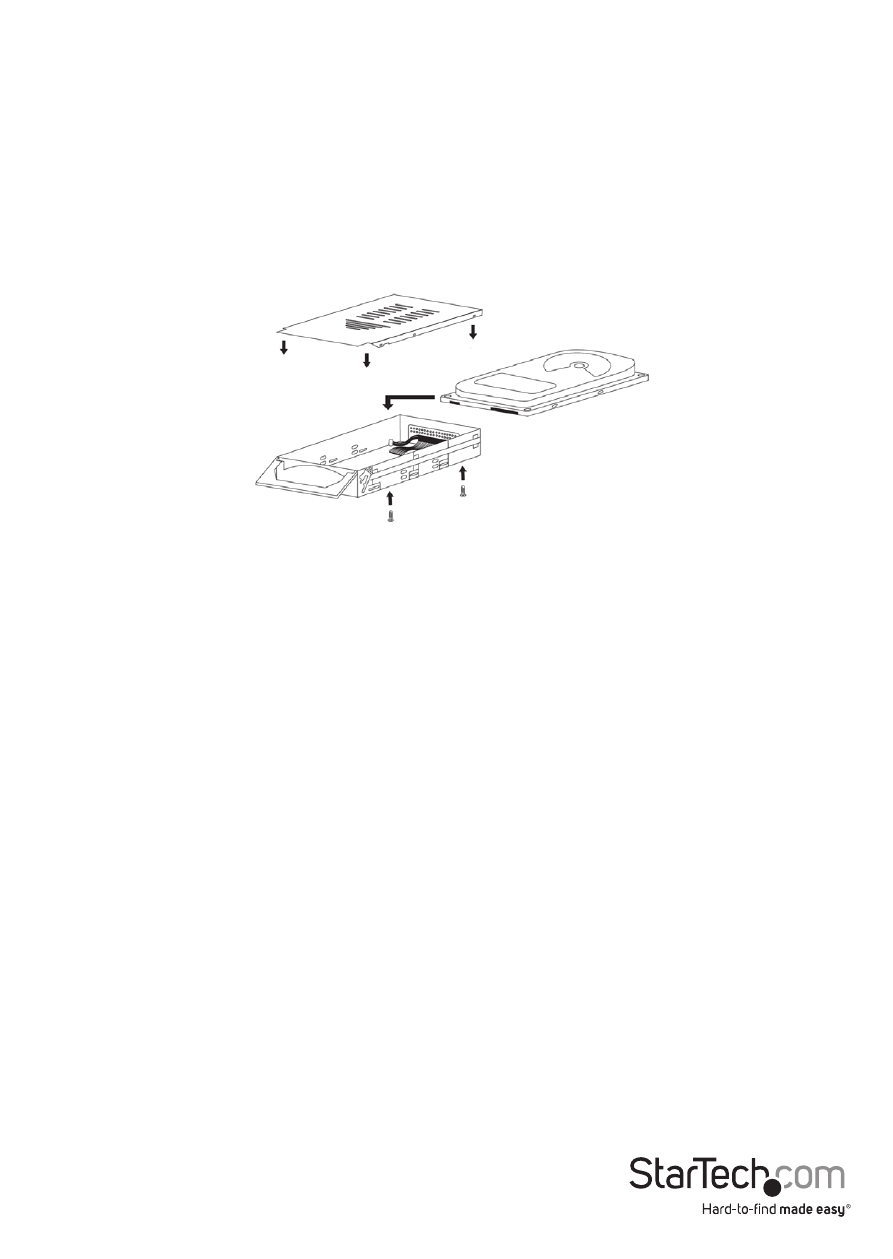
Installing Hard Drive in the Caddy
WARNING! Hard drives and storage enclosures require careful handling, especially
when being transported. If you are not careful with your hard disk, lost data may
result. Always handle your hard drive and storage device with caution. Be sure that
you are properly grounded by wearing an anti-static strap when handling computer
components or discharge yourself of any static electricity build-up by touching a large
grounded metal surface (such as the computer case) for several seconds.
1. Remove the caddy from the bay by lifting the handle and sliding the caddy out of
the bay.
2. Remove the top panel from the caddy by pressing the cover release button and
sliding the lid towards the back of the caddy.
3. Connect the short SATA data cable inside the drive caddy to the hard drive.
4. Attach the SATA power cable inside the drive caddy to the hard drive.
5. Gently place the hard drive in the caddy, making sure that the screw-holes on the
bottom of the hard drive line up with the holes in the caddy.
6. Firmly hold the hard drive to the shock absorber plate and use the four #6-32 x
1/4”(coarse thread) screws to mount your hard drive to the drawer from underneath.
7. Replace the top panel of the caddy.