Installation – StarTech.com CAB1631D1U User Manual
Page 5
Instruction Manual
2
Installation
This section will guide you through the hardware installation of your KVM switch.
Please read through this section carefully and complete each step in the order listed.
1. Make sure all computers and devices are powered off.
2. Connect your KVM module to your 1UCABCONS17 or 1UCABCONS19 as directed in
their user guides.
3. Attach each of your managed computers to your StarView KVM console’s PC ports
using ultra-thin KVM cables. The CAB831HD and CAB1631HD are capable of using
either 2-in-1 USB or 3-in-1 PS/2 cables. Use the cables to connect one of the PC ports
on the back of the switch to the computer’s keyboard, mouse, and video ports. Note:
These instructions are for a single KVM switch only. For information on cascading
multiple KVMs, see Cascade Configuration below.
4. Turn on computers.
NOTE: After the initial power up, you can hot-plug additional computers or slave KVM
switches without having to power down your KVM.
Cascade Configuration
You can connect a second level of KVMs to one or more of your Master KVM switch’s
PC ports. The KVM switches connected to the Master switch are know as Slaves. Once
connected, the KVM switches will automatically configure themselves as either Masters
or Slaves. You can only connect an equal or “smaller” KVM to the Master KVM. For
example, a 16-port Master KVM switch can have both 16-port and 8-port slaves. An
8-port Master KVM switch can only have 8-port KVM slaves or lower.
The 8-port KVM can support 64 PCs, with 8 8-port Slave KVMs, each connected to 8
PCs. The 16-port KVMs can support 136 computers, with 8 16-port Slave KVMs, each
connected to 16 computers. The Slave KVMs must be connected to the 1~8 ports, not
the A~H ports.
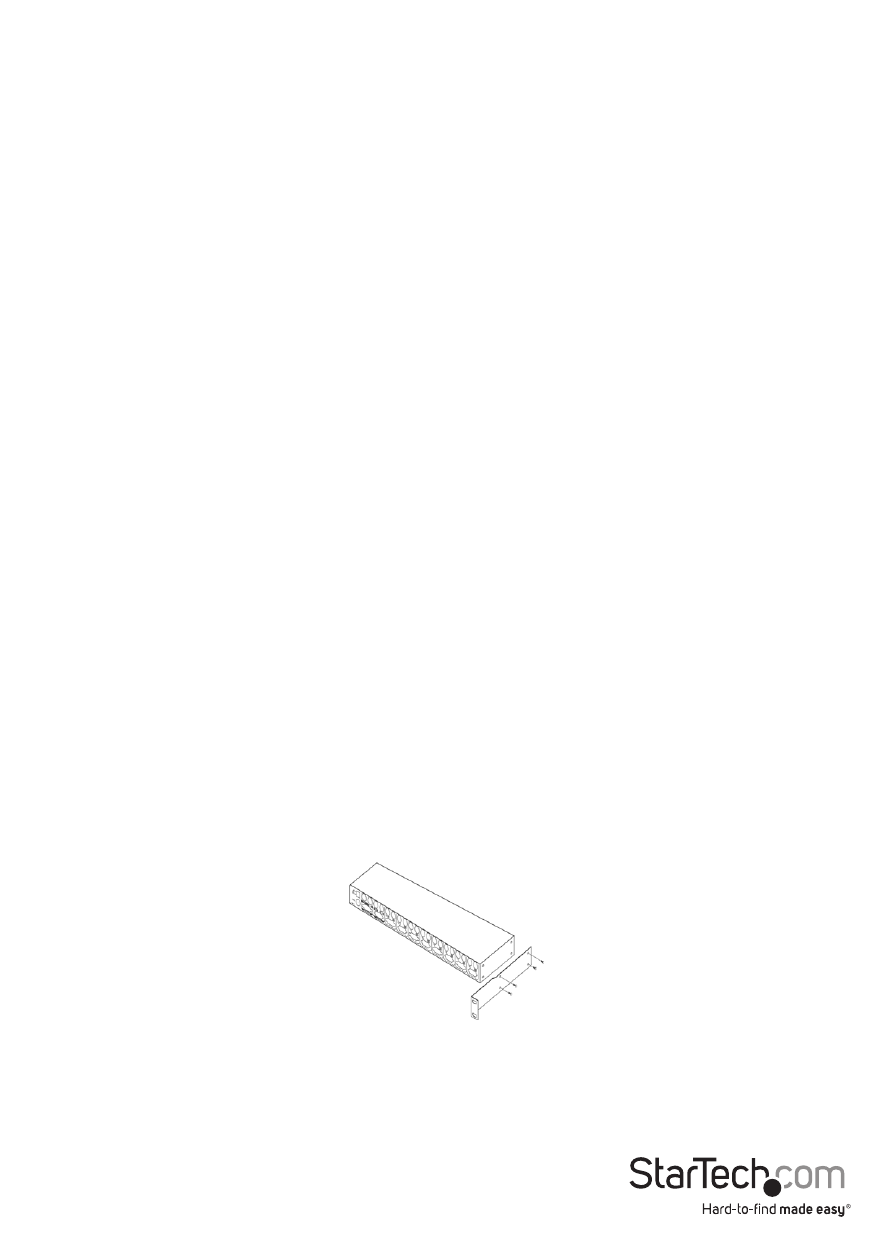
To cascade your KVMs, use a 3-in-1 PS/2 KVM cable to connect one of your Master
switch’s PC ports to the Slave switch’s PC 1~8 ports. A slave KVM module may be
mounted to the rear vertical poles inside a rack cabinet by the rear brackets with the
connectors facing out.
The connectors (keyboard and mouse) at the Local port on the rear of the KVM module
are not applicable when the module is connected to the drawer by the C-36 connector.
When its C-36 connector is not connected to the drawer, the KVM module can act as
a rear-mount stand-alone KVM switch. The Local VGA port can be connected to an
external VGA monitor at any time.