Carrier Access Adit 3500 User Manual
Page 13
Adit 3500 - Release 1.6
13
Quick Start Guide
Installation
#1 Adit 3500 mounted on top of the Battery Backup
This method will use a minimal amount of wall space. Note: This installation will require a
minimum wall space of space of: 9" (H) x 14" (W) x 5" (D).
1. Mount the Battery Backup to the wall with
(4) #6 x 1 coarse thread screws Note:
Screws are not provided
z
Mark the location for the top 2 screws
(using BBU mounting keyhole as a guide)
z
Screw these 2 screws into the wall at
marked locations.
Note: do not screw tight to the wall, leave
1/4" to allow BBU mounting keyholes to
slip over screw head.
z
Attach the BBU by slipping the screw
heads through the keyhole slots of the
BBU, and let unit drop slightly to allow
screwheads to enter top of the keyhole.
z
Screw bottom 2 screws into mounting
holes at the bottom of the unit.
z
Tighten all screws to the wall.
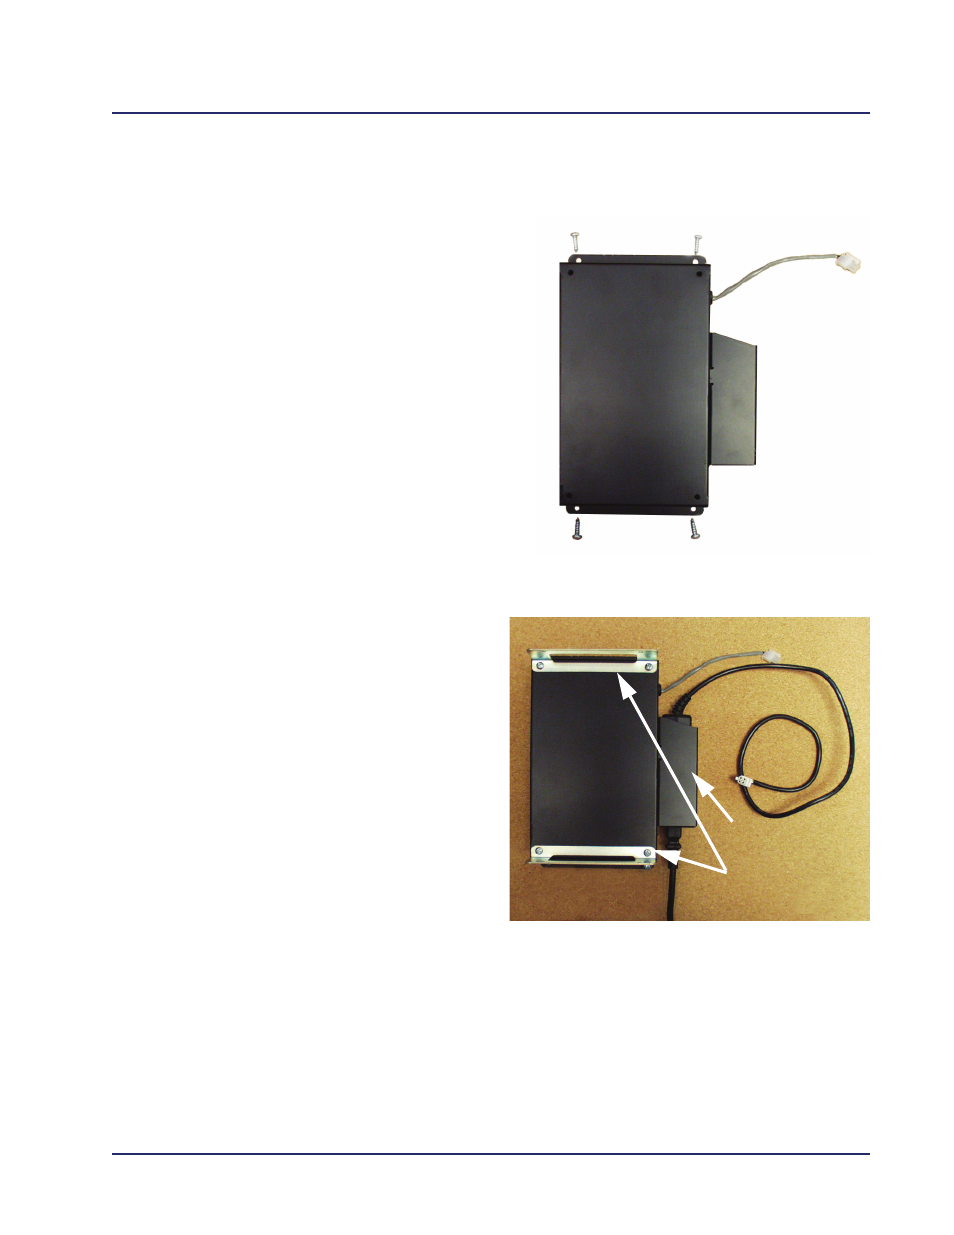
2. Attach Adit 3500 Wall Mounting
Brackets to the BBU. Note: Brackets
are provided with the Adit 3500 unit.
z
Each bracket is attached to the outer
facing side of the BBU.
Note the bracket orientation in the
graphic.
3. Insert Adit 3500 Power cord through
the holder on the right. This supports
the weight of the adapter portion of
the power cord.
z
The connector to the wall runs out
the bottom, while the connector to
the Adit 3500 will run out of the top.
Wall Brackets
Power Cord
Holder