Throttle linkage, Needle-valve extension, Propeller & spinner attachment – O.S. Engines 120AX User Manual
Page 12
22
THROTTLE LINKAGE
Before connecting the throttle to its servo,
make sure that the throttle arm and linkage
safely clear any adjacent part of the airframe
structure, etc., as the throttle is opened and
closed. Connect the linkage so that the throttle
is fully closed when the transmitter throttle
stick and its trim lever are at their lowest
settings and fully open when the throttle stick
is in its fully-open position. Carefully align the
appropriate holes in the throttle arm and servo
horn so that they move symmetrically and
smoothly through their full travel.
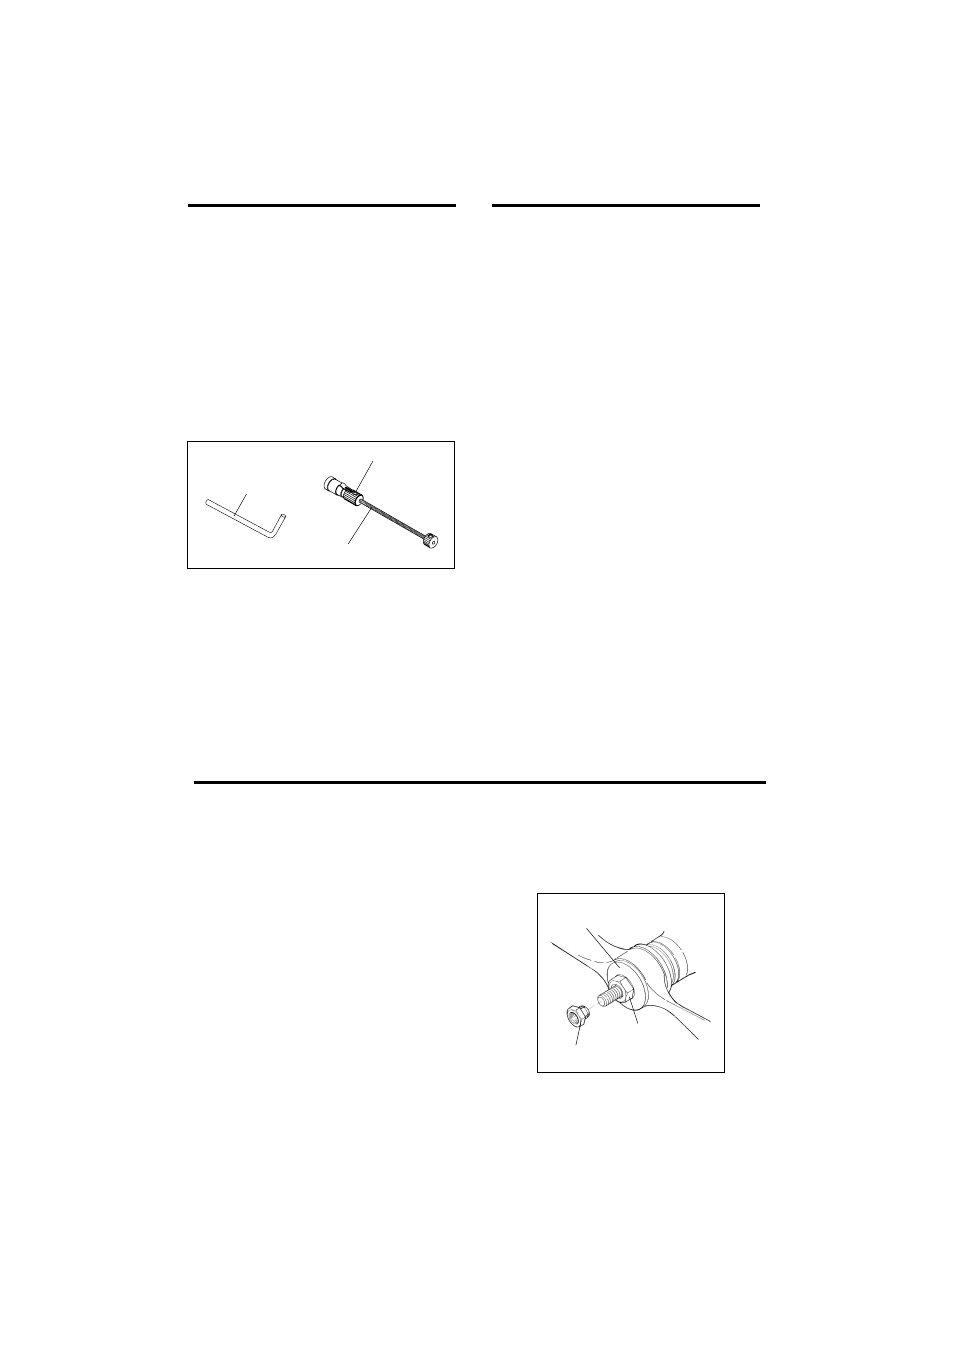
NEEDLE-VALVE EXTENSION
The needle-valve supplied with this engine is
designed to incorporate an extension so that,
when the engine is enclosed within the
fuselage, the needle-valve may be adjusted
from the outside. For this purpose, Needle
Valve Extension Cable Set is supplied with the
engine. If a longer extension is reguired, cut a
commercially available rod to the required
length, bend one end to an L shape, insert it
into needle's center hole and secure it by
tightening the set-screw in the needle-valve
knob with 1.5mm Allen key.
Needle Valve Extension Cable Set
1.5mm Allen key.
Set Screw
23
PROPELLER & SPINNER ATTACHMENT
There is a risk, particularly with powerful larger
engines, of the propeller flying off if the prop
nut loosens due to detonation ("knocking") in
the combustion chamber when the engine is
operated too lean, or under an excessively
heavy load.
Obviously, this can be very hazardous. To
eliminate such dangers, the O.S. Locknut
Assembly was devised.
Install this as follows:
Lock Nut
Propeller Washer
Propeller Nut
Ream the propeller shaft hole to 8.1mm
bore with an appropriate reamer, checking
that the hole is exactly centered.
1.
Install the prop to the engine shaft, followed
by retaining washer and prop nut lightly.
Turn the prop counter-clockwise slowly to
locate the position where compression is
felt. At this position, fit the prop horizontally
and tighten firmly the prop nut with a 14mm
wrench.
2.
Add the specially tapered and slotted
locknut and secure with a 12mm wrench
while holding the prop nut with the 14mm
wrench.
3.
Install a spinner assembly to start the
engine with an electric starter.
4.