Installation, Replacement of element – O.S. Engines 21RZ-V01B (P) User Manual
Page 11
INSTALLATION
1.
2.
3.
¡
¡
REPLACEMENT OF ELEMENT
1.
2.
¡
Apply instant setting
glue to the joint be-
tween the air cleaner
and the intake elbow
and secure with strap
supplied.
Fit the other end of
the elbow over the carburettor intake and secure with
strap supplied. Do not use glue at this point.
It is advisable to brace the outer end of the air
cleaner to the car chassis with a piano wire strut.
This will restrain the cleaner in the event of the
vehicle overturning or being involved in a collision.
Under very dusty conditions, it is advisable to
replace the filter element after each hour of running
time.
Under less severe conditions, however, it may be
possible to operate for longer periods. The rate at
which the elements become unusable may be
determined as follows.
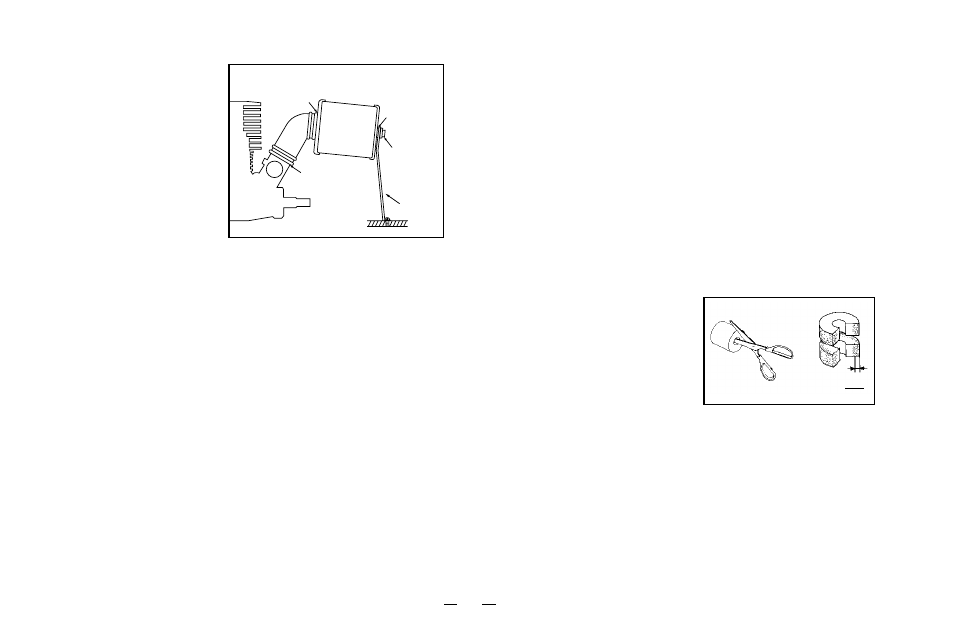
After one hour of running time, remove the element
but, before discarding it, check the penetration of
foreign matter by cutting through the wall of the
element. If dirt has penetrated 1/3rd or more from the
outer surface, each element must always be
replaced within one hour, when the vehicle is run
under similar conditions. If, on the other hand, the
element is much less deeply soiled, the engine may
be run a little longer before another new element is
installed, but remember to check the condition of the
discarded element, as before. If the old element is
examined in this way
every time a new element
is installed, one can more
closely estimate the safe
life of the element under
known running conditions.
Remember that the condition of the filter element will
depend on weather, as well as track conditions. If, for
example, the element surface is still visible and
remains moist, further running is permissible.
If, however, the surface is no longer visible, or if dust
adhering to the surface has become dry, it is time to
replace the element.
Apply instant fixing glue.
Washer
Assembly
Screw
Do not apply
glue to
carburettor
Strut
1
3
10