Assemble the cowl – Great Planes Ryan STA Electric Kit - GPMA0165 User Manual
Page 37
❏ ❏
12. Adjust and tighten the wheel collars on the landing
gear so that the wheel rotates freely. The use of thread lock
on the set screws will prevent them from coming loose
during flight.
❏
13. Return to step 1 of
“Assemble the Wheel Pants”
and assemble the other wheel pant.
❏
14. Before painting the wheel pants, fill the seams with a
filler such as Bondo
®
Auto Body Filler or an automotive
scratch and dent glazing compound. We use Bondo most of
the time as it cures quickly and sands easily, but it is
normally sold in large quantities. Automotive glazing
compound usually comes in small tubes, dries quickly and
sands easily, but for proper drying can only be applied in
thin layers.
❏
15. After the filler cures, wet sand the wheel pants with
400-grit sandpaper to prepare them for primer.
❏
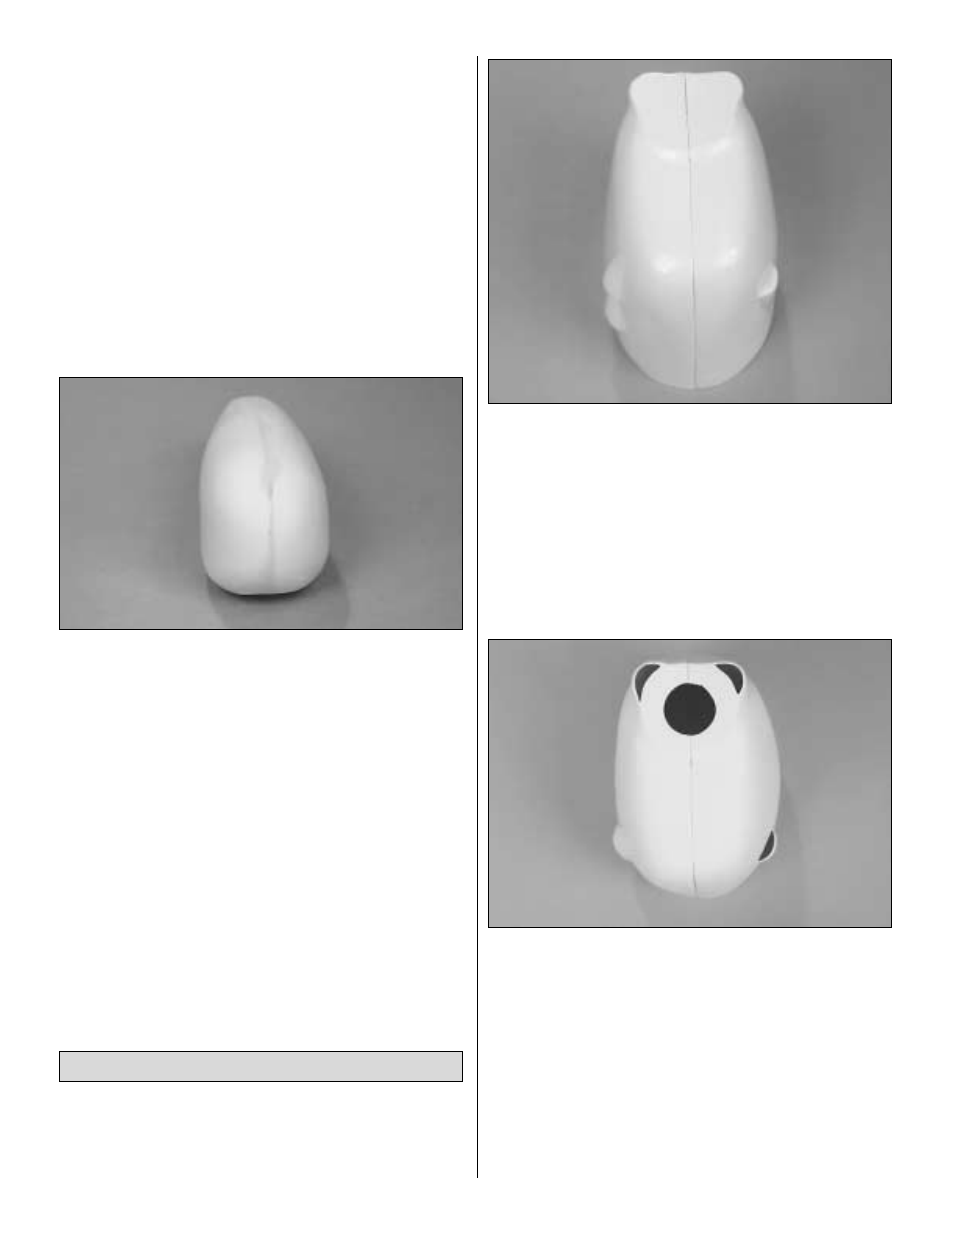
1. The cowl is assembled the same as the wheel pants.
Cut the cowl along the cut lines, use a sanding bar to true
the edges and roughen the inside along all the seams and
the outside along the tabs.
❏
2. Tape the two halves together. Then, wick thin CA along
the joints.
❏
3. Use a sharp hobby knife and Curved-tip Canopy Scissors
to accurately trim the openings in the front of the cowl and
the air scoops.
❏
4. From the remaining 1/4" x 3/8" [6.4mm x 9.5mm] basswood
stick, cut four cowl mounting blocks 3/8" [9.5mm] long.
Assemble the Cowl
37