Great Planes PT-60 Kit - GPMA0119 User Manual
Page 31
Fuelproofing may be done either before or after covering.
D 1 Fuelproof the engine and fuel compartments by
painting them with K&B Superpoxy paint or 30 minute
epoxy Pay special attention to the firewall Prevent paint or
epoxy from clogging the blind nuts by first packing the
holes with petroleum jelly applied with a toothpick Be sure
to clean off any external petroleum jelly messes with
rubbing alcohol before fuel proofing.
Expert Tip COVERING TECHNIQUE
You can practically eliminate wrinkles in MonoKote
covering that sometimes occur when the model is left out
in the sun or in the back of your car by following this
technique used in the Great Planes model shop
A. Cover your sealing iron shoe with a Top Flite Hot
Sock and turn the heat about 3/4 of the way to the
high setting Note: If this is not hot enough to make
the covering stick well, increase the heat
SPECIAL NOTE: Do not confuse this procedure with
"checking the C.G." or "balancing the airplane fore and
aft." That very important step will be covered later in
the manual.
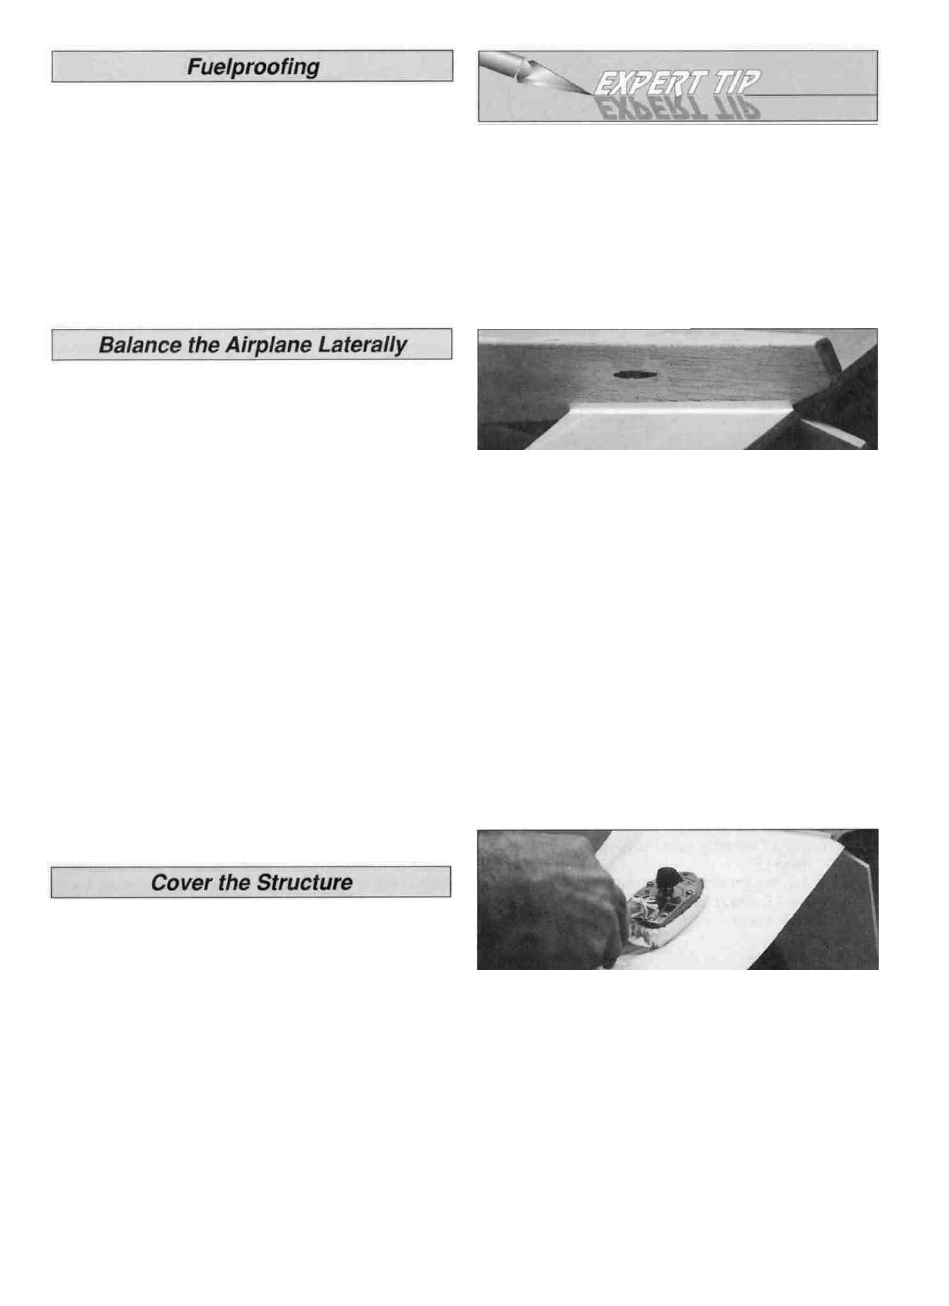
Now that you have the basic airframe nearly completed,
this is a good time to balance the airplane laterally (side-
to-side) Here is how to do it.
D 1 Temporarily attach the wing, engine (with muffler),
and landing gear to the fuselage.
D 2 With the wing level, lift the model by the engine
propeller shaft and the fin (this may require two people) Do
this several times.
D 3. If one wing always drops when you lift the model, it
means that side is heavy Balance the airplane by gluing a
weight to the inside of the other wing tip
NOTE: An airplane that has been laterally balanced will
track better in loops and other maneuvers
B When covering areas that involve sharp junctions,
like the tail section, cut narrow strips (3/8" to 1/2")
and apply them in the corners before covering the
major surfaces The larger pieces of MonoKote will
overlap and capture these smaller pieces This
technique also bypasses the need to cut the
MonoKote in these areas after it has been applied
DO NOT, under any circumstances, attempt to
cut the covering material after it has been
applied to the fin and stab, except around the
leading and trailing edges and the tip. Modelers
who do this often cut through the covering and part-
way into the balsa stab This can weaken the stab to
the point where it may fail in flight'
C For example here is how to cover the Stab cut a
piece of MonoKote film about 2 " larger all around
Strip off the backing and position the film flush with
the fuse side, over the MonoKote corner strip Tack
the film down at the center of the stab/fuse junction
The PT-60 does not require any painting to obtain the
scheme shown on the box, as all of the finish is done with
Top Flite MonoKote Covering The only painting that is
required is the engine compartment if you so choose
Make sure the structure is smoothly sanded with 320-
grit sandpaper Remove all dust from the structure with a
vacuum cleaner and Top Flite Tack Cloth so the
MonoKote will stick well
Cover the aircraft with MonoKote covering using the
sequence that follows Make sure the film is thoroughly
adhered to the structure and all of the edges are sealed.
Use a Top Flite MonoKote Hot Sock" on your covering
iron to avoid scratching the surface of the covering.
D. Pull (as in stretch) the film toward the stab tip, sealing
it to the balsa from the fuse outward, the width of
your sealing iron Work out any wrinkles and air
pockets as you proceed with a back and forth
motion
E. Stretch the MonoKote covering toward the four
corners, sealing it down as you proceed. The trick
is to shrink out any wrinkles before you seal the film
to the surface
31