Great Planes Seawind EP Rx-R - GPMA5750 User Manual
Page 11
11
Balance the Model (C.G.)
More than any other factor, the C.G. (balance point) can
have the greatest effect on how a model fl ies, and may
determine whether or not your fi rst fl ight will be successful.
If you value this model and wish to enjoy it for many fl ights,
DO NOT OVERLOOK THIS IMPORTANT PROCEDURE.
A model that is not properly balanced will be unstable and
possibly unfl yable.
At this stage the model should be in ready-to-fl y condition
with all of the systems in place including the motor, propeller,
motor battery, ESC, and the complete radio system.
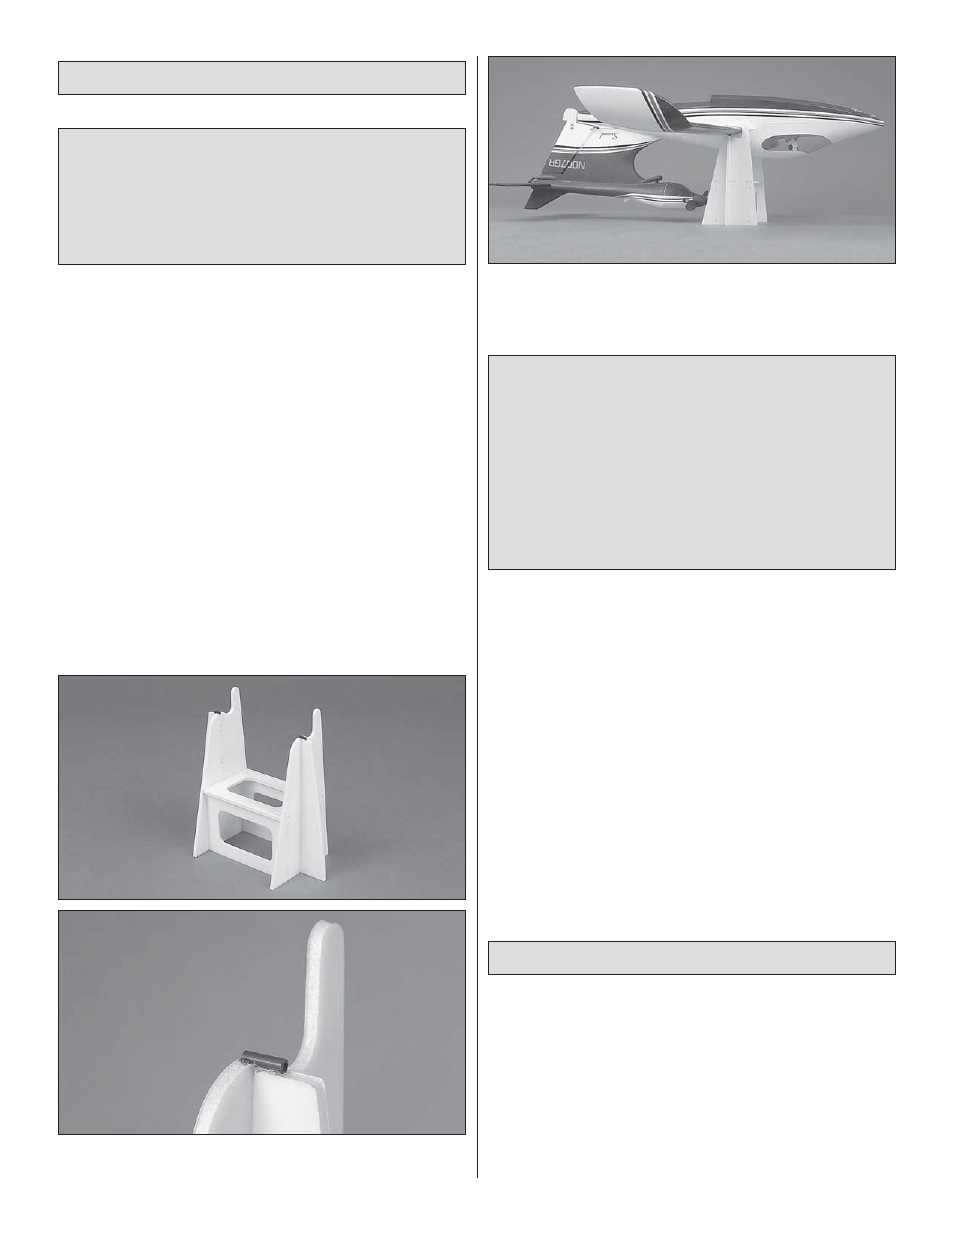
The Seawind comes with a unique balancing stand that
has the balance point built-in. All that needs to be done
is assemble the stand, place the model on the stand and
determine how much ballast will be required.
❏
1. Glue together the balance stand as shown. Glue the
3mm carbon tubes to the top of the stand.
❏
2. Place the model upside-down on the balance stand as
shown. The leading edge of the wings should contact the vertical
“stop” on the stand, thus supporting the wing on the correct
C.G. location which is 1" [25mm] from the leading edge.
This is where your model should balance for the fi rst
fl ights. Later, you may wish to experiment by shifting the
C.G. up to 3/8" [10mm] forward or 3/8" [10mm] back to
change the fl ying characteristics. Moving the C.G. forward
may improve the smoothness and stability, but the model
may then require more speed for takeoff and make it more
diffi cult to slow for landing. Moving the C.G. aft makes
the model more maneuverable, but could also cause it to
become too diffi cult to control. In any case, start at the
recommended balance point and do not at any time
balance the model outside the specifi ed range.
❏
3. If the tail drops, the model is “tail heavy.” If possible,
you could mount the battery farther forward. Otherwise, lead
ballast will have to be added to the nose to get the model to
balance. If the nose drops, the model is “nose heavy” and
the battery pack could be shifted aft and/or weight could
be added to the tail. It is likely, though, that your model will
need an ounce or so of nose weight. If this is the case, place
incrementally increasing amounts of weight on the bottom of
the fuselage over the location where it will be mounted inside
until you can get the model to balance. Once you know how
much weight is required place the model on the assembly
stand, remove the canopy and attach the weight inside.
Great Planes “stick-on” lead (GPMQ4485) is recommended
and should be placed inside the fuselage as far forward as
possible while still leaving room for the battery.
❏
4. IMPORTANT: If you found it necessary to add any weight,
recheck the C.G. after the weight has been installed.
Balance the Model Laterally
Typically, a laterally balanced model will perform slightly better.
And while some modelers tend to overlook these last-minute
“fi ne tuning” procedures, we strongly urge you to laterally
balance your Seawind. Otherwise, the heavier wing may tend
to drag in the water causing the plane to “hook” as the model
is building speed for takeoff. If you don’t have easy access to
a body of water large enough to fl oat your Seawind to do the
lateral balance now, you could wait until you get to the lake (or
pond) and do the lateral balance right before your fi rst fl ight.