Great Planes Seawind EP Rx-R - GPMA5750 User Manual
Page 10
10
Mount the Wing
❏
1. Test fi t the wing to the fuselage. If necessary, trim
the foam block on top of the plywood wing bolt plate in the
fuselage so it doesn’t interfere with the aileron pushrod wires
when you mount the wing.
❏
2. Mount the wing to the fuselage. Use care to tighten the
Phillips wing mounting screw just enough to draw the wing
down to the fuselage.
Apply the Decals
1. Referring to the photos on the box, place the die-cut decals
on the model where desired.
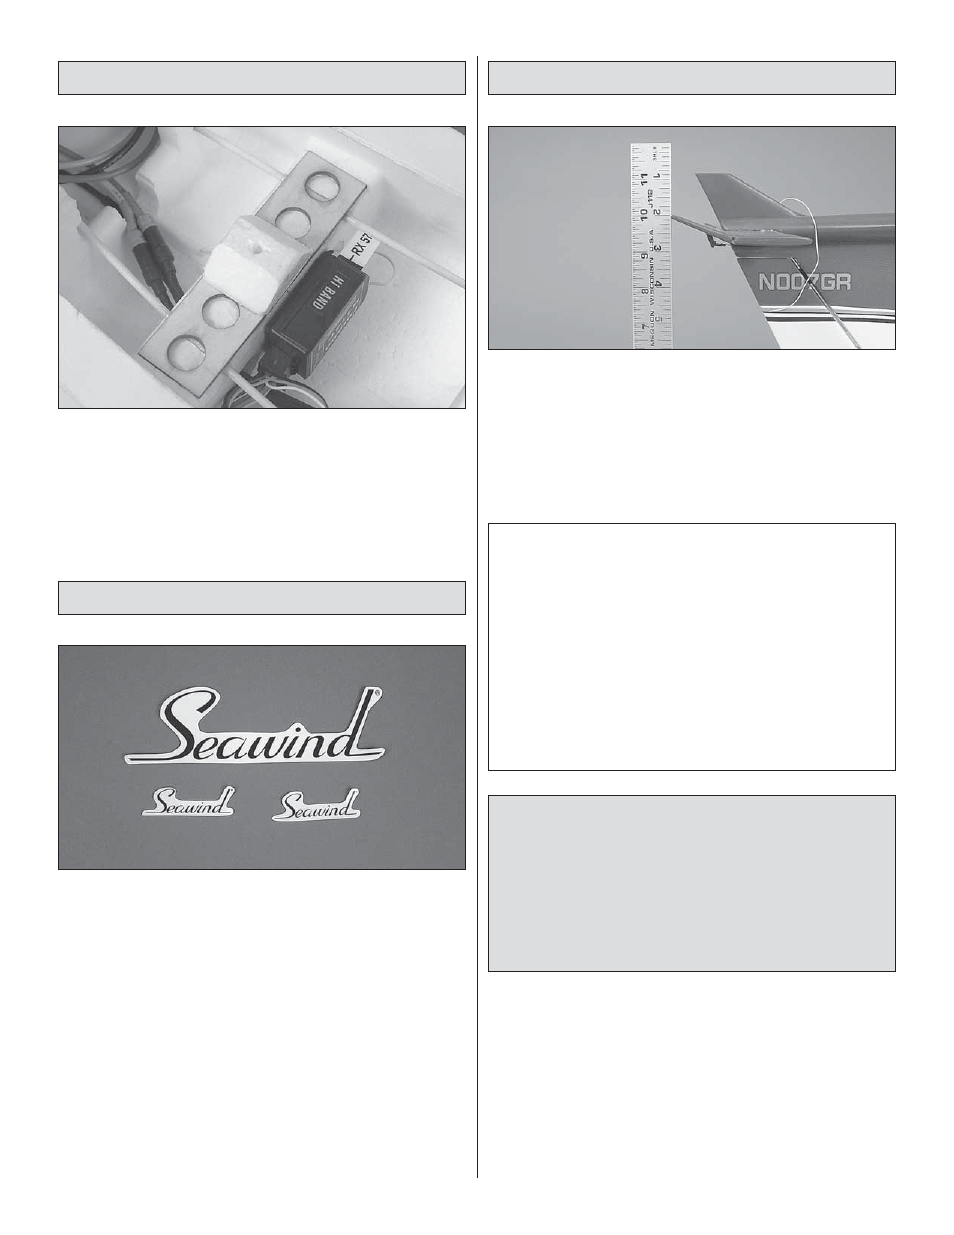
Set the Control Throws
If you have not already done so, use a Great Planes
AccuThrow
™
or a ruler to accurately measure and set the
control throw of each control surface as indicated in the
chart that follows. If your radio does not have dual rates, we
recommend setting the throws at the high rate setting.
Note: The throws are measured at the widest part of the
rudder (at the bottom).
These are the recommended high and low rate control
surface throws.
High Rate
Low Rate
ELEVATOR:
5/8" [16mm] up
3/8" [10mm] up
5/8" [16mm] down 3/8" [10mm] down
RUDDER:
1-1/4" [32mm] right 1" [25mm] right
1-1/4" [32mm] left
1" [25mm] left
AILERONS:
7/16" [11mm] up
1/4" [6mm] up
7/16" [11mm] down 1/4" [6mm] down
IMPORTANT: The Seawind has been extensively fl own
and tested to arrive at the throws at which it fl ies best.
Flying your model at these throws will provide you with
the greatest chance for successful fi rst fl ights. If, after you
have become accustomed to the way the Seawind fl ies,
you would like to change the throws to suit your taste,
that is fi ne. However, too much control throw could make
the model diffi cult to control, so remember, “more is not
always better.”