Preparation – Great Planes Goldberg Super Chipmunk EP ARF - GPMA1928 User Manual
Page 3
3
Great Planes 8x6 Power Flow
™
Slo-Flyer Elec Prop
(pkg. of 2, GPMQ6610)
(1 pkg) Great Planes adhesive-back Velcro
®
(GPMQ4480)
Double-sided foam mounting tape (GPMQ4440)
Stick-on segmented lead weights (GPMQ4485)
Great Planes 3/8"x3" [10x80mm] heat shrink tubing
(GPMM1060)
ADHESIVES & BUILDING SUPPLIES
In addition to common household and hobby tools, this
is the “short list” of the most important items required to
assemble the Chipmunk 400. Great Planes Pro
™
CA glue is
recommended.
Thin CA (1/2 oz. [15g] Thin Pro CA, GPMR6001)
Medium CA (1/2 oz. [15g] Medium Pro CA+,
GPMR6007)
30-minute epoxy (Pro 30-minute epoxy, GPMR6047)
CA applicator tips (HCAR3780)
Threadlocker thread locking cement (GPMR6060)
#11 blades (5-pack, HCAR0211)
#1 Hobby knife (HCAR0105)
The following drill bits were also used: 1/16" [1.6mm],
1/8" [3.2mm], 5/64" [2mm]. For precision, the following
“numbered” drills were also used, but if you cannot
get numbered drills a hobby knife could be used
instead: #57 (.043" [1mm]), #55 (.052" [1.3mm])
OPTIONAL SUPPLIES AND TOOLS
Here is a list of optional items mentioned in the manual that
will help you build the Chipmunk 400.
Williams Brothers 1/8-scale Sportsman pilot
(WBRQ1130)
#2x1/4" [6mm] or #2x1/2" [12mm] screws and #2
washers (for mounting optional pilot)
Hobby paints/paint brushes (for painting pilot)
2 oz. [57g] spray CA activator (GPMR6035) or 4 oz.
[113g] aerosol CA activator (GPMR6034)
CA debonder (GPMR6039)
CG Machine
™
(GPMR2400)
Power Point Prop Balancer (TOPQ5700)
A model airplane covering iron with a protective
covering sock may also be necessary to retighten
the covering and remove any wrinkles that may have
formed after the model was originally covered at the
factory. If you don’t already have a covering iron,
the 21
st
Century
®
sealing iron (COVR2700) and 21
st
Century iron cover (COVR2702) are recommended.
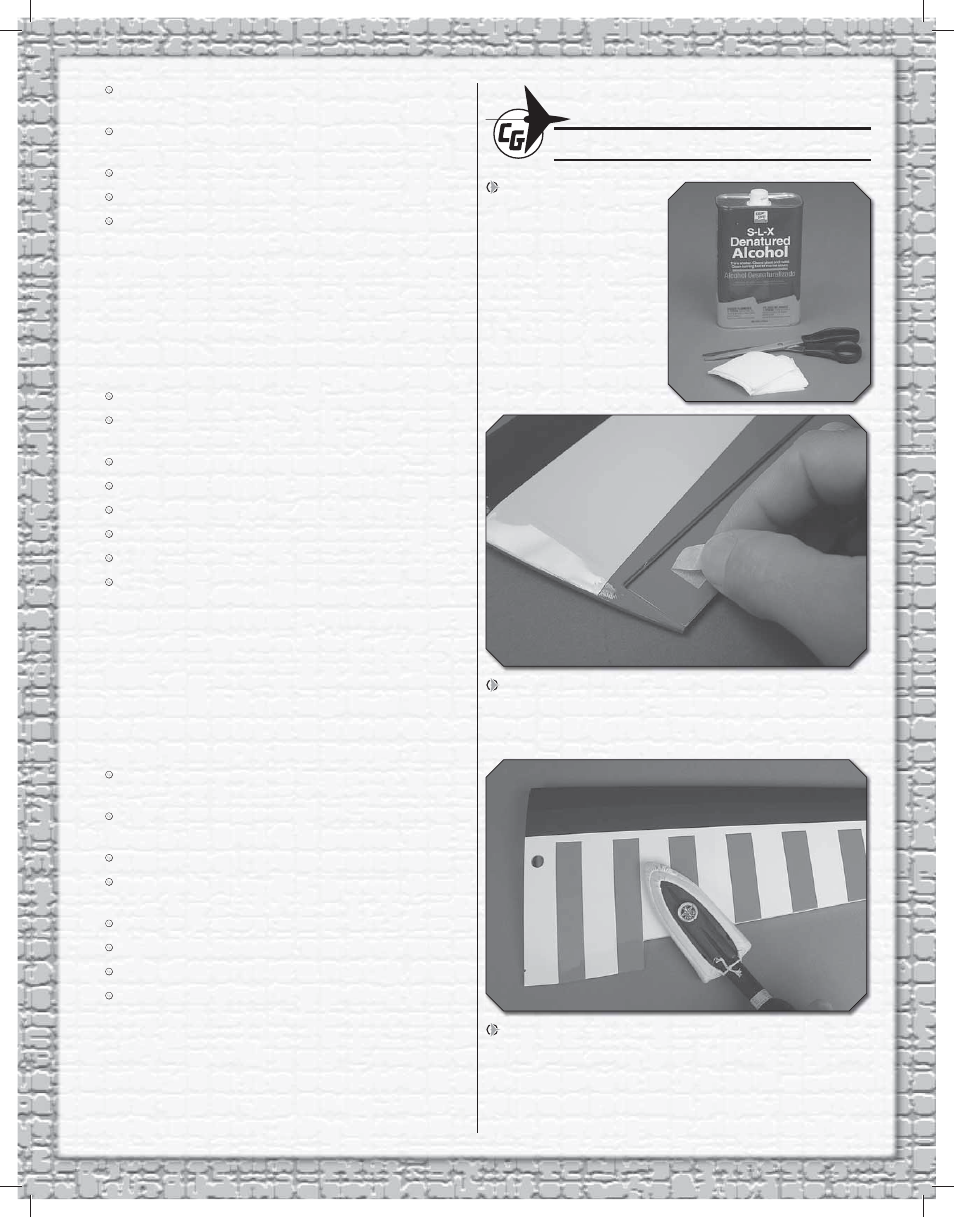
PREPARATION
1. Lay three or four
paper towels over each
other and cut the stack
into small squares.
These small paper towel
squares, dampened with
denatured alcohol, will
come in handy for epoxy
cleanup and other general
cleanup during assembly.
2. Remove the masking tape holding all the control
surfaces to their main parts. If necessary, clean off any
residual tape glue with a couple of your paper towel squares
dampened with naphtha (lighter fl uid).
3. Refer to the separate instruction sheet titled How To
Tighten Covering On ARF Models. Follow the instructions
to tighten the covering. If you prefer to get started on
assembly right away, the tightening process could be done
later (but it is usually easiest to do while the model is still in
separate pieces).