GME GX660 User Manual
Page 11
GX660
INSTRUCTION MANUAL
PAGE 11
ADJUSTING THE SQUELCH LEVEL
Briefly press the SQL/HL key . The Squelch level setting
appears . Press the or keys to change the Squelch level .
The Squelch level range is: 00 ~ 08
1 . Level 00: The Squelch is set to minimum and all signals
(including background noise) will be heard .
2 . Level 08: The Squelch is set to maximum and only strong
signals will be heard .
The new Squelch Level will be saved automatically if no
further adjustment is made within 3 seconds .
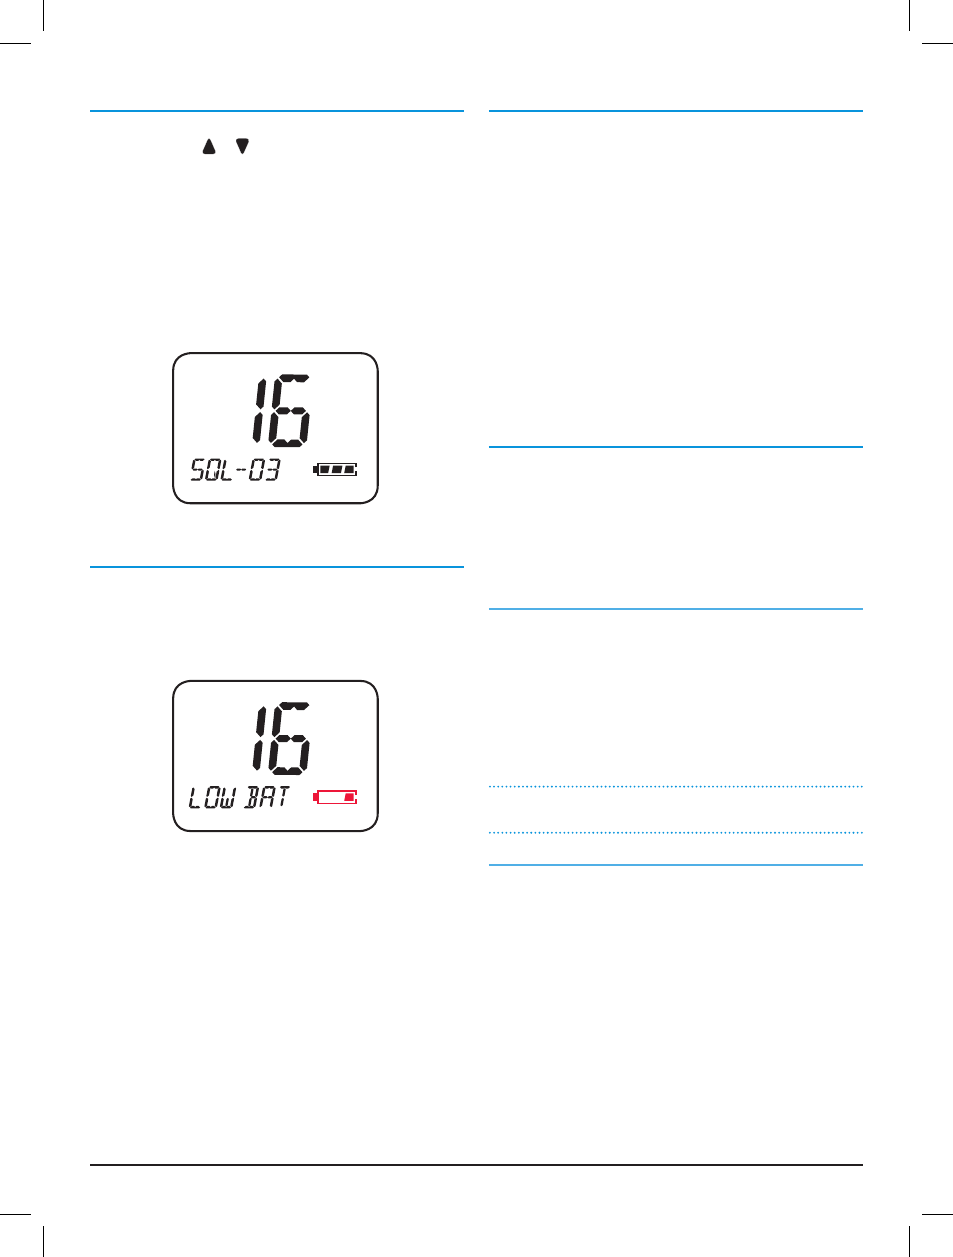
BATTERY LEVEL DISPLAY
We recommend that you check the Battery Level icon
periodically . If the battery level drops below a minimum
voltage, the radio displays a low battery warning .
The Low Battery icon is displayed as shown below .
1 . If the PTT key is pressed when the battery level is low, the
first transmission will be allowed and an error tone will be
heard and LOW BAT will be displayed . After that, no further
transmissions will be allowed until the battery is recharged .
RADIO DEFAULT SETTINGS
To restore the radio to its default settings, first turn the radio
OFF, then press and hold the DW key while turning the radio
ON again .
The defaults settings are:
Country Mode: INT (International) Mode
Last Used Channel: 16
Key Lock: Unlocked
Dual Watch: Off
All Channels MEM: Set
Squelch Level: 4
Volume Level: 13
BATTERY OPTIONS
The GX660 comes with a Li-Ion (Lithium Ion) rechargeable
battery . The GX660 battery pack will provide convenient, long
life service, and will operate your radio for approximately 12
hours on a single charge . The length of service depends largely
on how much time you spend transmitting, and what transmit
power you use .
Charging
A feature of the Li-Ion pack is that you can recharge at any
time . The standard charger will completely recharge the
GX660 battery pack in approximately 12 hours . The GX660
radio can be used with the charger attached or removed . The
GX660 will not be damaged by extended charge times . When
the radio is connected to the charger and power is present,
the LED on the outside of the charger will be red . When
battery is fully charged the ‘LED’ will turn to green .
NOTE:
The battery charger does not act as a primary
power source .
Battery pack assembling instructions
When you insert the battery pack, make sure you follow the
directions on page 18 . Otherwise, the radio will not work .