E-9 general guide – Casio Adaptor User Manual
Page 11
E-9
General Guide
1
MIDI OUT terminal
2
MIDI IN terminal
3
SUSTAIN/ASSIGNABLE JACK terminal
4
PHONES/OUTPUT terminal
5
DC 9V jack
6
Speaker
7
Rhythm list
8
Tone list
9
Display
bk
Song Bank list
bl
Chord root names
bm
Percussion instrument list
bn
Chord types name
bo
TRANSPOSE/TUNE/MIDI button
bp
ACCOMP VOLUME button
bq
METRONOME button
br
BEAT button
bs
RHYTHM button
bt
SONG BANK button
ck
TONE button
cl
POWER indicator
cm
POWER button
cn
VOLUME slider
co
MODE switch
cp
SONG MEMORY button
cq
STEP button
cr
KEY LIGHT button
cs
DEMO button
Playing a Demo Tune
Pressing the DEMO button starts demo tune play, which
plays the 100 built-in tunes in sequence. To stop demo
tune play, press the DEMO, START/STOP, or STOP
button.
Pressing [+] (forward) or [–] (back) skips to the next demo
tune.
You can change the tone setting of the keyboard (page
E-18) before starting demo play, and then use that tone to
play along on the keyboard.
MIDI, Layer, and Split are disabled while a demo tune is
playing.
ct
SPLIT button
dk
TOUCH RESPONSE button
dl
LAYER button
dm
Number buttons
dn
+/– buttons
do
INTRO button
dp
NORMAL/FILL-IN button
dq
VAR/FILL-IN button
dr
SYNCHRO/ENDING button
ds
START/STOP button
dt
TEMPO
button
ek
TEMPO
button
el
STOP button
em
PLAY/PAUSE button
en
REW button
eo
FF button
ep
LEFT/TRACK 1 button
eq
RIGHT/TRACK 2 button
er
STEP 1 button
es
STEP 2 button
et
STEP 3 button
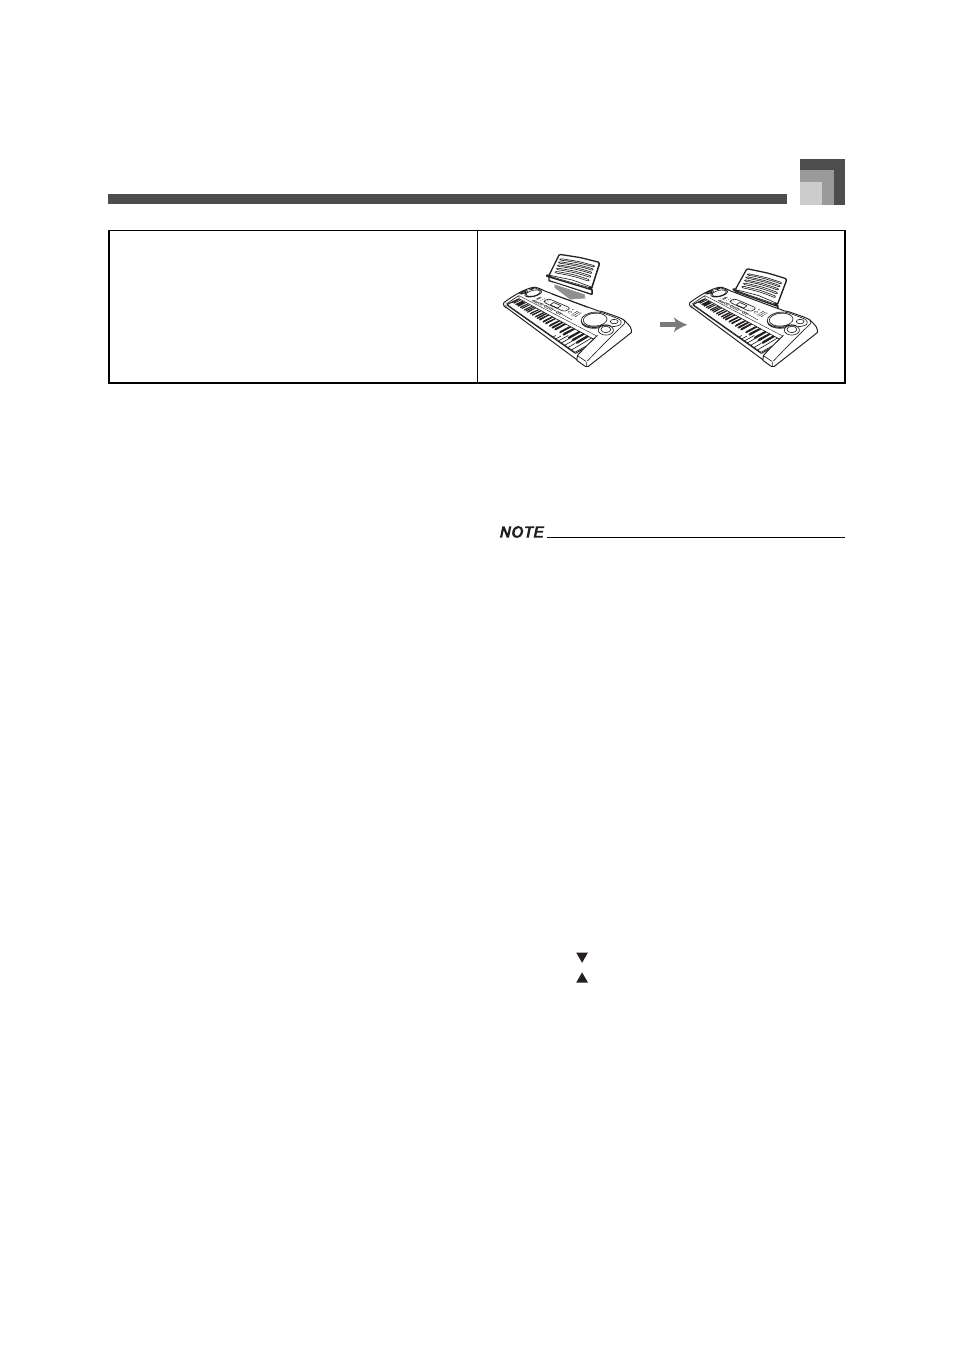
* Attaching the Score Stand
Insert the score stand into the slot at the keyboard as
shown in the illustration.
For input of numbers to change a displayed number
or setting.
Negative values cannot be input using the number
buttons. Use [+] (increase) and [–] (decrease) instead.
641A-E-011A