Instructions for use @) – Philips VSS9451 User Manual
Page 3
Attention! The text in this document has been recognized automatically. To view the original document, you can use the "Original mode".
INSTRUCTIONS FOR USE @)
Volume
a
a>
c
LU
Hue
Saturation Contrast Brightness Horizontal
Shift
O
C3^
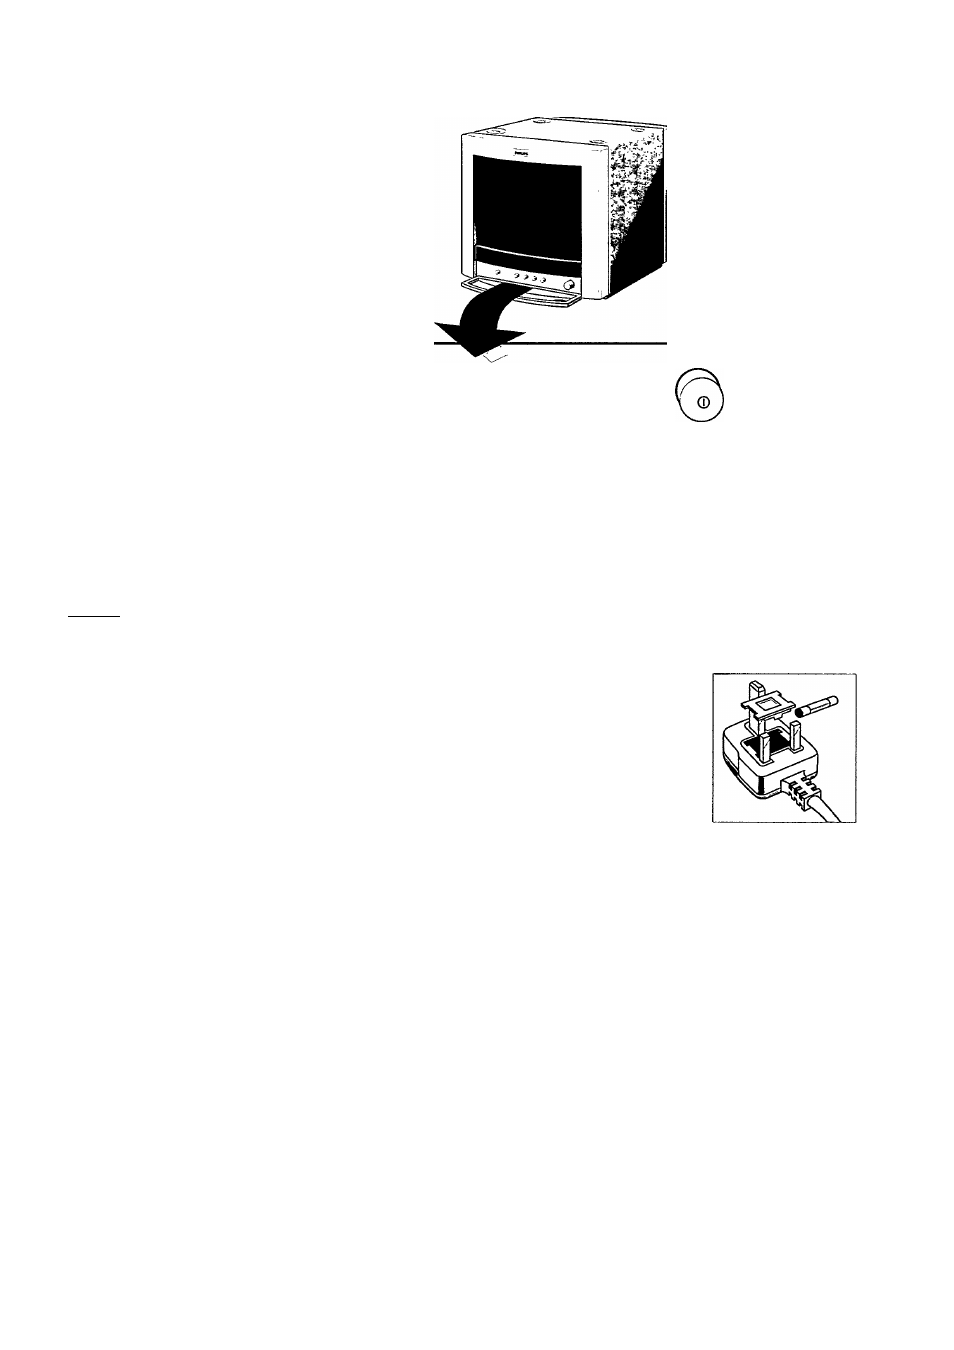
CONTROLS
FITTING A MAINS PLUG {U.K. only)
1 Volume.
To adjust the volume.
2 Huer-^------ (NTSC versions only)
To adjust the hue.
3 Picture controls
To optimize the picture. The centre click position of each
control is its standard setting.
- Saturation @
To adjust the colour density of the picture.
- Contrast 3
To adjust the picture contrast.
- Brightness
To adjust the picture brightness.
4 Horizontal shift
Screwdriver adjustment to center the picture. The factory
dafault is optimized for standard video signals.
5 Power
Switching the power on and off.
This apparatus is fitted with an approved moulded 13 Amp plug.
To change a fuse in this type of plug proceed as follows:
1. Remove fuse cover and fuse.
2. Insert new fuse, which should be a BS1362 5A, A.S.T.A. or
BSI-approved type.
3. Refit the fuse cover.
If the fitted plug is not suitable for your
socket outlets, it should be cut off and
an appropriate plug fitted in its place.
If the mains plug contains a fuse, this
should have a value of 5A.
If a plug without a fuse is used, the fuse
at the distribution board
should not be greater than 5A.
NOTE: The severed plug must be disposed of to avoid the
possibility of an electric shock should it be inserted into a 13A
socket elsewhere.
HOW TO CONNECT A PLUG
The wires in the mains lead are coloured in accordance with
the following code:
BLUE-“NEUTRAL" ("N”)
BROWN - "LIVE" ("L")
GREEN & YELLOW - "EARTH" ("E")
1. The GREEN AND YELLOW wire must be connected to the
terminal in the plug which is marked by the letter "E" or by
the safety earth symbol i or coloured GREEN or GREEN
AND YELLOW.
2. The BLUE wire must be connected to the terminal which is
marked with the letter "N" or coloured BLACK.
3. The BROWN wire must be connected to the terminal which
is marked with the letter "L" or coloured RED.
Before replacing the plug cover, make certain that the cord
grip is clamped over the sheath of the lead - not simply over
the three wires.