Freerider FR168-4IT/Luggie User Manual
Page 10
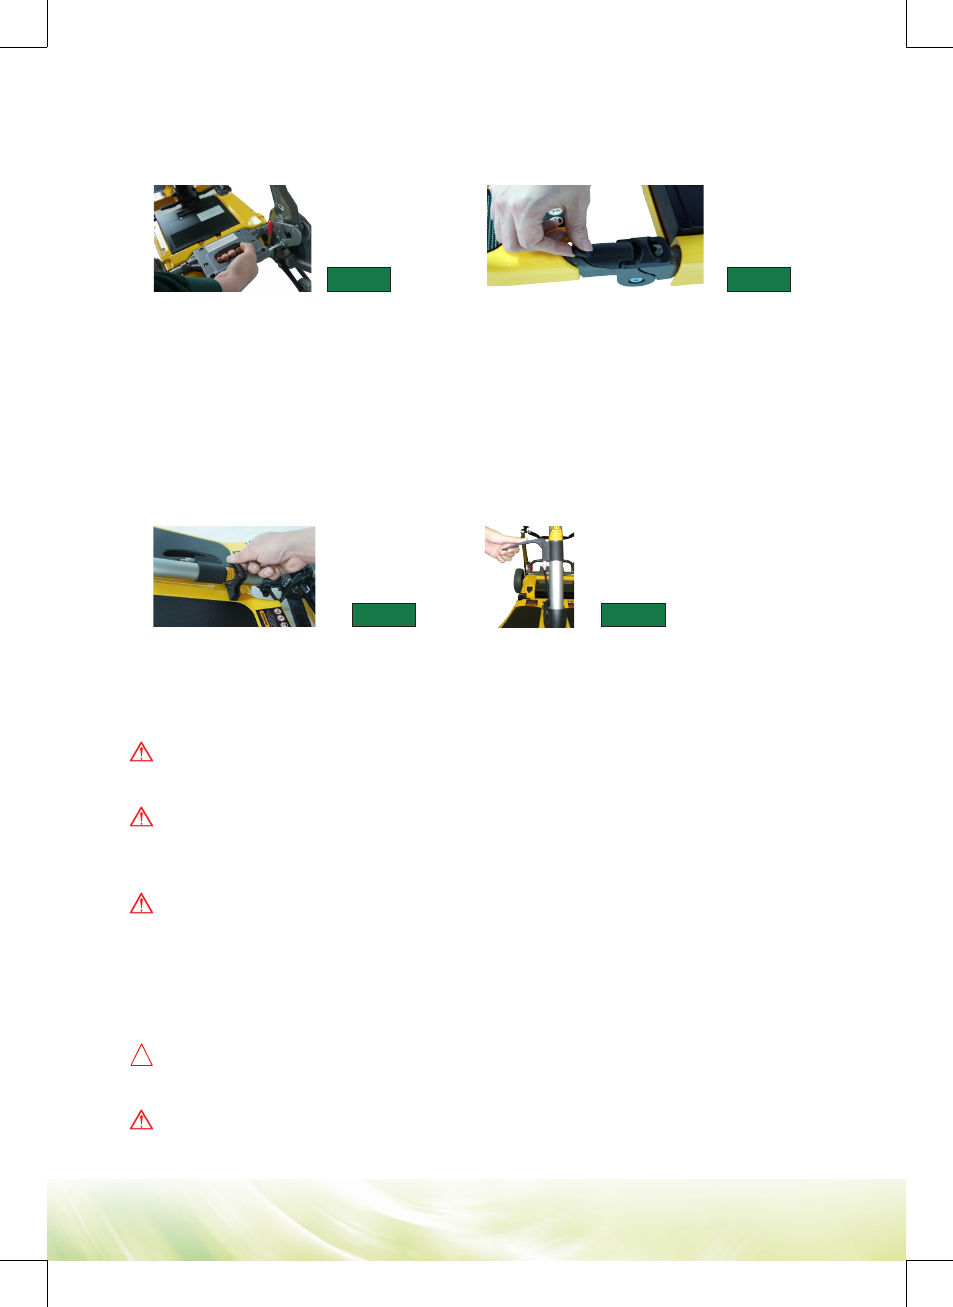
3. Fasten the chassis hooks or security locks on
each side
of the joint of front and
rear chassis (FIG 4)
4. Release the tiller locking clamp (FIG 5).
5. Pull the trigger outward to raise the tiller to a comfortable position (FIG 6).
6. Flip the seat back up.
7. Refer to the Quick Start Guide to install your battery. Slide the battery against the
inside edge of the battery compartment before pressing it into place.
Warning :
If the installed Luggie battery has been idle for a long period, the
battery may be in a low power state.
Warning :
The best practice is to remove the battery when transporting the
scooter so as not to accidently power on the scooter which cause injuries and
drain the battery.
Warning :
Armrest Installation (optional): If your purchase comes with armrests,
refer to the Luggie Armrest Installation Guide included with your scooter order. Insert
and screw the adjustment knobs on the bottom side of the back of the seat assembly.
Note :
The knobs do not need to be screwed on too tightly. These knobs are pull-pin
knobs for you to adjust the width of the armrests.
Caution :
The backrest of your seat will not fully fold forwards if the armrests are
positioned too closely towards one another.
Warning :
When the scooter is in operation, the armrests should not be in the
raised position.
9
FIG 5
FIG 6
2. Pull backward on the seat lock handle to adjust the height of the seat while
simultaneously lifting the seat. (FIG 3).
Note:
Please make sure that the seat is properly locked and secured before sitting
on the Luggie. There are two windows on either side of the seat lock handle that
will appear
red
when the seat is locked and properly secured. Securing the seat
adjustment will help prevent accidents or tilting of the seat.
FIG 3
FIG 4