9 installation and removal of the eprom, 10 shipment – Doepfer Schaltwerk (device no longer available) User Manual
Page 4
Doepfer Musikelektronik GmbH - SCHALTWERK Users Manual - Aug. 1997 - Page 4
3.9 Installation and removal of the
EPROM
•
The exchange of the EPROM in the unit can only be
performed when the supply is disconnected.
•
It is especially dangerous to use tools in and around an
open device and wiring carrying mains voltage. After
disconnecting the unit, allow some time for the
capacitors of the power supply to discharge.
•
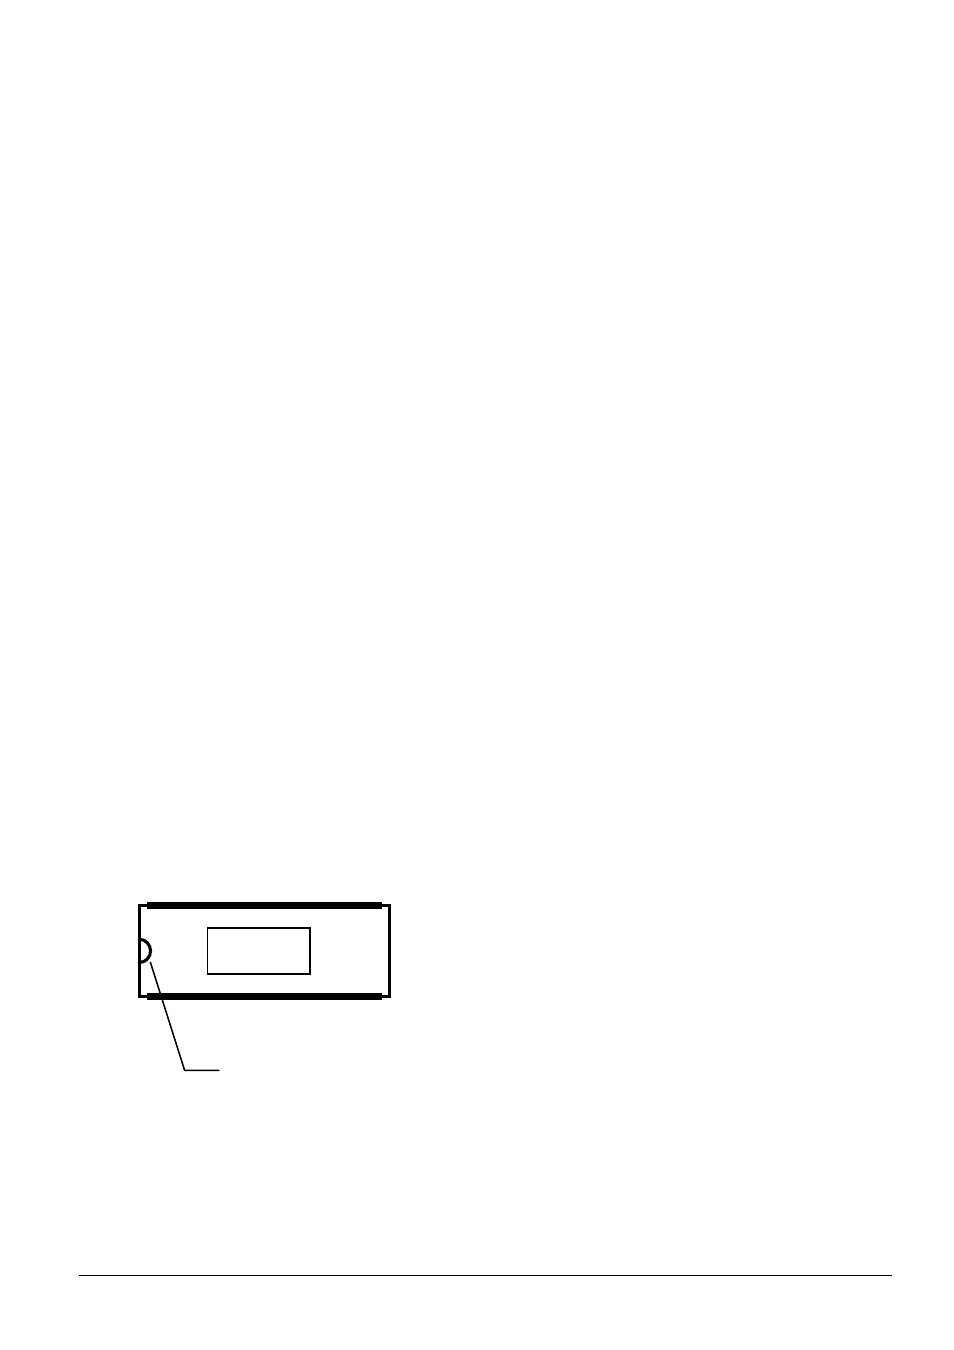
Before removing the EPROM, check carefully which
side has a notch on its end, as you will have to insert
the new EPROM exactly the same way. Usually this
notch is also to be seen on the socket when the
component is removed.
•
To remove the EPROM, it is recommended to lift it by
both sides at once, using two screwdrivers placed under
each end of the component, and then exert a gentle
lever movement. The reason is twofold: too much force
on one end could break the ceramic casing of the
component, secondly, this parallel movement avoids
bending the pins.
•
Before inserting the EPROM it is recommended to
check that the pin rows are parallel to each other, i.e.,
all pins point exactly the same direction and make an
exact angle of 90
0
with the casing. This will facilitate
the placement of the EPROM into its socket as each
pin will fit perfectly in place without risking to bend
the pins. Usually, the pin rows angle is somehow more
opened than a right angle. If it is the case with your
EPROM, the best way to align the pin rows is to hold
the chip by both ends between your thumbs and
forefingers, the pins of the chip facing outwards and
parallel to a firm surface such as a table. Place the
lower pin row flat on the table, then tilt slowly but
firmly to narrow the angle. Do it step by step to avoid
going beyond a right angle. Repeat the operation as
necessary for the other row of pins.
•
To insert the EPROM, it is crucial to match the notches
present on the socket and the component. An EPROM
inserted the wrong way is always destroyed and can
cause serious damage to the surrounding circuitry.
•
Place the EPROM on top of its socket. When the pins
are aligned, they should slip into the holes perfectly.
Check once again the orientation of the chip and, if all
pins seem to match their holes, press down the
EPROM slowly but firmly, using both thumbs.
3.10 Shipment
Send your machine in the original packing only. To return
your machine for exchange, repair (under warranty or
not), update or verification, it must be sent in its original
packing! Shipments using any other packing will be
refused. Be sure to keep the packing and documents in a
safe place for later use.
Sticker with
version number
Notch