Steffes Theben TR610 TOP Time Clock User Manual
Steffes Accessories for electrical
Page 1 of 2
Document #1200368.doc Rev 4
01/17/07
HAZARDOUS VOLTAGE:
Risk of electric shock. Can
cause injury or death. This
device may be connected to
more than one branch circuit.
Disconnect all branch circuits
WARNING
STEFFES CORPORATION
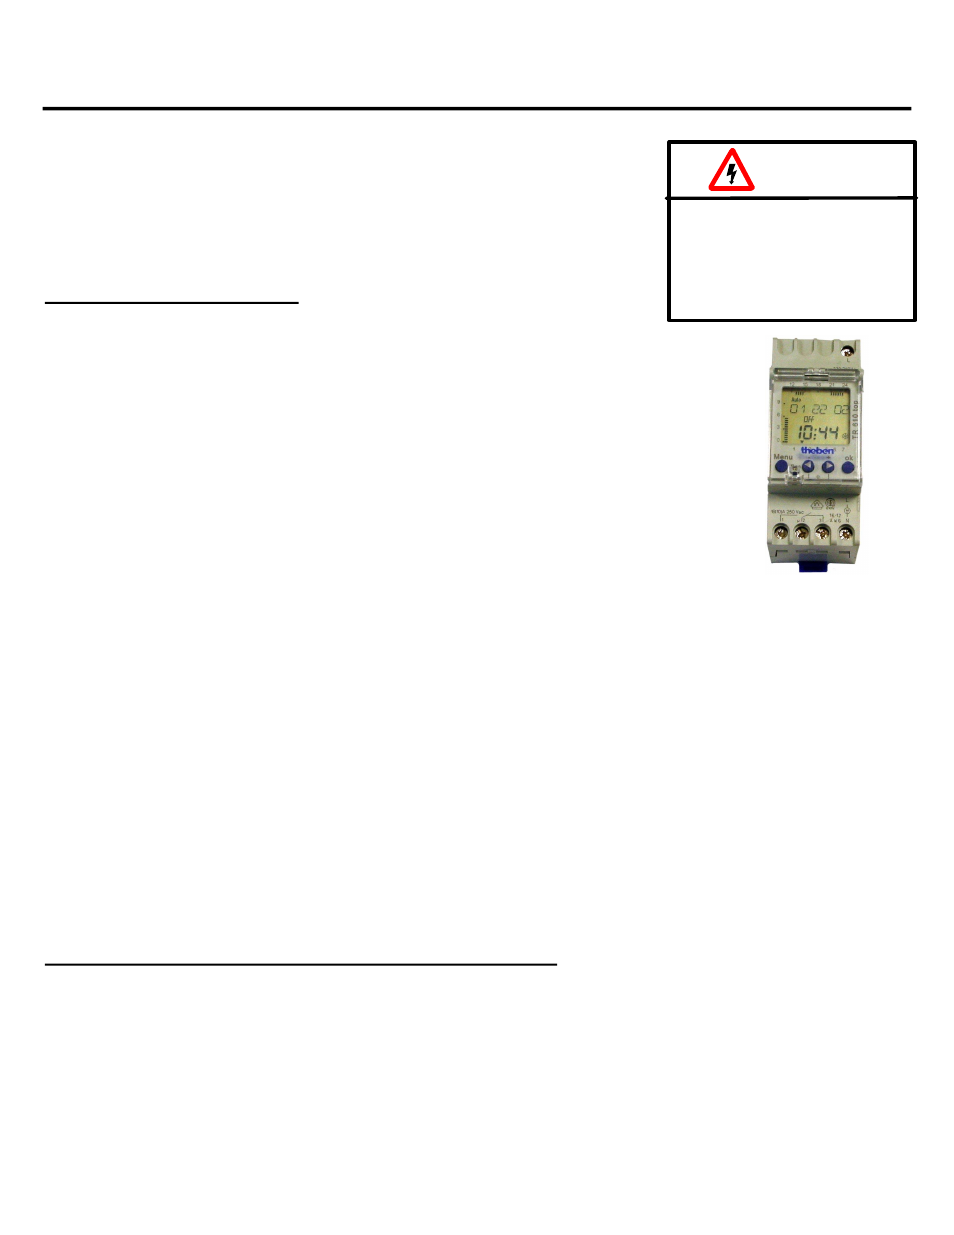
THEBEN MODEL “TR610 TOP” TIME CLOCK
SETTING INSTRUCTIONS
Item #1301007R (120V Clock) and Item #1301008R (240V Clock)
NOTE: The Theben time clock is equipped with a lithium battery with an
approximate 4year power reserve.
Throughout the programming of the time clock, if there is approximately 90 seconds of
inactivity (no buttons are pushed), the display will automatically reset to normal
operation. If the clock resets and the program information you are entering or editing
is not stored, the time clock will default to the previous settings. The new information
will have to be reprogrammed.
A. SETTING THE TIME CLOCK
1.
The time clock is delivered in a "sleep" mode. To activate without a service
voltage, press and release one of the four buttons.
2.
Select the national language by pressing the "◄" or "►" button until the desired language is
flashing. Press "OK" to save the selection.
3.
To set the year, press the "◄" or "►" button until the current year is displayed. Press "OK" to
save.
4.
Set the month by using the "◄" or "►" button until the current month is displayed. Press
"OK" to select.
5.
Set the day of the month using the "◄" or "►" button until the day of the month is displayed.
This display will show the month selected, followed by the day (09.01). Press "OK" to select.
6.
Set the current hour of the day using the "◄" or "►" button until the hour is displayed. Make
sure the correct am/pm hour is selected. Press "OK".
7.
Set the minutes using the "◄" or "►" button. Press "OK" to save.
NOTE: At this point, the time clock should continue with setup of daylight savings time; however,
the clock may return to the normal operating mode and skip the daylight savings section. If
this occurs, press the "MENU" button until the “¹” is flashing at the top of the display.
Press "OK" and repeat Steps 38.
8.
To set whether or not daylight savings time (DST) will be utilized, press the "►" button until "SUM/WIN" is
displayed. Press "OK".
a. With Daylight Savings Time
¨
Press the "►" button until "WITH S/W" is displayed. Press "OK".
¨
Use the "►" button until "USA/CAN" is displayed. Press "OK".
b. Without Daylight Savings Time
¨
Press the "►" button until "NO SU/WI" is displayed. Press "OK".
9.
The clock will return to the time/status display and the day of the week should automatically be indicated by an
arrow (1 = Monday...7 = Sunday) at the bottom.
NOTE: If daylight savings time is to be recognized, a snowflake or a sun will appear in the clock
display. A snowflake indicates winter months (days between last Saturday in October and
first Sunday in April). A sun indicates summer months (days between first Saturday in April
and last Sunday in October).
B. SETTING THE CHARGE (ON) AND CONTROL (OFF) CYCLES
NOTE:
Start times for each charge (on) and control (off) cycle MUST be set. They DO NOT need to be set in
sequential order.
1.
Press the “MENU” button until "Prog" is flashing in the upper portion of the display. Press "OK".
2.
Use the "◄" or "►" button until "NEW PROG" is flashing in the display. Press "OK". "FREE" and a number will
automatically appear after a few seconds to indicate how many program locations are available. There are a total of
28 program locations available if no program settings have been entered.
3.
The clock will automatically display "TIME ON" or "TIME OFF" toward the top of the display. Below this, "On" or "Off"
will be flashing. Use the "◄" or "►" button until “Time ON” displays and press “OK” to set the charging period.
Reminder: “ON” is a charging cycle and “OFF” is a control cycle.