Wilbur Curtis SHG User Manual
Service manual – single and dual hopper grinders
1
FOR THE LATEST SPECIFICATIONS AND INFORMATION GO TO WWW.WILBURCURTIS.COM
Important Safeguards & Symbols
CAUTION: Please
use this setup
procedure before
attempting to use this
grinder. Failure to follow the
instructions can result in
injury or the voiding of the
warranty.
Service Manual – Single and Dual Hopper Grinders
This appliance is designed for commercial use. Any servicing other than cleaning and
maintenance should be performed by an authorized Wilbur Curtis service technician.
• Do NOT immerse the unit in water or any other liquid.
• To reduce the risk of fire or electric shock, do NOT open top panel. No user serviceable
parts inside.
• Keep hands and other items away from hot parts of unit during operation.
• Never clean with scouring powders or harsh chemicals.
SETUP STEPS
1. Install the grinder on a firm, level base in a location where it can be connected to a
grounded electrical outlet of 120VAC, rated at 15 amps minimum.
2. Test the unit by running some whole bean coffee through the grinder. If any problems
are encountered, refer to the troubleshooting section complete at www.wilburcurtis.com
or call Technical Support at 800-995-0417.
OPERATING INSTRUCTIONS
W
ilbur
C
urtis
C
ompany
, i
nC
.
Models Included
DHG
SHG
SYMBOLS
WARNINGS – To help avoid personal injury
Important Notes/Cautions – from the factory
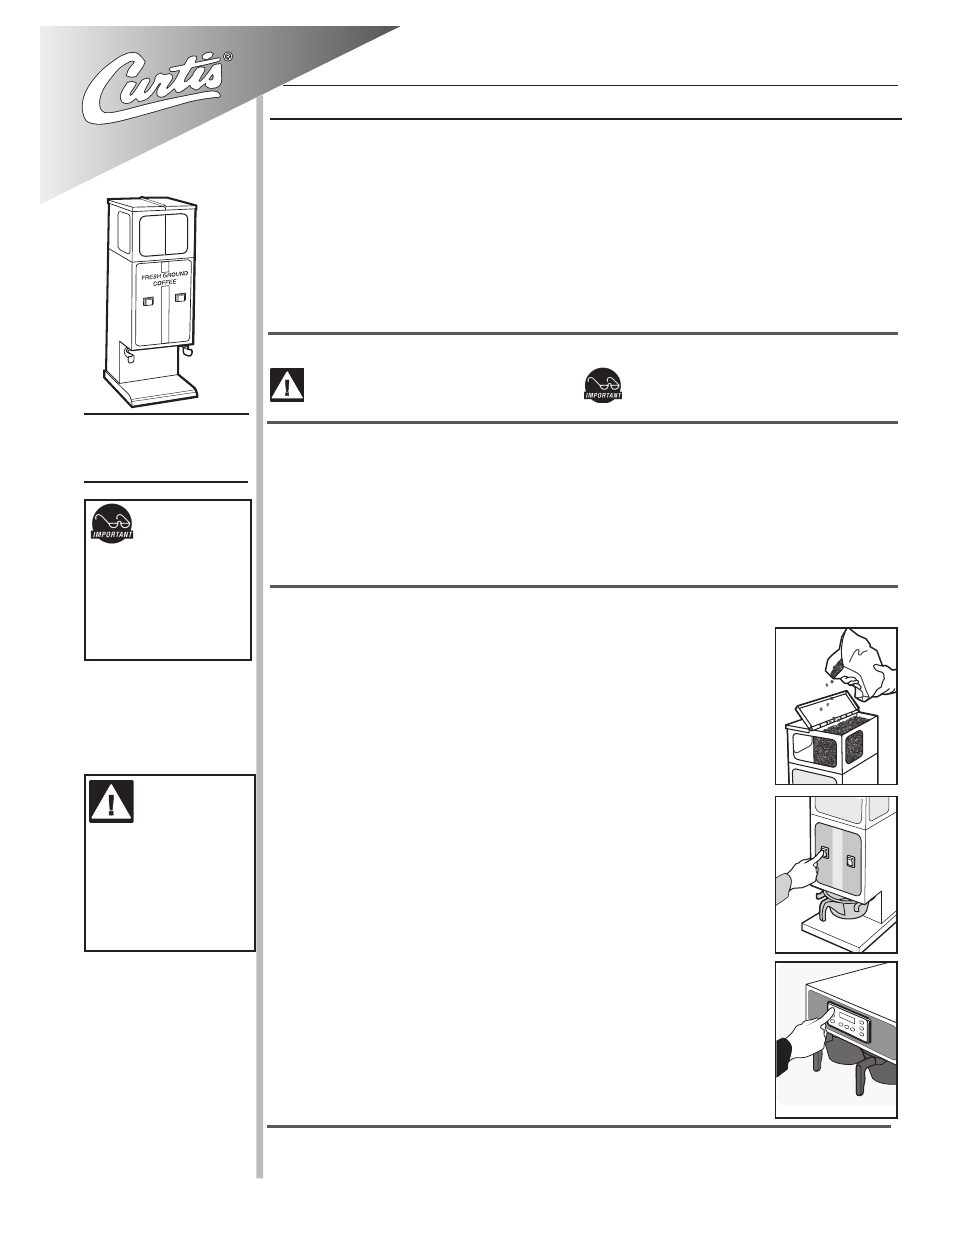
1. Lift open the top cover of the grinder and fill with fresh whole bean
coffee. Close the cover.
2. Position an empty coffee container onto the brew deck. When
brewing into a GEMINI brewer, turn on the warmer to pre-heat the
Satellite.
3. Place a new paper filter into the brew cone.
4. Insert the brew cone into the basket holder arms on the grinder.
5. On the grinder control panel, select and press the desired coffee,
Decaf or Regular. The motor will start grinding and will stop at the
pre-determined volume.
6. Make sure the motor comes to a stop before removing the brew
cone.
7. Transfer the filled brew cone to the brewer and press the desired
brew button. The brew cycle is complete when the brew light
stops flashing.
WARNING TO
AVOID SCALDING,
Remove the brew
cone carefully. The brew
cone contains hot coffee
grounds. Wait until the
brewer indicates that the
brew is finished before
removing.
ISO 9001:2008 REGISTERED
WILBUR CURTIS CO., INC.
6913 West Acco Street
Montebello, CA 90640-5403
For the latest information go to
www.wilburcurtis.com
Tel: 800-421-6150
Fax: 323-837-2410