Projecting an image file – Casio XJ-M245 User Manual
Page 26
26
Projecting an Image File
Use the Viewer Slide Mode to project image files. You can also group image files and project them in a
specific sequence as a slideshow.
To project an image file
1.
Connect the memory device where the image file you want to project is stored to
the Data Projector.
z This will project the main Viewer window. If the main Viewer window does not appear, press
the [INPUT] key and select “USB” as the input source.
2.
Use the cursor keys to move the highlighting to “Slides” and then press the
[ENTER] key.
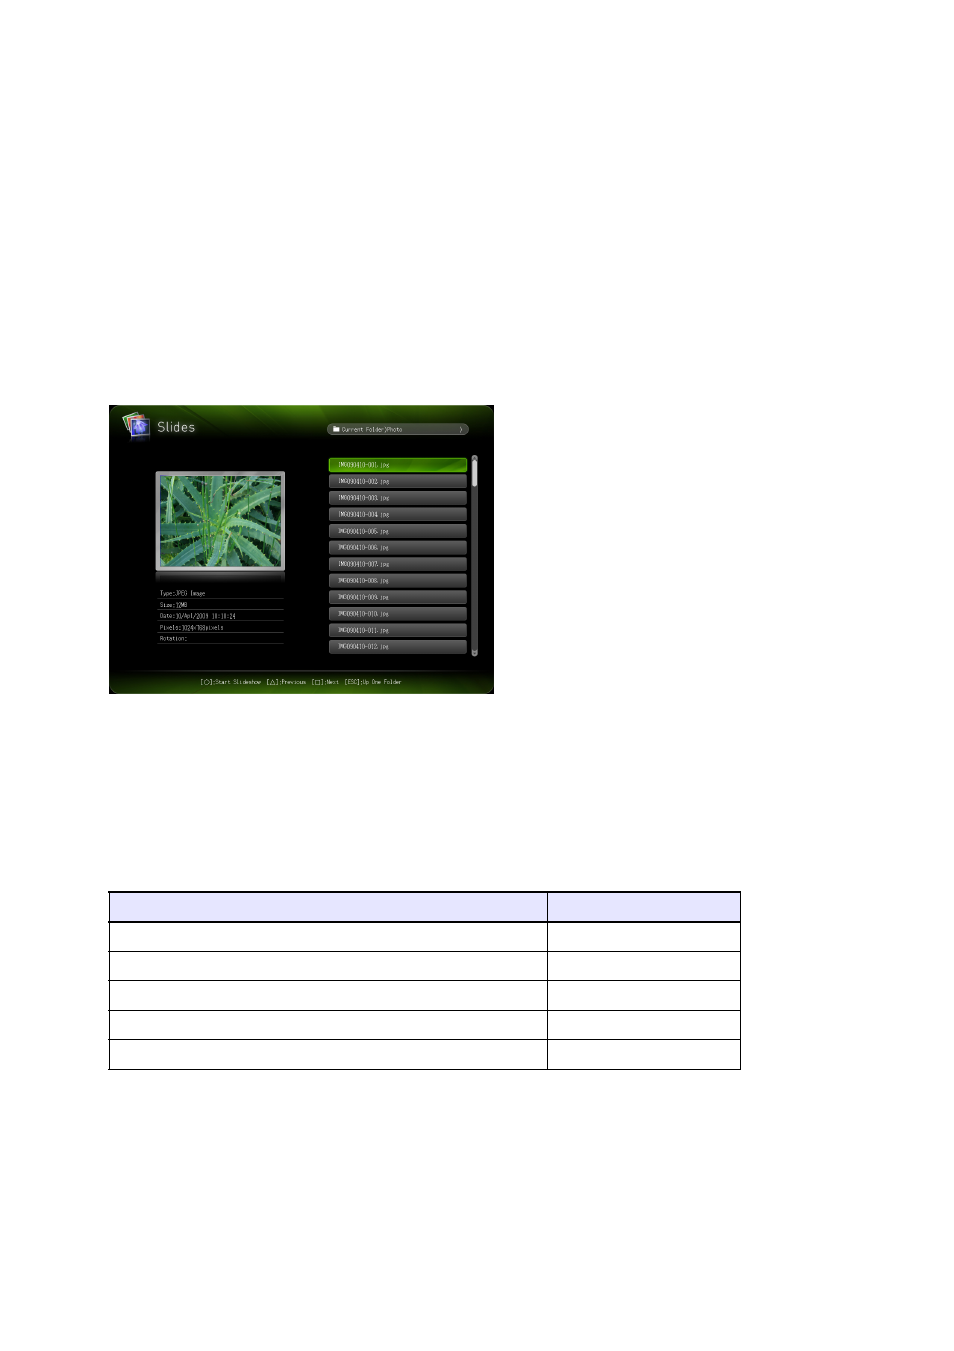
z This will project a file menu like the one shown below.
z If the image file you want to project is located in a particular folder, use the cursor keys to
move the highlighting to that folder and then press the [ENTER] key.
3.
Use the cursor keys to move the highlighting to the image file you want to
project and then press the [ENTER] key.
z This will project the selected image file.
4.
Perform the operations described below as required.
5.
To stop image projection and return to the file menu, press the [ESC] key.
To do this:
Press this key:
Scroll back to the previous image
[W]
Scroll forward to the next image
[X]
Rotate the image right 90 degrees
[f]
Rotate the image left 90 degrees
[Z]
Start a slideshow from the image file
[O]
- XJ-H1650 USB Function Guide XJ-H1750 USB Function Guide XJ-ST145 USB Function Guide XJ-ST155 USB Function Guide XJ-H1650 XJ-H2650 XJ-M145 (B9***A) USB Function Guide XJ-M155 (B9***A) USB Function Guide XJ-M245 (B9***A) USB Function Guide XJ-M255 (B9***A) USB Function Guide XJ-A256 XJ-A145V USB Function Guide XJ-A155V USB Function Guide XJ-A245V USB Function Guide XJ-A255V USB Function Guide XJ-A135