Kontron AT8902M User Manual
At8902m user guide advancedtca
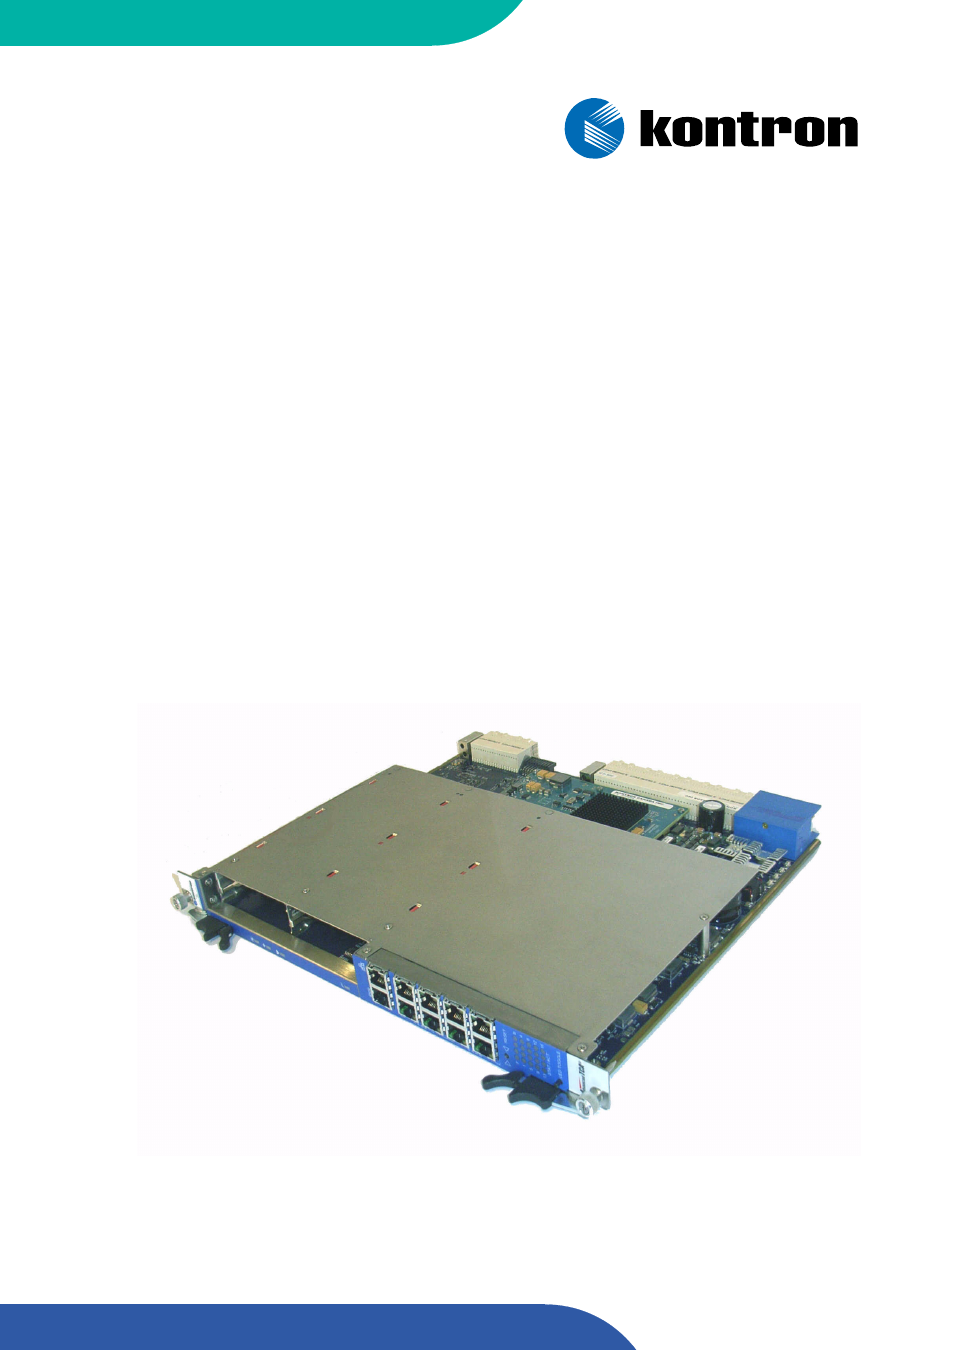
Table of contents
Document Outline
- Revision History
- Imprint
- Disclaimer
- Proprietary Note
- Trademarks
- Environmental Protection Statement
- Explanation of Symbols
- For Your Safety
- Two Year Warranty
- 1. Introduction
- 2. Installation
- 2.1 Safety Requirements
- 2.2 AT8902M Initial Installation Procedures
- 2.3 Standard Removal Procedures
- 1. Ensure that the safety requirements indicated in section 2.1. are observed.
- 2. Disconnect any interfacing cables that may be connected to the board.
- 3. Unscrew the front panel retaining screws.
- 4. Wait until the blue LED is fully ON, this mean that the hot swap sequence is ready for board removal.
- 5. Disengage the board from the backplane by using both board ejection handles
- 6. After disengaging the board from the backplane, pull the board out of the slot.
- 2.4 AMC Installation
- 1. Remove the AMC filler panel.
- 2. Carefully engage the AMC into the card guide. Push the AMC until it fully mate with its connector. Secure the AMC handle to the locking position.
- 3. In normal condition, the blue LED shall turn ON as soon as the AMC is fully inserted. It will turn OFF at the end of the hot swap sequence.
- 2.5 Software Installation
- 2.6 CLI Quick Start
- 1. Connect to serial port on AT8902M front plate using the adapter described in Chapter 3, section 3.1. Port settings are:
- 2. Ensure that the board is powered up.
- 3. Wait for boot process to complete, i.e. until the console selection menu appears.
- 4. Type “ b“ to connect to the Base Fabric console.
- 5. Log in as admin and enter privileged mode (no passwords required by default).
- 6. Set IP address and netmask (see below for an example IP address setting).
- 7. Save configuration by copying it to the flash, confirm by typing “y“.
- 3. Hardware Description
- 4. Software Description
- 4.1 Supported RFCs
- 4.2 Supported MIBs
- 4.3 Bootloader
- 4.4 IPMI Firmware
- 4.5 Firmware Administration
- 4.5.1 Startup Configurations
- 4.5.2 Updating Firmware
- 1. Download kernel, initrd and application images into the appropriate slots of the flash memory. Ensure that the currently active images are not overwritten.
- 2. Select a configuration for base and fabric switch for the new software release. This can be done by choosing the factory default or by storing the running system configuration into flash.
- 3. Create a startup configuration by combining the slots with the update images and the configuration slots for base and fabric switch.
- 4. Activate the selected startup configuration for One Time Boot.
- 5. Restart the board.
- 6. Activate the new startup configuration permanently
- 4.5.3 Updating IPMI
- A. Getting Help