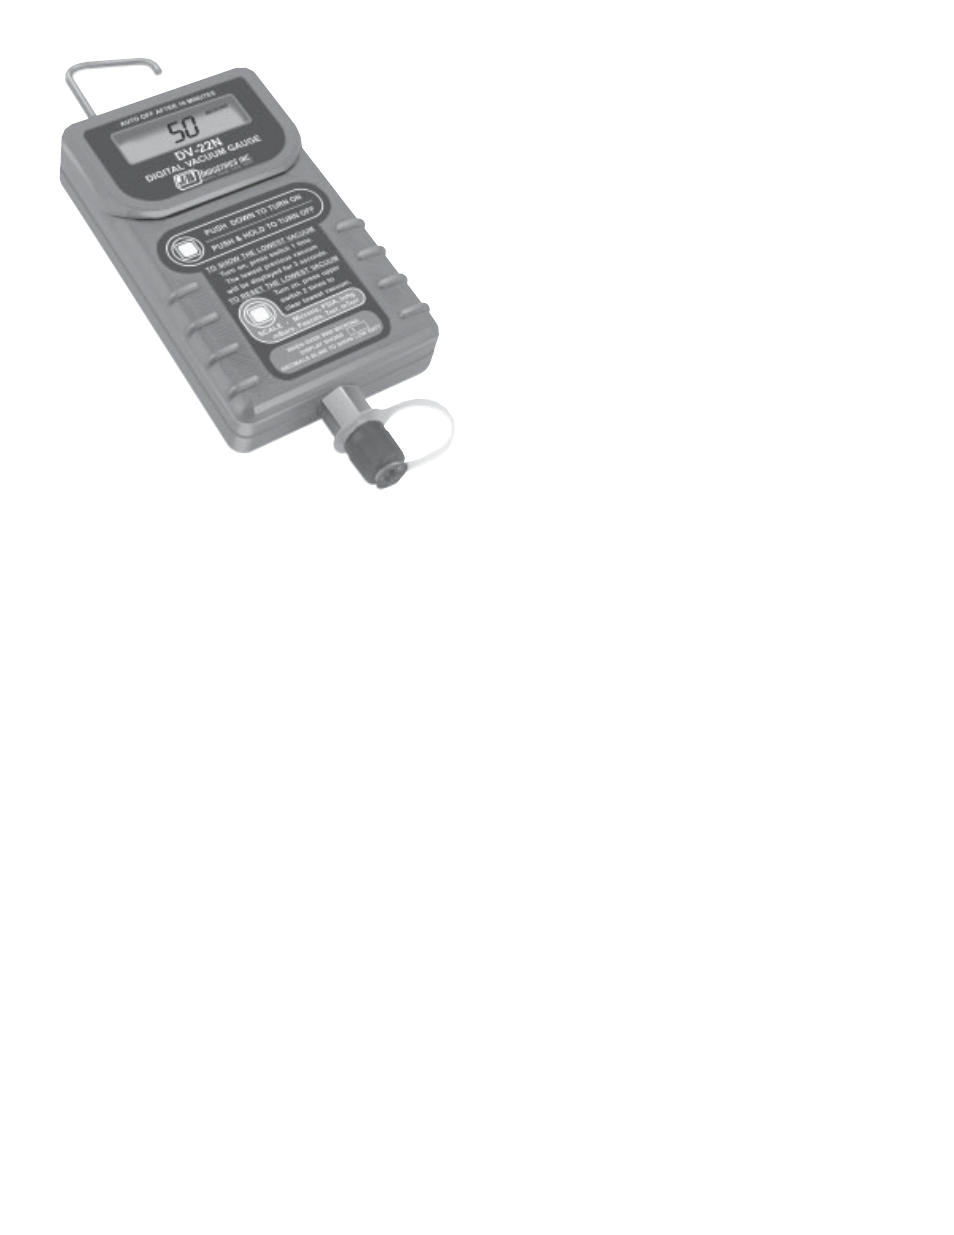
Just Better DV-22N Digital Micron Gauge User Manual
Dv-22n, Operating instructions digital micron gauge
Operating Instructions
Digital Micron Gauge
CLEANING VACUUM SENSOR
Fill vacuum hose connection fitting half full with
alcohol. Replace cap. Gently shake the gauge to allow
the alcohol to rinse the inside of the sensor. Remove
cap and pour out the alcohol. Turn gauge upside down
and allow the vacuum sensor to dry for 20-30 minutes
before using gauge or replacing cap.
WARRANTY
DV-22N is warrantied for 12 months after manufac-
ture date. The warranty covers a 6 month over-the-
counter return with the balance covering repair only.
Misuse or damage from impact, etc. are not covered.
For repair, return the complete unit to your local whole-
saler. In warranty items must have a copy of the invoice
included.
OPERATION
1. Push square button to turn gauge on. If unit does not
display any characters, check to be sure batteries are
correctly installed. The start-up display will show the
letters “
J:B ” followed by either the micron value or
the overrange indicator “ 1”.
2. Push the lower square button to select the desired
display units. The gauge will save the selected unit
and use that unit every time the gauge is turned on.
3. The micron gauge power saver feature automatically
turns the gauge off after 10 minutes. To continue,
repress the start button;
J:B will be displayed
followed by the current reading.
LOW BATTERY INDICATOR
If 3 blinking decimal points are displayed, the
battery is low. Replace with 9 volt battery.
• Reads Vacuum In 7 International Units: Microns,
PSIA, InHg, mBars, Pascals, Torr, mTorr
• 25 to 12,000 Microns Vacuum Range
• Uses 9V Alkaline Battery (not included)
DV-29 HOOK-UP
The most leak-proof setup is by using the DV-29 (see
page 2) which works with all micron gauges. This unit
creates a closed system eliminating any leakage under
deep vacuum.
The DV-29 test unit eliminates other problems when
attaching the micron gauge into the system. If the micron
gauge is attached directly to the vacuum pump or with 3'
dedicated hose, we will get a lower reading as the gauge
is sensing what the pump is doing and not what the
pump is doing to the system.
GENERAL MICRON GAUGE HOOK-UP
When designing your hook-up system, choose from
the following hoses, valve and coupler designed for leak-
proof service in a deep vacuum environment.
1. D10436 or D10427 1/4" Metal Hose and D10636 or
D10660 3/8" Metal Hose with o-ring couplers. Your
hook-up through manifold, pump and if desired, to the
micron gauge.
2. A34000 Quick Coupler Tee w/o-ring seal. Since the
most accurate reading is obtained at the compressor's
high or low side, use to tee-off the gauge.
3. D10162 ball valve with O-ring quick coupler to valve
off gauge before charging. Depending on the gauge, it
should be remembered that the electronic gauge's
sensors will not take pressure beyond 1 to 100
pounds. Depending on hook-up, use with metal hose
or A34000 coupler.
TESTING VACUUM PUMP
It is a good idea to attach the micron gauge to the
vacuum pump before evacuation to make sure the pump
pulls down to at least 50 microns. If it doesn't, your pump
is contaminated and the oil should be changed. Do not
shut-off the blank-off valve on the pump and expect the
gauge to hold a vacuum as the gauge will fall back to
atmosphere. The reason for this is that the sensor is too
close to the pump and the gauge's sensor doesn't have
time to equalize.
DV-22N