645 medium format panoramic format – Fotodiox VIZELEX RhinoCam for Sony NEX User Manual
Page 2
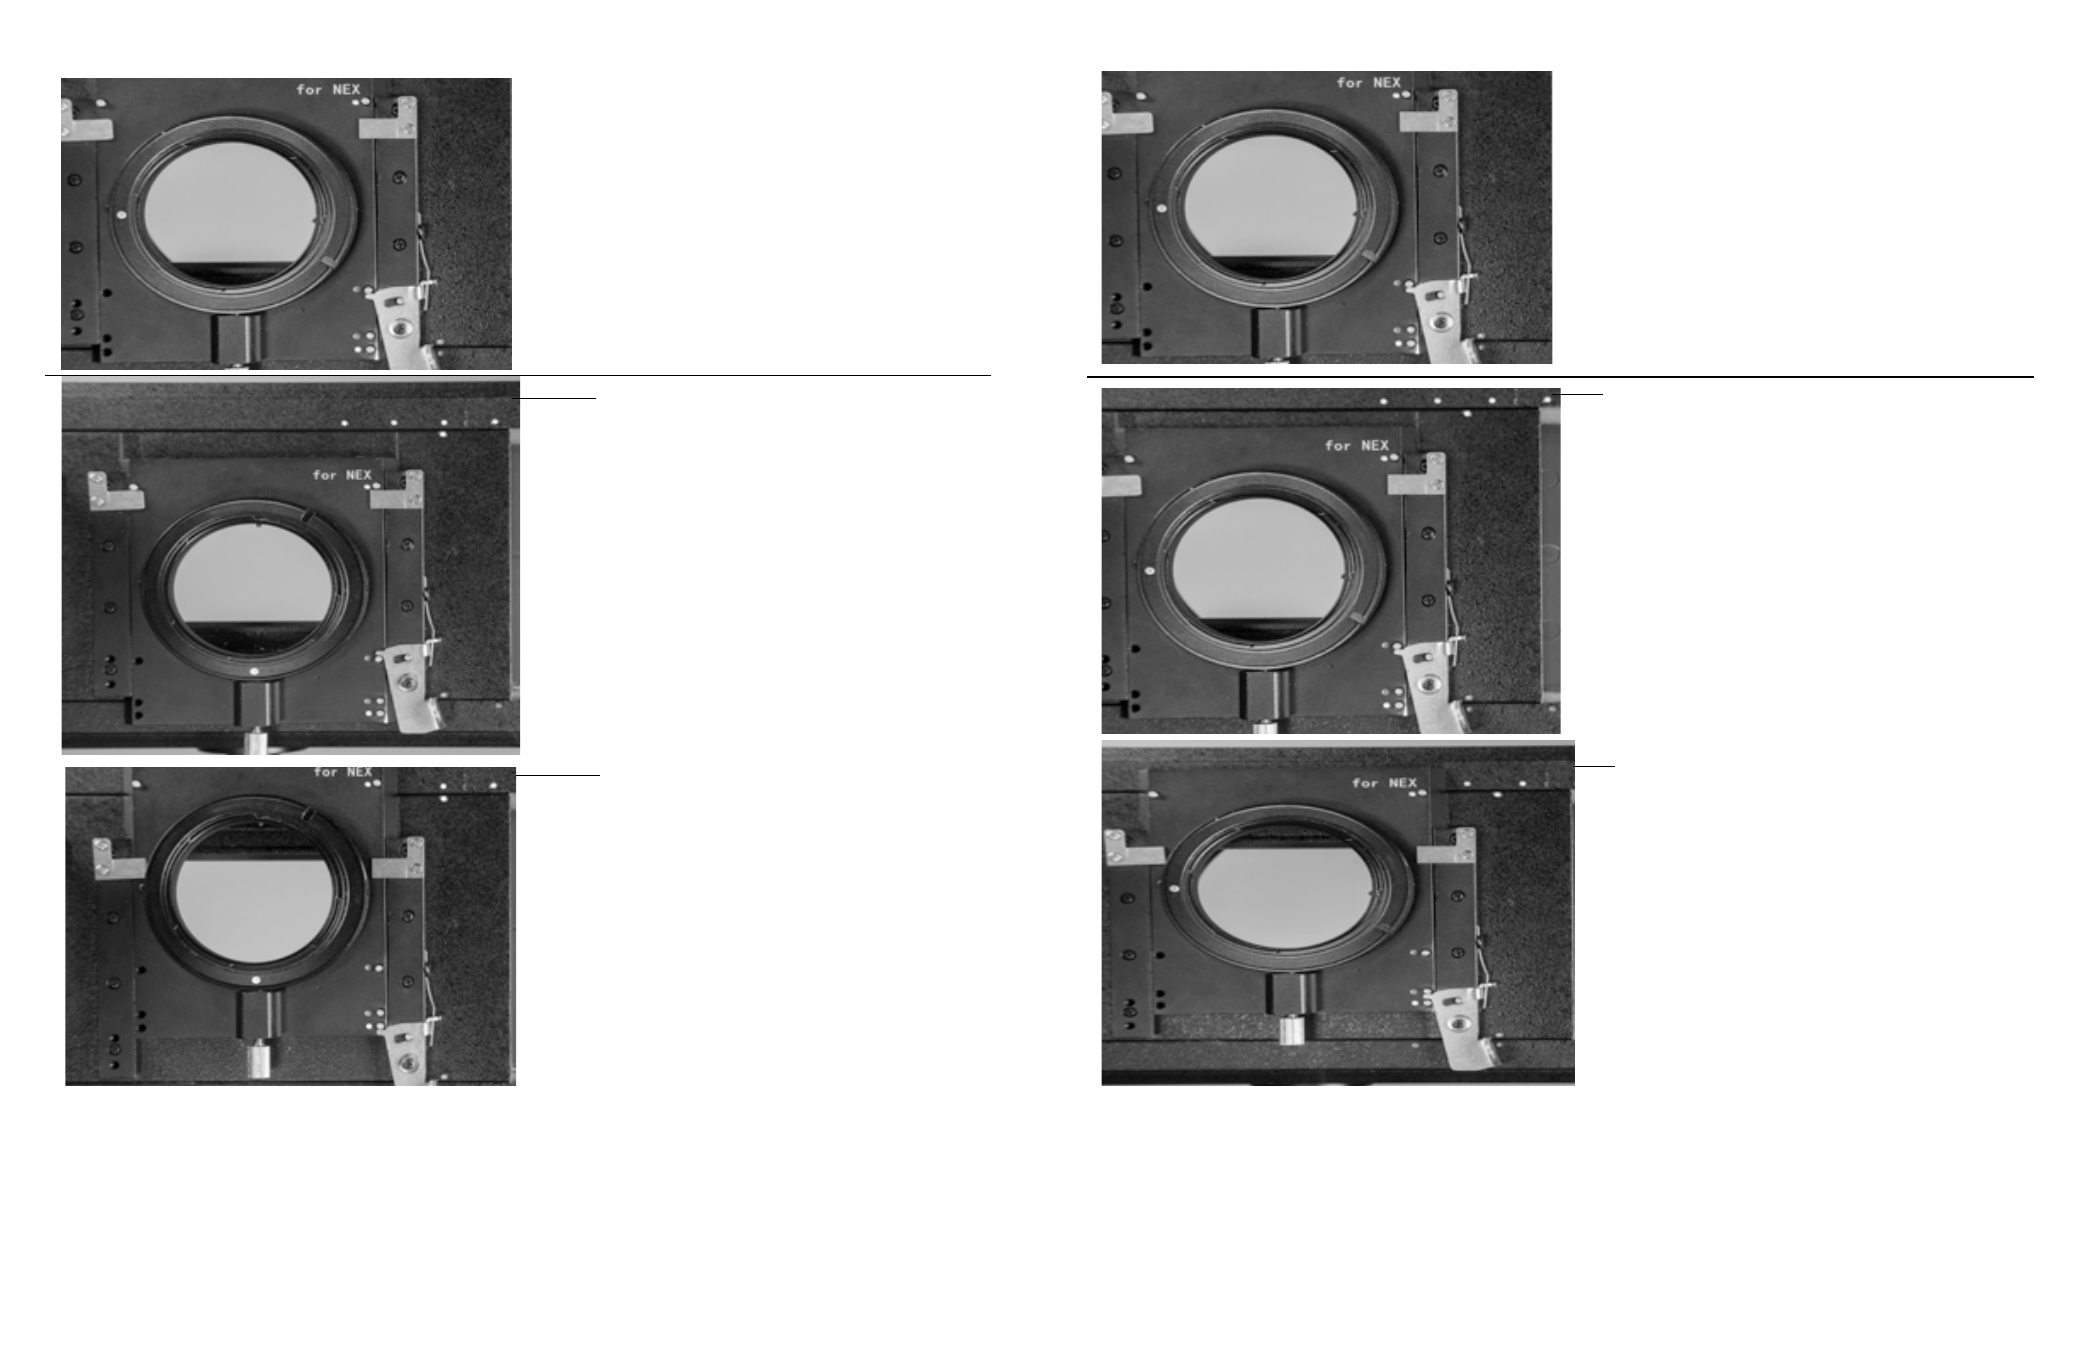
Top Position for 645
Bottom Position for 645
Mounting the digital back and lens to the RhinoCam.
1.Attach lens to RhinoCam.
2.Slide lens to composition screen, find your image.
3.Attach digital back to RhinoCam. White dot on the
mount must be spun to the left and tightened into
position to mount your digital back. If shooting 645
medium format mode, loosen screw and spin digital
back into portrait orientation.
(Left) Position the digital back mount must be in to
attach digital back.
4.Place the silver spring clip over the top most white
guide pin (or the highest you can go on the slide be-
fore it stops) to shoot your first round of images.
5.Align top white dot on sliding plate with left corre-
sponding white dot on the fixed plate. Take exposure.
Then move to the next dot and repeat, until you have
taken 4 exposures.
6.Open the silver spring clip and slide it down to the
bottom white guide dot and place the clip below the
corresponding guide pin.
7.Align the top white dot on sliding plate with right
corresponding white dot on the fixed plate. Take
exposure. Then move to the next dot and repeat, until
you have taken 4 exposures.
8.Unscrew the digital back mount and move the digital back into landscape orientation and tighten the screw
back up. Remove the digital back.
9.Remove the lens.
10.Use your favorite stitching program to merge the photos together to create your large image.
Mounting the digital back and lens to the RhinoCam.
1.Attach lens to RhinoCam.
2.Slide lens to composition screen, find your image.
3.Attach digital back to RhinoCam. White dot on the
mount must be spun to the left and tightened into
position to mount your digital back. I
(Left) Position the digital back mount must be in to
attach digital back.
Top Position for Panoramic
Bottom Position for Panoramic
4.Place the silver spring clip over the top most orange
guide pin (or the highest you can go on the slide be-
fore it stops) to shoot your first round of images.
5.Align bottom orange dot on sliding plate with left
corresponding orange dot on the fixed plate. Take
exposure. Then move to the next dot and repeat, until
you have taken 3 exposures.
6.Open the silver spring clip and slide it down to the
bottom orange guide dot and place the clip above the
corresponding guide pin.
7.Align the bottom orange dot on sliding plate with
right corresponding orange dot on the fixed plate.
Take exposure. Then move to the next dot and repeat,
until you have taken 3 exposures.
8.Unscrew the digital back mount and move the digital back into landscape orientation and tighten the screw
back up. Remove the digital back.
9.Remove the lens.
10.Use your favorite stitching program to merge the photos together to create your large image.
645 Medium Format
Panoramic Format