Maintenance, Cleaning, Warning – Code 3 PB100B/PB100C Bumper-Mount Speaker User Manual
Page 4
CONNECTION OF A 58 WATT SPEAKER TO THE 100 WATT TERMINAL WILL CAUSE THE
SPEAKER TO BURN OUT. AND WILL VOID THE SPEAKER WARRANTY! The sound
projecting opening should be pointed forward, parallel to the ground. and not obstructed or
muffled by structural components of the vehicle. Concealed or under-hood mountings in some
cases will result in a dramatic reduction in performance. To minimize this reduction, mount the
speaker so the sound emitted is projected directly forward and obstruction by vehicle compo-
nents such as hoses, brackets, grille. etc. is minimized. Electromechanical sirens and electronic
siren speakers should be mounted as far from the occupants as possible using acoustically
insulated compartments and isolation mountin
g
s to minimize the transmission of sound into the
vehicle. It may be helpful to mount the device on the front bumper, engine cow! or fender; heavily
i
nsulate the passen
g
er compartment and operate the siren only with the windows closed.
Each of these approaches may cause significant operational problems. including loss of siren
performance from road slush, increased likelihood of damage to the siren in minor collisions,
and the inability to hear the sirens on other emergency vehicles. APPROPRIATE TRAINING OF
VEHICLE OPERATORS IS RECOMMENDED TO ALERT THEM TO THESE PROBLEMS
AND MINIMIZE THE EFFECT OF THESE PROBLEMS DURING OPERATIONS.
WARNING!
MAINTENANCE
If necessary, maintenance of your PB100 involves the cleaning of the unit and the replacement of the siren driver. Allow the
unit to cool for five minutes before attempting any maintenance. For replacing a burned out or defective driver, the speaker
bracket assembly must be removed from the vehicle in reverse order as explained in the installation procedure. Follow the
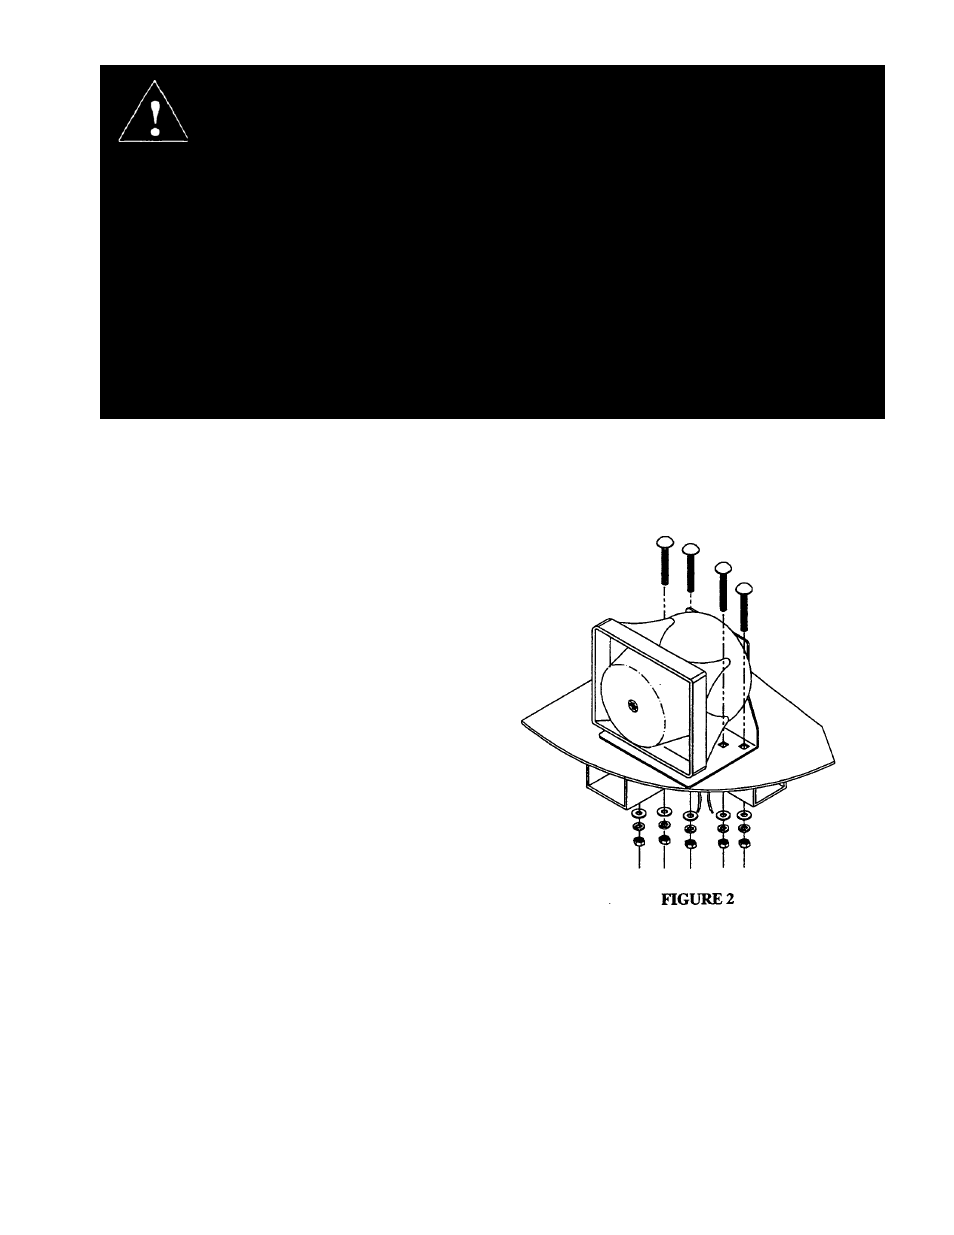
steps below once this has been accomplished. (See figure 3).
1) Remove the driver cap on the front face of the
speaker assembly and place it on a flat surface.
2) Remove the four screws on the back of the assembly and
disassemble the bracket, speaker bell and driver cover.
3) Detach the wires from the defective driver and reconnect
them to the appropriate terminals on the replacement
driver.
4) Reassemble the speaker assembly to its original state
and reattach it to the vehicle following the same steps
outlined in the installation and mounting section in this
booklet. Make sure the wires are tightly sealed at all exit
points from the speaker assembly. Fill any voids with
silicone caulking.
NOTE: When reassembling the speaker, make sure to align the drain holes on the driver, driver cone and driver
cap (the drain hole on the Atlas driver is located on it’s underside behind a metal tag). These holes should be
oriented to the base of speaker/bracket assembly for proper drainage and orientation of the logo on the driver
cap.
CLEANING
Clean the PB100 with soap and water to remove all salt, dirt, or mud. Do not use any abrasive cleaners or harsh
chemicals, because the protective coating on the aluminum may be damaged allowing the exposed aluminum to
dull in appearance or corrode.
4