Introduction, Unpacking & pre-installation, Warning – Code 3 21IF User Manual
Page 2
2
Introduction
The 21IF™ Light Bar is approximately 2" high, yet delivers unobstructed 360° warning and more signal power and versatil-
ity than any other light bar of its size through the use of newly designed Torus Technology
TM
optics. The low profile and
aerodynamic lines reduce air drag, which results in fuel savings and stability at high speeds. This light bar has a strong
extruded internal frame, shock-resistant polycarbonate lenses, and warning signals that exceed SAE standards. The light
bar is designed on a modular basis, which means that the light bar can be customized to meet any requirement. It has room
for numerous halogen and LED options, and offers the ultimate flexibility in the location of warning and auxiliary lights.
Wiring Instructions (read Care-
fully Before Installation)
WArnIng!
The use of this or any warning device does not ensure that all drivers can or will observe or react to
an emergency warning signal. never take the right-of-way for granted. It is your responsibility to be
sure you can proceed safely before entering an intersection, driving against traffic, responding at a
high rate of speed, or walking on or around traffic lanes.
The effectiveness of this warning device is highly dependent upon correct mounting and wiring.
read and follow the manufacturer’s instructions before installing or using this device. The vehicle
operator should insure daily that all features of the device operate correctly. In use, the vehicle
operator should insure the projection of the warning signal is not blocked by vehicle components (i.e.:
open trunks or compartment doors), people, vehicles, or other obstructions.
This equipment is intended for use by authorized personnel only. It is the user’s responsibility to
understand and obey all laws regarding emergency warning devices. The user should check all ap-
plicable city, state and federal laws and regulations.
Code 3, Inc., assumes no liability for any loss resulting from the use of this warning device.
Proper installation is vital to the performance of this warning device and the safe operation of the
emergency vehicle. It is important to recognize that the operator of the emergency vehicle is under
psychological and physiological stress caused by the emergency situation. The warning device
should be installed in such a manner as to: A) not reduce the output performance of the system, B)
Place the controls within convenient reach of the operator so that he can operate the system without
losing eye contact with the roadway.
Emergency warning devices often require high electrical voltages and/or currents. Properly protect
and use caution around live electrical connections. grounding or shorting of electrical connections
can cause high current arcing, which can cause personal injury and/or severe vehicle damage,
including fire.
PrOPEr InSTALLATIOn COMBInED WITH OPErATOr TrAInIng In THE PrOPEr USE OF
EMErgEnCY WArnIng DEVICES IS ESSEnTIAL TO InSUrE THE SAFETY
OF EMErgEnCY
PErSOnnEL AnD THE PUBLIC.
!
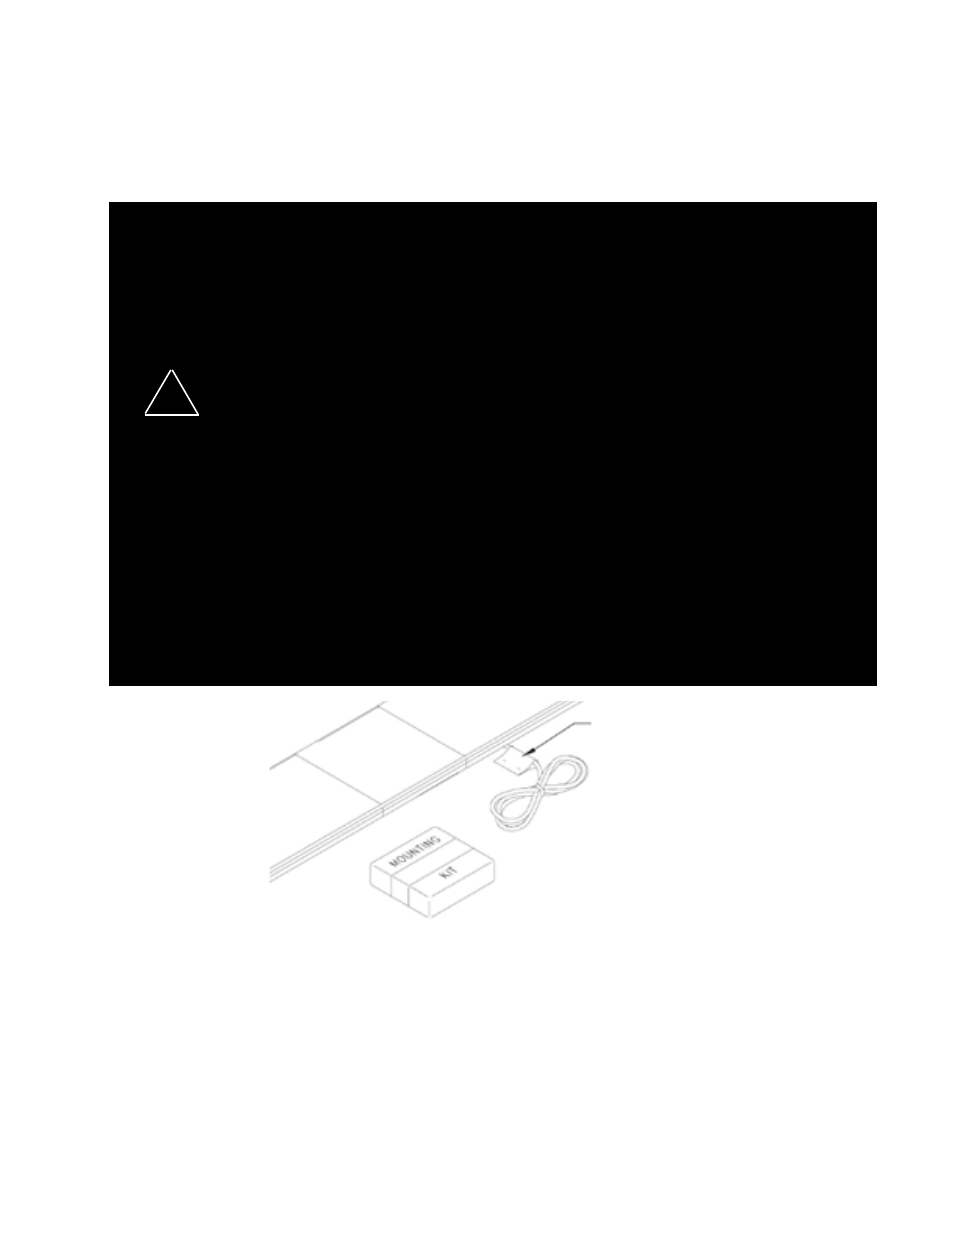
Unpacking & Pre-installation
Carefully remove the light bar and place it on a flat surface, taking care not to scratch the lenses or damage the cable com-
ing out of the bottom. Examine the unit for transit damage, broken lamps, etc. report any damage to the carrier and keep
the shipping carton.
Standard light bars are built to operate on 12 volt D.C. negative ground (earth) vehicles. If you have an electrical system other
than 12 volt D.C. negative ground (earth), and have not ordered a specially wired light bar, contact the factory for instructions.
Test the unit before installation. To test, touch the black wire to the ground (earth) and the other wires to +12 volts D.C., in
accordance with the instructions attached to the cable (an automotive battery is preferable for this test). A battery charger
may be used, but please note that some electronic options (flashers, etc.) may not operate normally when powered by a
battery charger. If problems occur at this point, contact the factory.