Craftsman 360.796900 User Manual
Page 4
Attention! The text in this document has been recognized automatically. To view the original document, you can use the "Original mode".
CONTENTS OF CARTON
Read these instructions and the operating manual in its entirety'before you attempt to operate your new air blower.
Blower Tube
Curved Nozzle Tube
Extension Tube
Clamp
Q'
Clamp with
Cable Guide
c
Blower
Pleated Tube
Combi-Wrench
ACCESSORIES
The following items for the operation of your blower are available at your nearest Sears store.
•
Safety goggles
• Air fitter
•
Hearing protection
• Fuel stabilizer
•
Gloves
• Sparkplug
•
2-Cycle air cooled engine oil
• Gas can
ASSEMBLY
Read these instructions and the operating manual in
its entirety before you attempt to assemble or operate
your new backpack air blower.
Your new backpack air blower has been assembled at
the factory except for the blower tubes. The necessary
clamps to complete assembly as well as a combination
wrench are included in the parts bag enclosed with the
unit.
To ensure safe and proper operation of your backpack
air blower, any clamp that you install must be
tightened securely.
HOW TO ASSEMBLE
1.
The elbow tube is already inserted into the blower
housing. Insure that the two screws (Fig. 1, A) are
tight, but not so tight that the tube cannot be easily
swiveled.
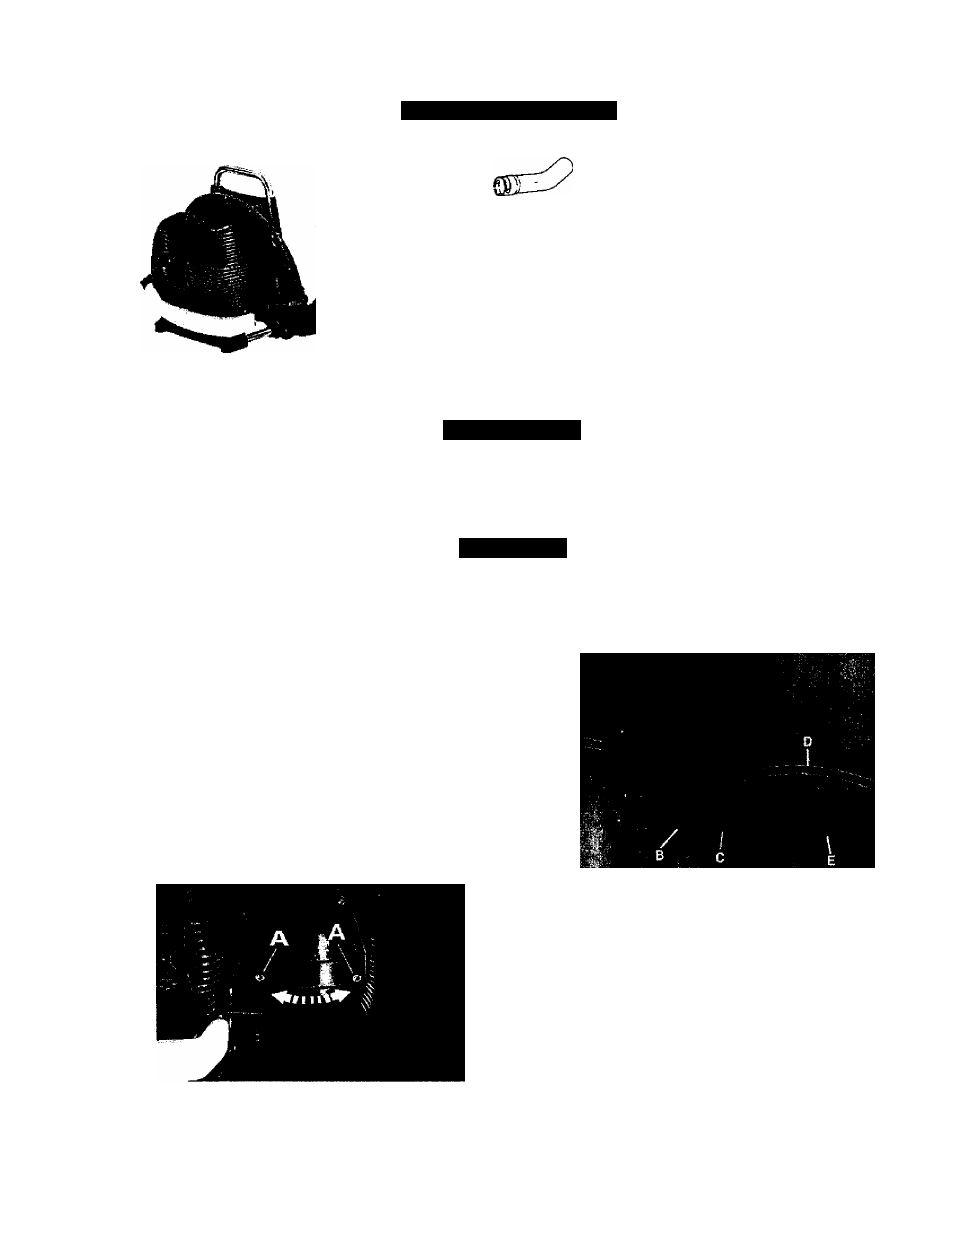
FIGURE 1
2.
Slide the pleated tube (Fig. 2, E) onto the elbow
(Fig. 2, B) and secure with the clamp (Fig. 2, C)
that has an attached cable guide. Install throttle
cable (Fig. 2, D) into the clamp cable guide.
FIGURE 2
3.
Loosen the two screws (Fig. 3, H) on the bottom of
the attached handle clamp. Make sure that the
clamp goes over the top of the raised “T” on the
underside of the blower tube, and that the leg of
the “T” is aligned with the slot on the clamp. Push
blower tube into the pleated tube and secure with
the plastic clamp (Fig. 3, G). The multi-function
handle (Fig. 3, F) has a 2-inch adjustment range.
Locate the most comfortable handle location and