Craftsman 917.272281 User Manual
Page 9
Attention! The text in this document has been recognized automatically. To view the original document, you can use the "Original mode".
TO ROLLTRACTOR OFF SKID (See
Operation section for location and
function of controls)
1
.
2
.
3.
Press lift lever plunger and raise
attachment lift lever to its highest
position.
Release parking brake by depressing
brake pedal.
Place freewheel control in disen
gaged position to disengage transmis
sion (See TO TRANSPORr in the
Operation section of this manual).
4. Roll tractor fonvard off skid.
5. Remove banding holding the deflector
shield up against tractor.
TO DRIVE TRACTOR OFF SKID (See
Operation section for location and
function of controls)
A
WARNING: Before starting, read,
understand and follow all instructions in
the Operation section of this manual. Be
sure tractor is in a welt-ventilated area. Be
sure the area in front of tractor is clear of
other people and objects.
1. Be sure all the above assembly steps
have been completed.
2. Check engine oil level and fill fuel
tank with gasoline.
3. Place freewheel control in “transmis
sion engaged" position (see TO
TRANSPORT" in Operation section of
this manual).
4.
Sit on seat in operating position,
depress brake pedal and set the
parking brake.
5. Press lift lever plunger and raise
attachment lift lever to its highest
position.
Start the engine. After engine has
started, move throttle control to idle
position.
Release parking brake.
Slowly depress forward drive pedal
and drive tractor off skid.
Apply brake to stop tractor and set
parking brake.
10.Turn ignition key to "STOP" position.
Continue with the instructions that follow.
6
.
7.
8
.
9.
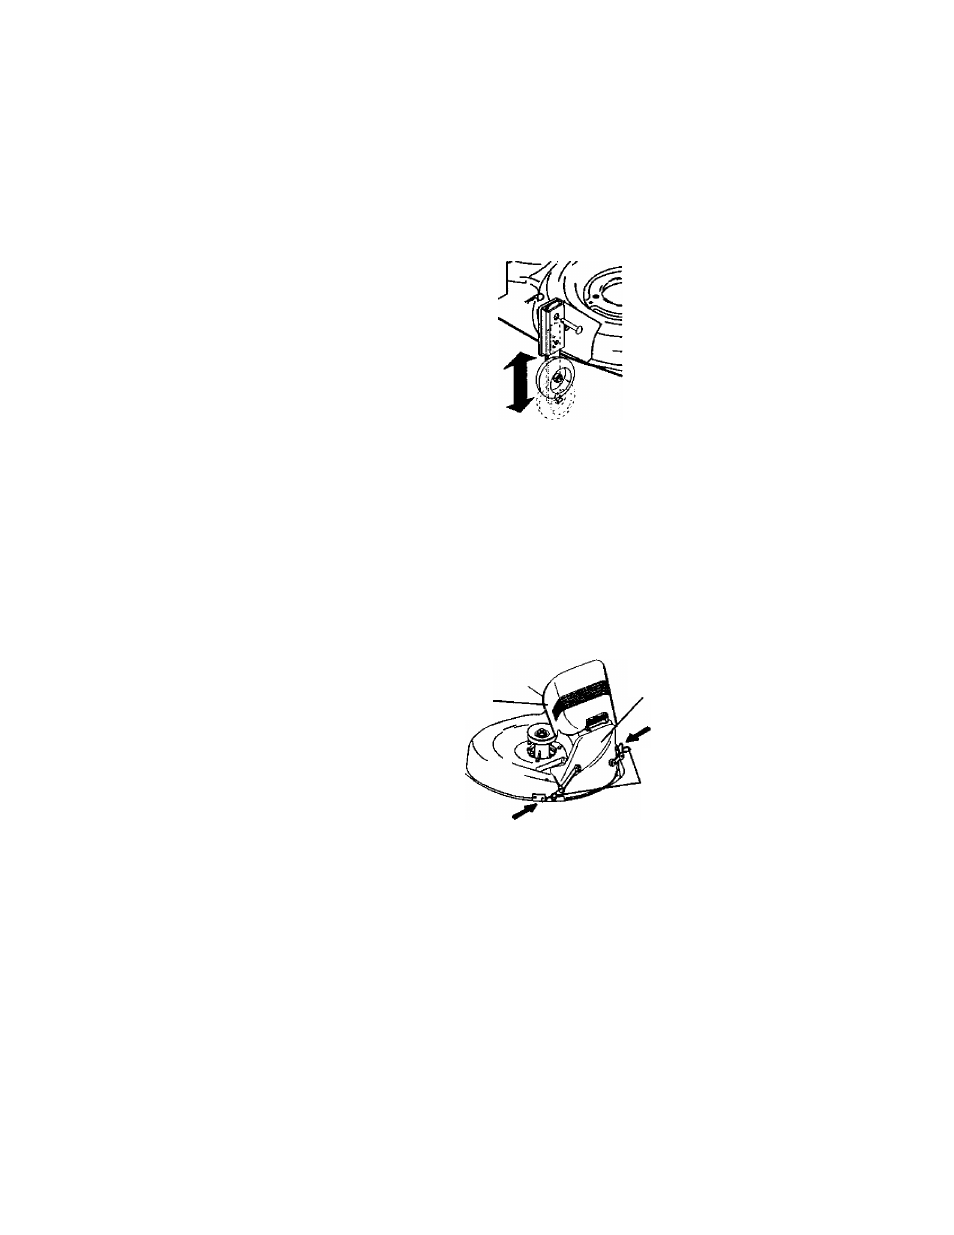
REPOSITION RIGHT REAR GAUGE
WHEEL
For shipping purposes, the right rear
gauge wheel assembly is mounted
upside down on the mower. Remove the
gauge wheel assembly and reinstall from
the bottom as shown. To adjust gauge
wheels, see the Operation section in this
manual.
INSTALL MULCHER PLATE
(If previously removed)
1
.
2
.
3.
4.
Raise and hold deflector shield in
upright position.
Place front of mulcher plate over front
of mower deck opening and slide into
place, as shown.
Hook front latch into hole on front of
mower deck.
Hook rear latch into hole on back of
mower deck.
Deflector
Shield
Mulcher
Plate
Latch
Hooks
A
CAUTION; Do not remove deflector
shield from mower. Raise and hold shield
when attaching mulcher plate and allow it
to rest on plate while in operation.
TO CONVERT TO BAGGING OR
DISCHARGING
Simply remove mulcher plate and store in
a safe place. Your mower is now ready for
discharging or installation of optional
grass catcher accessory.
NOTE: It is not necessary to change
blades. The mulching blades are
designed for discharging and bagging
also.