Settings, City/highway mode – Cobra Electronics COBRA XRS 9550G User Manual
Page 6
English
6
Settings
Your Detector
Intro
Operation
Customer
Assistance
Warranty
Notice
Main Icons
Secondary Icons
Nothing Comes Close to a Cobra
®
7
Your Detector
Intro
Operation
Customer
Assistance
Warranty
Notice
Main Icons
Secondary Icons
City/Highway Mode
(continued)
Settings
•
When changing the
Settings on your detector, please keep in mind:
n
Buttons can have multiple functions.
–
Press means press and release (less than two seconds).
–
Hold 2 means press and hold for two or three seconds before releasing.
–
Hold 4 means press and hold for four seconds or more before releasing.
n
Depending on your choice of Voice Alert or Tone Alert mode, you will hear
either voice messages or tones confirming changes in settings.
n
All settings will be stored in memory when the power is turned Off and
recalled when the power is turned back On.
City/Highway Mode
Setting your detector to
City mode delays all X band audio alerts until the signal
strength reaches Level 3. (A single beep will sound when the signal is first
detected.) This will reduce false alerts while you are driving in, or near, urban areas
where there are many sources for conflicting X band signals such as microwave
towers and automatic door openers.
To change settings, follow the procedure listed on the next page, which indicates
what you will see and hear (either in Voice Alert or Tone Alert mode) as you complete
each step. The factory setting is
Highway mode.
h
c
Highway Mode
City Mode
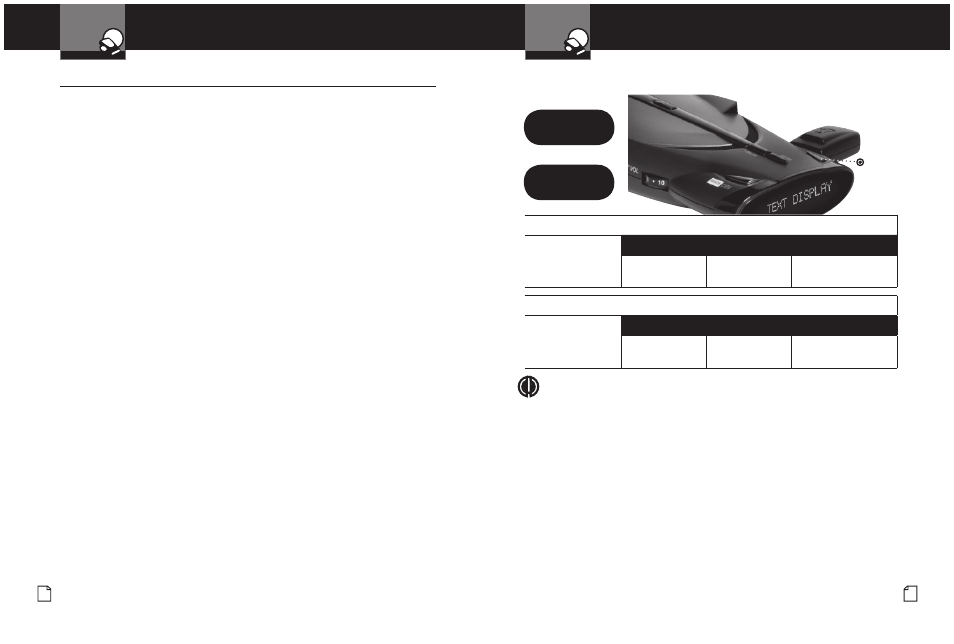
City/Hwy
Button
Press and
release
To Change From Highway Mode to City Mode
Press and release
the
City/Hwy button.
Tone
Voice
Visual Display
One beep
City
City X blinks, then c
appears in the display*
NOTE
If the GPS Locator is connected, “c” or “h” will show
for two seconds, then be replaced by the GPS symbol.
See page 24 for GPS features.
To Change From City Mode Back to Highway Mode
Press and release
the
City/Hwy button
again.
Tone
Voice
Visual Display
Two beeps
Highway
Highway blinks, then h
appears in the display*
Intro
Operation
Customer
Assistance
Warranty
Notice
Main Icons
Secondary Icons